I have a confession to make: I’m a little behind on posting. Say what? I’m very behind on posting. In fact, I have about 7 summer recipes waiting to be posted, ranging from a delicious Blueberry and Raspberry Ice Cream and an intricate how-to post on gelatin, to my oldest sister’ birthday cake and my youngest sister’s birthday cake.
What can I say? I’ve been baking a lot over the summer, and really haven’t spend that much time on my laptop. Guess I was too busy baking (read: eating and basking in sunshine).
To make a long story short, I made this utterly delicious, spectacularly divine and ridiculously indulgent jam a few weeks ago, when my 8-year-old niece – let’s call her Swiftie, as she is a major Taylor Swift fan and often makes me play ‘You Belong with Me’ on the guitar while she and her teddy bear reenact Swift’s music video of that same song – was staying with the Rocking Rebel and me for a few days.
On the first day of her stay, we went to the fruit picking garden the Rocking Rebel and I discovered a few weeks (days?) earlier. We picked quite a lot of berries that day.
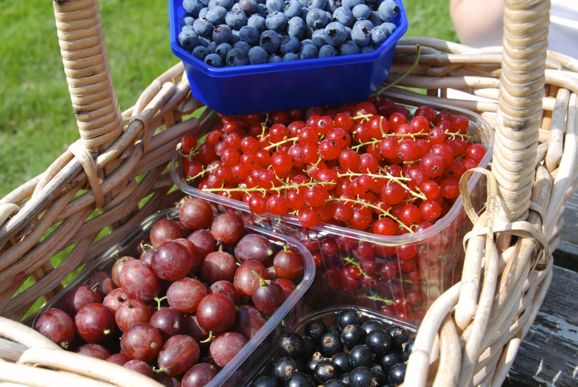
This is actually the same picture I posted in the Gooseberry and Elderflower Sorbet post, because I didn’t manage to take a decent shot of our haul the first time the Rocking Rebel and I went fruit picking. This was actually the first time we picked blackcurrants and blueberries…
You see, none of us had ever had blackcurrants before. Somehow, they’re not that hip in the Netherlands. We couldn’t wait to try them, though! So after we picked the gooseberries, we moved to the blackcurrant bushes, where we picked a few currants. You know, just to enjoy a little fruity snack before we would start picking.
But… we didn’t like them.
In fact, we hated them! And for a moment I though the blackcurrant bushes were actually allspice berries! They were so spicy and earthy. Not tangy or sweet at all, like redcurrants. They weren’t allspice berries, of course. The currants just didn’t taste anything like what we expected them to taste. So we decided to leave the blackcurrants be and focus instead on the blueberries and redcurrants.
However, when we got to the makeshift check-out station and admitted to the nice lady who was helping us that we didn’t like the blackcurrants, she mentioned that she didn’t either, and that blackcurrants were best eaten cooked. At which point another fruit picker, who was checking out two baskets full of berries, told me that he always makes a great jam, using a combination of blackcurrants and red currants. 40% blackcurrants and 60% red currants, to be precise.
I’ll have to admit, I was a bit skeptical. The blackcurrants really scared me. But, brave as I am, I ran back to the blackcurrant bushes and started picking. And once we got back home, Swiftie and I quickly cooked up some jam!
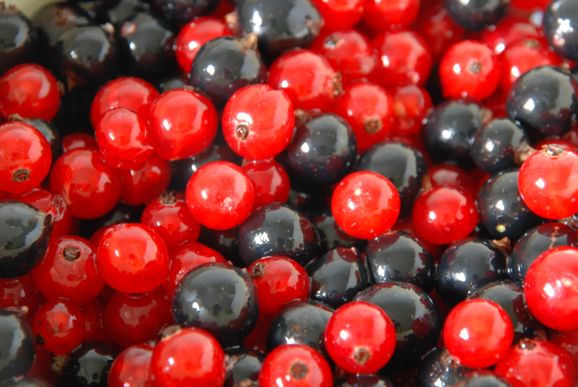
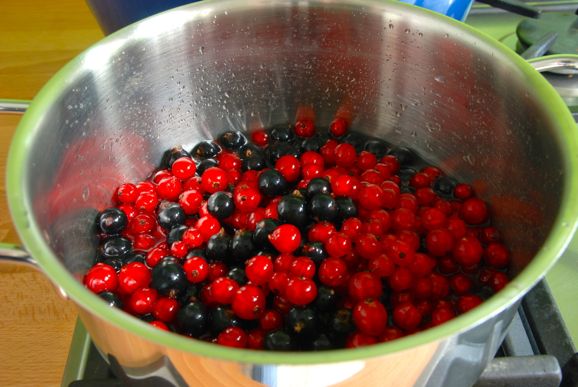
Just look at how gorgeous our mix looked!
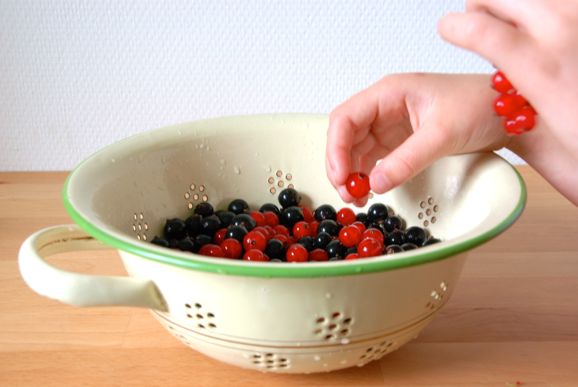
And it’s just such a breeze to pick the currants off the stems if you have pair of little hands to help you out!
Anyway, to make this jam, first overcome your fear of blackcurrants (unless you don’t know what I’m talking about and happen to LOVE blackcurrants in their raw and pure form). As said, pick them off the stems. This may seem like a lot of work, but it makes passing the fruit through a food mill later so much easier.
Next, throw the currants in a big pan with a little bit of water.
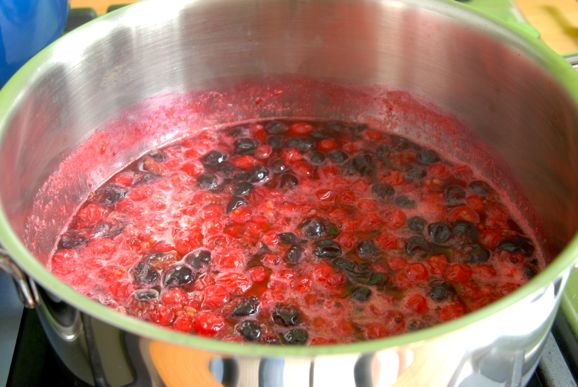
Cook the fruit for about 5 minutes, until the currants have softened and you can easily squash them against the side of the pan with a wooden spoon.
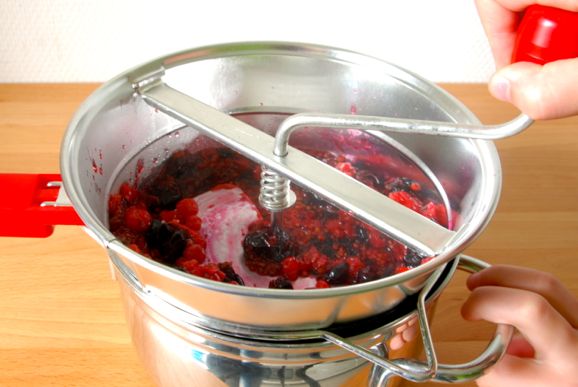
Because red and blackcurrants have little seeds in them, I passed the currants through a food mill at this point. But this step is totally optional. After all, you can eat the currants whole, seeds and all, so if you don’t have a food mill, just don’t worry about them and enjoy a slightly crunchy jam instead. Or pass the jam through a sieve or something…
Once the currants have been passed through a food mill, you’ll end up with a gorgeous smooth, purple purée. Weight the purée and add 920g of sugar for every kilo of purée.
I ended up with about 490g of purée, so I added 450g of sugar. Traditionally, jam is made by cooking up equal quantities of fruit and sugar, but you can use as little as 800g of sugar for each kilo of fruit. So if you like you’re jams a little sweeter, feel free to add more sugar.
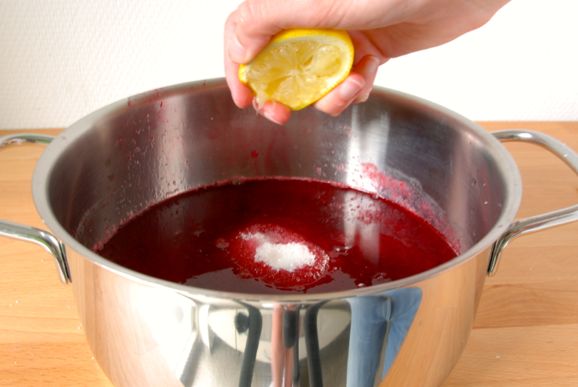
Once the sugar has been added, squeeze in some lemon juice and start cooking!
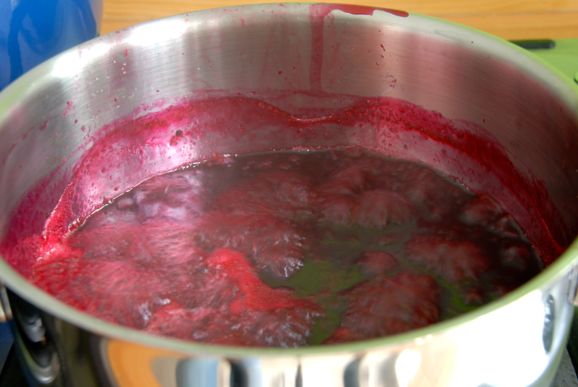
Heat the mixture over low heat, stirring continuously with a wooden spoon until the sugar has completely dissolved. Then crank up the heat and bring the mixture to a rolling boil. Cook the jam for about 6-8 minutes, then take it off the heat.
Oh, and be careful with this stuff. You don’t want it to splatter all over your kitchen! It’s really – REALLY- purple!
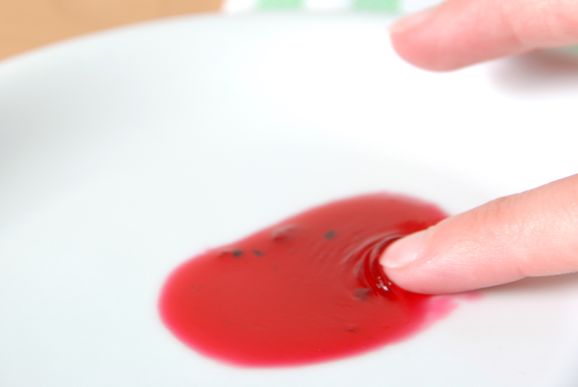
Grab the plate you put in your freezer earlier and do the push test to test the set of the jam. Just spoon a little of the jam onto the plate, pop it back in the freezer for about a minute, then take it out again and push your finger through the jam. If the jam has reached setting point, it wrinkles in front of your finger.
See those little wrinkles (or waves) in front of my finger? That’s what it should look like. You could even take it a little further than this if you want a firmer set. You simply need to cook the jam a few minutes longer. But I like my jams quite soft set and easily spreadable.
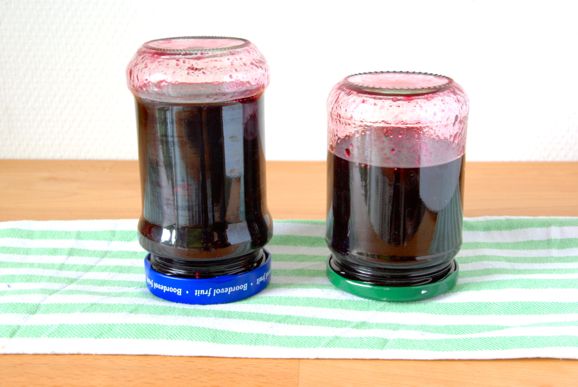
Once you’re happy with the set, ladle the hot jam into hot jars and leave them to cool upside down. The jars Swiftie and I filled really didn’t need to be cooled upside down though… Leaving the jars to cool upside down, creates a vacuum, which will ensure a long shelf life, but the jars need to be filled all the way up to the rim in order to create this kind of airtight seal.
Ours obviously weren’t…
But that didn’t really matter, as we weren’t going to store them. Instead, the Rocking Rebel whipped up a big pile of pancakes – he makes the best pancakes! I’ll let him post about it someday – which we slathered with jam and enjoyed over lunch. When the Rocking Rebel and I dropped Swiftie off at her parents’ place a few days later, after a Disney movie night and a beautiful, sunny day at the beach, she took the other half-full jar of jam with her.
Her family loved it! So did my mom, after I brought her some when we had a big family dinner the next day.
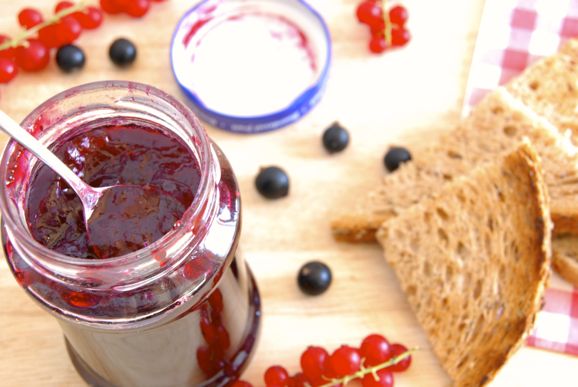
Because, yes, this is an incredibly delicious, smooth and perfect jam, which doesn’t taste anything like the currants straight from the bush! And if I ever run into that guy from the fruit picking garden again – what does he look like again?? – I really should thank him AGAIN for sharing this great recipe with me!
Enjoy guys!
- 200g (or 2 cups) blackcurrants, stemmed and rinsed
- 300g (or 2½ cups) red currants, stemmed and rinsed
- 150ml (or ½ cup + 2 tablespoons) water
- 420g (or 2 cups + 5 teaspoons) granulated sugar
- juice of ½ lemon
- Place a small plate in the freezer. You'll use this later to test the jam's set with. Sterilize two jam jars and screw tops by placing them in a large pan filled with slightly warm water. Cover with a lid and bring to the boil. Leave to boil for ten minutes (in the meantime, you can cook the jam), then turn the heat off and leave the jars and lids in the hot water until use.
- TIP: for detailed instructions check out 'Sterilizing Glass Jars and Bottles' under Basics and Tips.
- Combine the fruit and water in a large pan. Cook the fruit, stirring occasionally, until the fruit has softened and can easily be squashed with a spoon against the side of the pan, about 5 minutes.
- Pass the contents of the pan through a food mill. Discard the seeds that are left behind. You should now have about 490g of puree (you may need to weigh it to make sure). Add the sugar and the lemon juice and heat the puree over low heat, stirring constantly until the sugar has completely dissolved and the mixture has come to a rolling boil. Leave to boil for 8 minutes. Turn off the heat.
- Take the plate out of the freezer and spoon a small amount of the jam on top of it. Place it back in the freezer for about a minute, take the plate out and push your finger through the jam. If the jam has reached setting point, it will wrinkle when you push your finger through it. If it doesn’t, bring the jam back to the boil and boil for another 2 minutes, then repeat the setting test.
- Take the sterilized jars and lids out of the hot water and fill them all the way up to the rim with the hot jam. Wipe the rims clean with a clean, damp cloth and screw on the tops (be careful, the jars and lids are hot) and leave the jars to cool upside down.
- Can be stored in a cool, dark place for up to a year. If you don’t have enough jam to completely fill a jar, store it in the fridge and enjoy over the next couple of weeks.





hi, im ready to make the jam as picked my fruit bushes yesterday but what type of sugar did you use?
caster, granulated or preserve sugar?
many thanks
Hi Natalie, I’m so sorry for getting back to you so late! I’ve been buried under a huge pile of books… I hope it’s not too late to answer your question: I used ordinary granulated sugar in this jam, and it worked perfectly 🙂
Let me know how the jam turned out!
Just made this out of homegrown redcurrant and and blackcurrents…followed recipe exactly apart from sieving the pips, I’ve left it all in, as I wanted a rustic jam, rather than a jelly.
Happy to send photos if you’d like 🙂
Hey Bev, I’d love photos! I sure wish I could make this jam with homegrown red and blackcurrants! I only have a pathetic little raspberry plant on the balcony 🙂