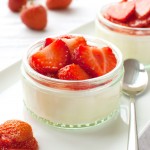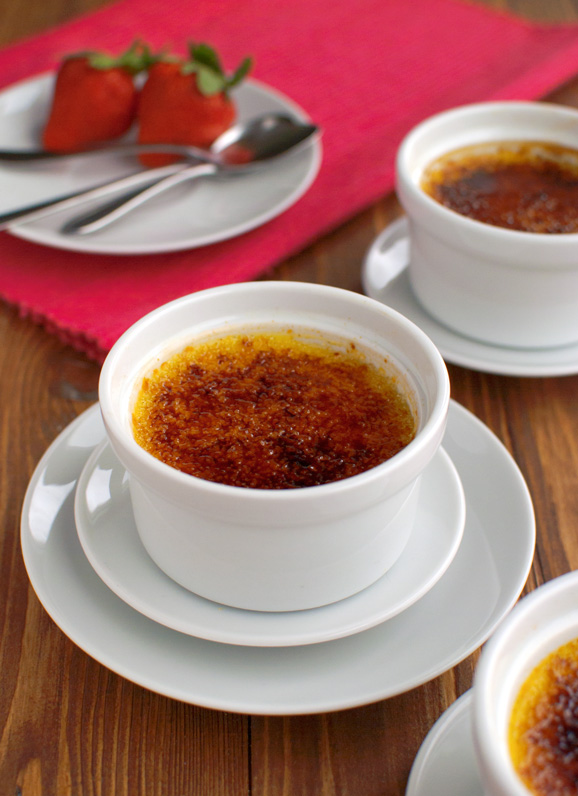
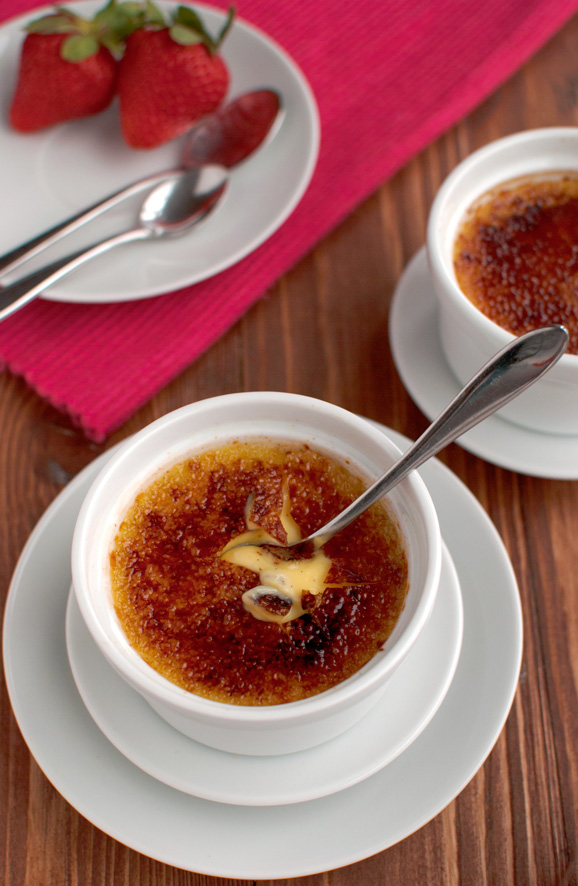
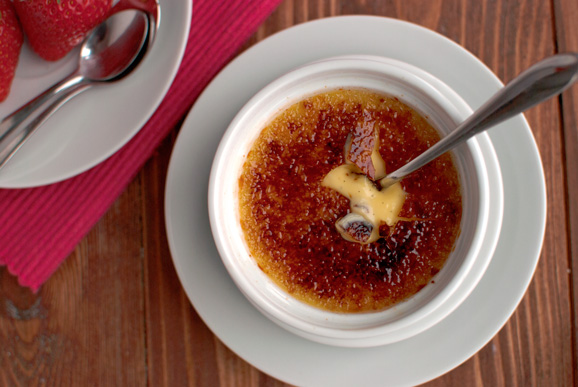
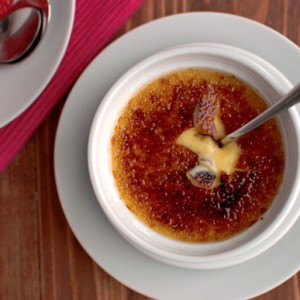
I love crème brûlée. The silky, smooth custard, the sound when you first crack into the caramel layer… So simple, but so delicious. I first tried it a few years ago, when I felt that I had mastered chocolate cake and cookies and wanted to try new and exciting, but at the same time daunting and scary recipes I was too intimidated by to try before.
So I made caramel. And macarons. And crème brûlée.
Here’s the thing: before I had ever made it, I always thought crème brûlée was difficult to make. It’s the French name, I guess. Anything French sounds difficult to me. Even if it’s just soupe à l’oignon or paté sucrée, aka: onion soup and sweet shortcrust pastry. See? Everything just sounds easier if you know the English word for it…
Not that I don’t speak French. I know enough to get around in France: parlez-vous anglais?
My point is: crème brûlée is not difficult. It’s actually one of the easiest desserts ever. And because everybody – not just me – thinks crème brûlée is really, insanely, RIDICULOUSLY difficult to make, they will probably fall down on their knees, worshiping the kitchen god or goddess that is you.
I mean, you don’t even have to make custard! None of that ‘cook until the mixture coats the back of a spoon’ kind of nonsense! No continuous stirring over low heat ’cause ‘wait, be careful, don’t let the eggs scramble’!
In fact, making crème brûlée is just a matter of heating up some cream and milk with a little sugar and a vanilla bean, allowing it to infuse, and pouring the hot mixture onto a few egg yolks. Sure, there is some continuous stirring involved when you do this – you really don’t want to end up with scrambled eggs in your crème brûlée – but apart from that, there’s hardly anything to this recipe at all!
Just some baking in the oven and caramelizing some sugar with a blow torch. I always use the Rocking Rebel’s blow torch. He uses it to make fires, I use it to make crème brûlée. Or to unmold mousses and cheesecakes and stuff…
Handy dandy!
Anyway, when I first made these, I used artificial vanilla flavor. Yes, I just typed that.
Hey, I was just a kid! I didn’t know anything back then!
I wouldn’t advise anyone to ever – EVER – use the artificial stuff, though. If you can’t get your hands on real vanilla extract or a vanilla bean, don’t even make these. You’ll end up with custard, yes, and it will kind of sorta taste like cheap vanilla pudding, yes, but you will definitely miss out on the real crème brûlée experience and you will definitely, DEFINITELY, not be worshiped by your friends and family because you just served them one of the most spectacular, elegant desserts they’ve ever had!
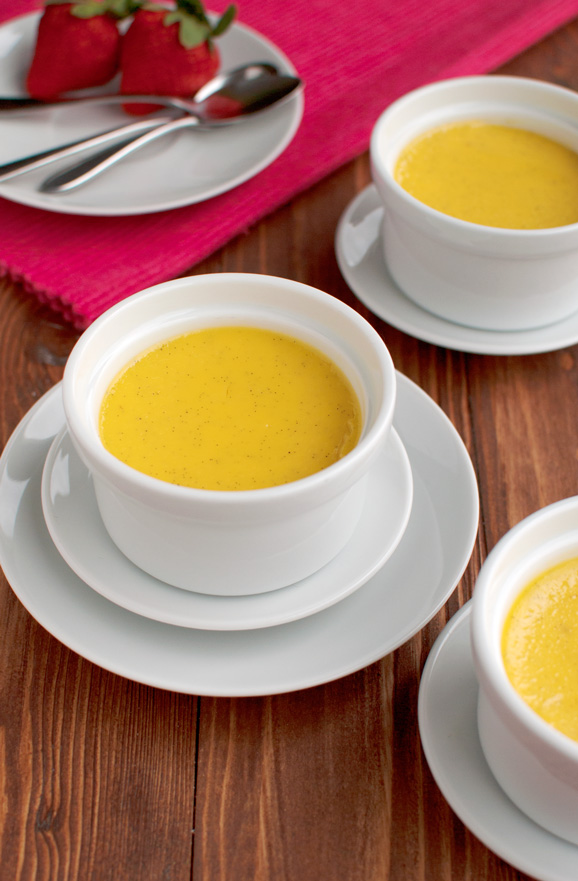
A real crème brûlée worthy of falling down on your knees for- which hurts! – should be speckled with gorgeous little vanilla seeds! If you ever go to a restaurant and order crème brûlée, the seeds are something you should look for in your dessert. If there are no seeds, just send it back. Ask for another dessert. Don’t pay. Just walk out of the restaurant!
Real vanilla is worth it!
Just don’t forget to take one of those little mints on your way out. Oh, and don’t blame me if you end up washing dishes all night or if you get arrested, or something…
Enjoy!
- 240ml (or 1 cup) whipping cream
- 100ml (or ⅓ cup + 4 teaspoons) regular milk
- 70g (or ⅓ cup) granulated sugar
- 1 14-cm (or 5½-inch) vanilla bean
- 4 egg yolks
- 4 tablespoons of cane sugar
- To a medium-sized saucepan, add the cream, milk and half the granulated sugar. Using a sharp knife, split the vanilla bean lenghtwise, scrape out the seeds with the tip of your knife and add the seeds and the bean to the cream mixture.
- In a medium-sized bowl, whisk together the yolks with the remaining granulated sugar and 3 tablespoons of the cream mixture. Set aside.
- Gently heat the cream mixture over medium-high heat, stirring to dissolve the sugar. Once the mixture reaches scalding point, lower the heat to low and allow the vanilla to infuse into the cream for 5 minutes (or an hour, if you’ve got time. In that case, take the pan off the heat and cover with a lid). In the meantime, preheat your oven to 95°C/200°F.
- Crank the heat back up and bring the cream to a boil again. Take the pan off the heat and slowly drizzle the hot cream mixture into the egg mixture, whisking continuously to prevent the eggs from curdling.
- Don't put the pan back on the heat to cook the eggs as you would when you're making custard. Instead, divide the mixture over 4 200ml (or 6-ounce) ramekins. Allow the ramekins to sit undisturbed on the counter for about 1 hour if you have the time, or use a blow torch to quickly heat the surface of the cream mixture to get rid of any bubbles. This step is totally optional, but it will result in a smooth surface once the crème brûlée has cooked.
- Place the ramekins on an oven rack in the middle of the oven and bake for 50-60 minutes, or until only the center of the custard wobbles slightly when you gently shake the ramekins.
- Place the ramekins on a wire rack and allow to cool to room temperature.
- Once cool, place in the fridge for at least 1 hour or until ready to serve.
- Five minutes before serving, sprinkle a tablespoon of cane sugar onto each crème brûlée, twisting and shaking the ramekins to create an even layer of sugar. Next, light up your blowtorch again.
- Holding the blowtorch about 5 cm or 2 inches from the surface of the crème brûlée, start moving around the edge of the ramekin first in slow circles. The sugar will bubble as it caramelizes. Once the edges are done, the center will probably have browned a little as well. If it’s already brown enough, don’t caramelize any further. However, if the caramelization is too light, circle the center of the desserts with the flame until the sugar has caramelized.
- Allow the caramel layer to cool for 1 or 2 minutes, then serve immediately. Enjoy!