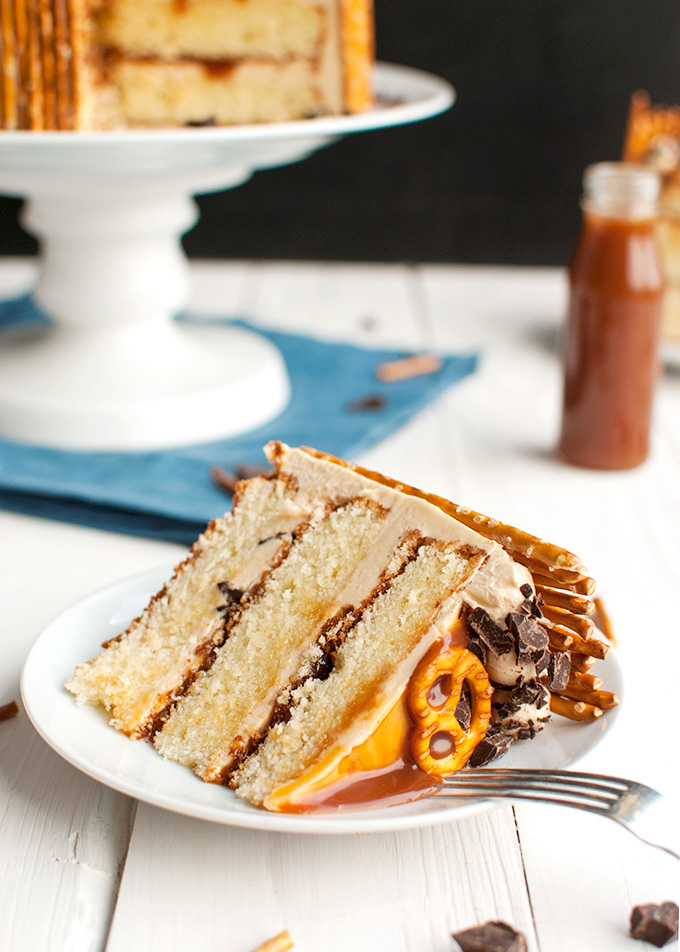
I give you my dream cake: fluffy vanilla cake layers filled with a delicious salted caramel buttercream, salted caramel sauce, and chocolate chips, and decorated with pretzel sticks and twists. Delicious!
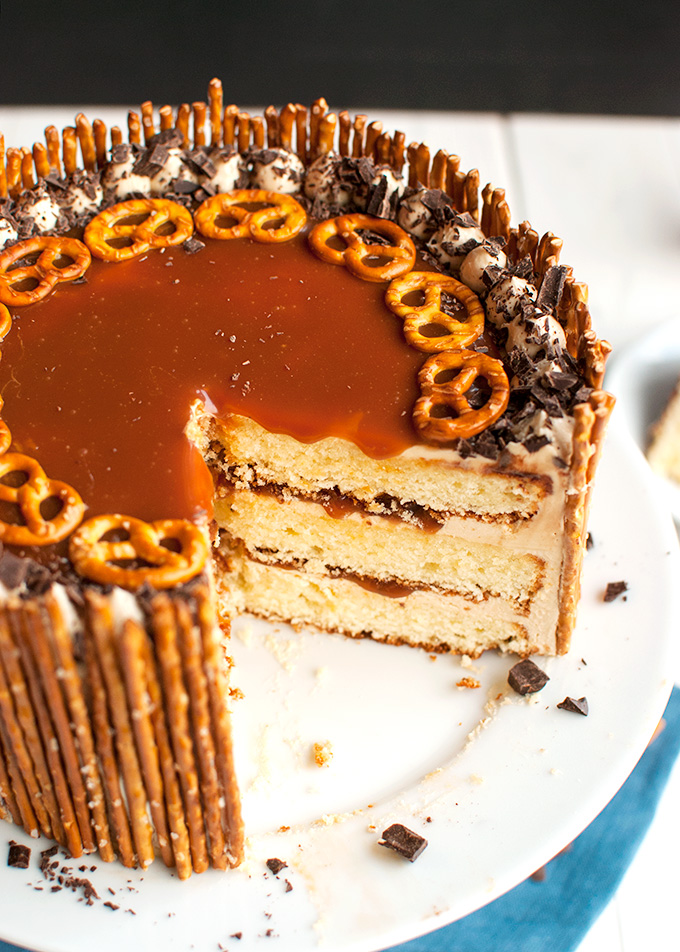 Yup. That’s my dream cake, right there. Well, my dream cake right now. I dreamed it up last week right after I posted about my Roy Fares’ cookbook giveaway. It’s only fair, right? I ask you about your dream cake, and I come up with a dream cake of my own.
Speaking of the giveaway, and dream cakes, I’m giving away a copy of ‘United States of Cakes’. A beautiful cookbook with delicious recipes, such as this amazing Apple Cheesecake I made last week. Entering is super easy. All you need to do is answer the following question: What is your dream cake? Easy peasy, right? So head on over to the giveaway post for a chance to win that cookbook!
I love the answers I’ve received so far. They’re giving me so many ideas for new recipes! For example, Gonny likes chocolate cake and cheesecake, and nuts and caramel. So I’m thinking a swirled chocolate and salted caramel cheesecake with a chocolate and pecan cookie crust, topped with caramel, more pecans and chocolate. Kind of like a turtle cheesecake. Sounds good? Can’t wait to try it 😀
But let’s focus on this cake first. The Salted Caramel Pretzel Cake.
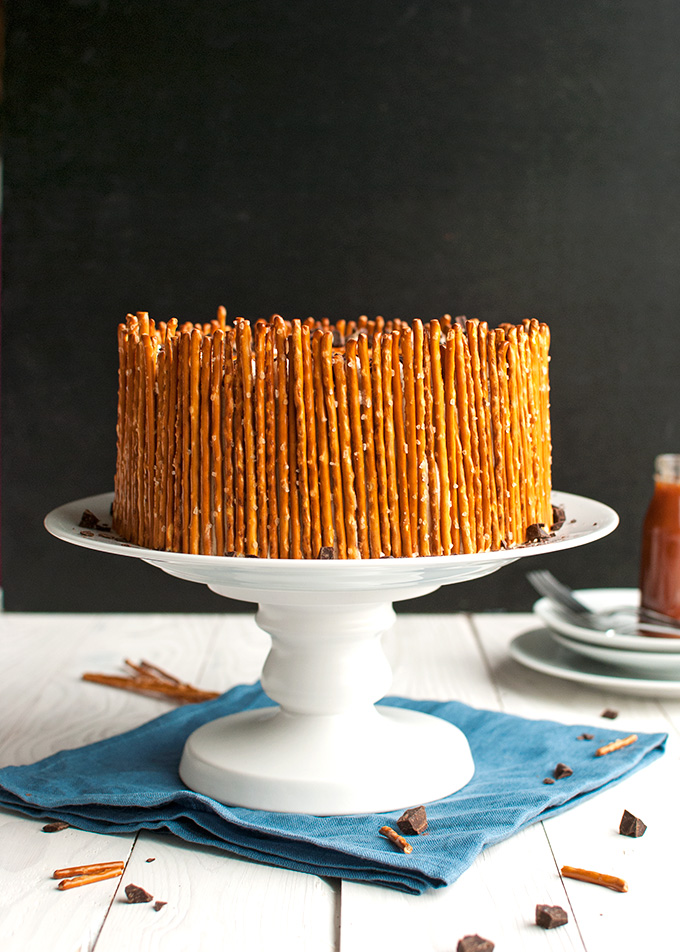
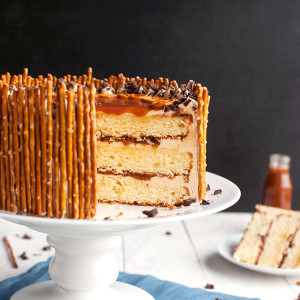
It’s delicious! And sooooo pretty. On the inside, that is. The outside kind of looks like a bunch of twigs or something. The Rocking Rebel said the cake reminds him of a fortress, and he reckons I should have dubbed it the Game of Thrones cake.
But I kind of like the name as it is. Salted Caramel Pretzel Cake. It just sounds so much more promising that ‘the Game of Thrones Cake’, or ‘the Fortress Cake’. Salted Caramel. And pretzel sticks. If you’ve read my post about the Apple Cheesecake, I bet you know where the pretzel craving came from!
And yeah, pretzels are good, but have you tried pretzels with salted caramel before? It’s the best combination ever! The more caramel, the better. In fact, I don’t have pretzels with a side of caramel, I eat caramel with a side of pretzels. Which is why the pretzels are on the side of the cake 😉
And which is why this cake is literally dripping with salted caramel…
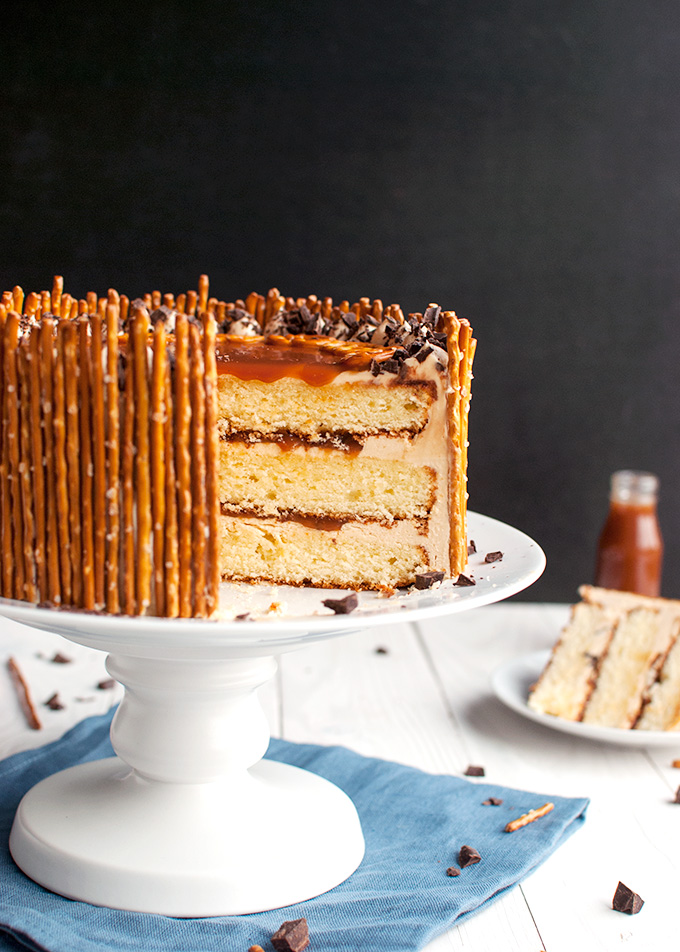 See that caramel between the cake layers? Looks pretty cool, right?
Instead of just spooning the caramel right on top of the cake or buttercream, like I did when I made my Chocolate Pumpkin Cake, I actually made a sort of caramel ‘pool’ (← best way to describe it, sorry) in each layer of buttercream, so that the caramel wouldn’t spill out of the sides of the cake or seep into the cake layers.
Well, not until you cut into it, at least…
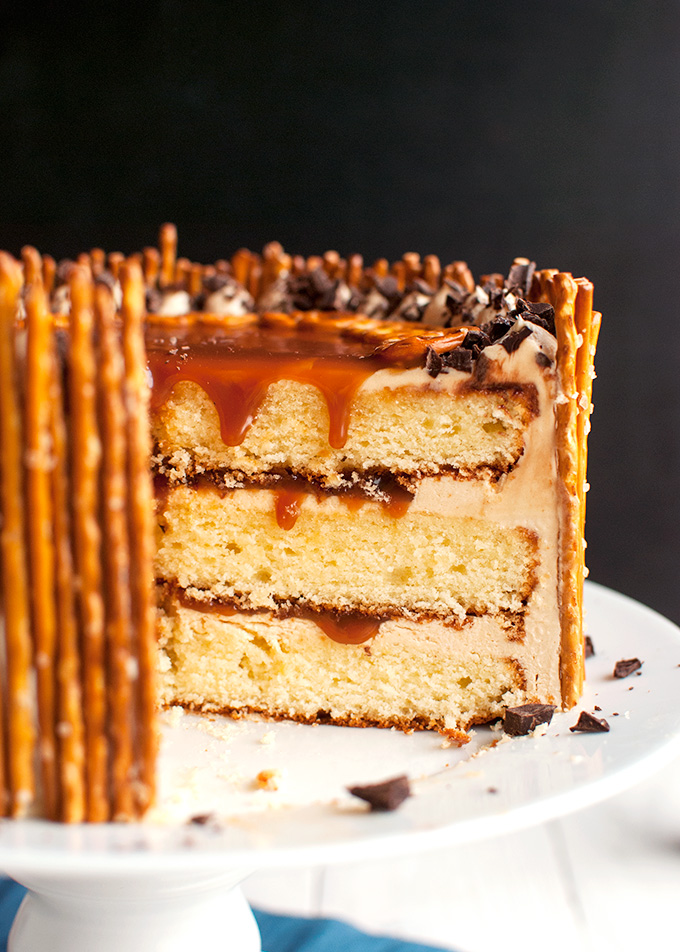 Love that caramel drip. Looks so dramatic! I loved the taste even more, though. This cake was soooo good! The vanilla cake layers were fluffy and moist and delicious. The salted caramel buttercream was super smooth and velvety, with a nice kick of salted caramel. Then there was the salted caramel itself, of course. Perfect, is all I can say. Just perfect. ♥︎
I made two different salted caramel sauces for this cake. Wait, let’s rephrase that… I made ONE batch of salted caramel sauce, using my go-to recipe, then I added a little more cream to half the batch. As a result, half of the batch of caramel was a bit more runny. I used the thicker half to flavor the buttercream (which is a flour buttercream, btw) and used the runny caramel as a filling.
The caramel and the pretzels are definitely the stars of this cake!
Oh, I added some chocolate chips to the buttercream layers between the cake layers as well. Like this cake needs it! The chocolate was totally unnecessary. But then, when is chocolate ever really necessary? 😉
 I wish I had another piece of this cake left over! Or even just a spoonful of caramel sauce. But the Rocking Rebel and I already ate the whole thing. Well, my sister had a piece, and our neighbors. But yeah, I had a piece of this cake for dessert every night since Monday 😉
Aaaanyway, if you like this recipe and would like more recipes like these delivered straight into your inbox, click here to sign up to my mailing list. And if you’re a pinner, scroll down for a nice pin!
Enjoy, guys!
- 180ml (or ¾ cup) heavy whipping cream
- ¾ teaspoon grey sea salt, fleur de sel, or regular sea salt
- 300g (or 1½ cup) granulated sugar
- 60ml (or ¼ cup) water
- 45g (or about 3 tablespoons) unsalted butter, cubed
- 2 more tablespoons of heavy whipping cream
- 50g (or ⅓ cup + 1 tablespoon ) all-purpose flour
- 250g (or 1¼ cup) granulated sugar
- pinch of table salt
- 360ml (or 1½ cup) milk
- 340g (or 1½ cup) unsalted butter, softened at room temperature
- 225g (or 1 cup) unsalted butter, softened at room temperature
- 300g (or 1½ cup) granulated sugar
- 3 large eggs
- 225g (or 1¾ + 2½ teaspoons) all-purpose flour
- 1 teaspoon of baking powder
- pinch of table salt
- 150ml (or ½ cup + 2 tablespoons) buttermilk
- 1 teaspoon of vanilla extract
- 30g (or 1 ounce) dark chocolate
- 150g (or 5 to 6 ounces) pretzel sticks
- 12 twisted pretzels for the top of the cake
- Fill your kitchen sink with a few inches of cold water. Once the caramel is done, you’ll dunk the bottom of the pan in this water bath to stop the caramel from cooking.
- In a small saucepan, combine cream and salt. Heat over low heat, stirring regularly, until the salt has dissolved. Remove from heat and set aside until needed.
- Add the sugar and the water to a (hoe groot?) light-colored saucepan. The light color of the saucepan makes it easy to monitor the color of the caramel as it cooks, and the pan needs high sides because the caramel will bubble a lot. Heat over low heat, stirring with a metal spoon until the sugar has dissolved.
- Crank up the heat to medium-high and cook to a golden caramel. Don't stir it at this point. The syrup will first start to caramelize at the edge of the pan. Once this happens, you can gently whisk the caramel to get an even color.
- Once you're happy with the color of the caramel, turn the heat down and whisk in the cubed butter. The caramel will sizzle and bubble once you add the butter. This is normal.
- Carefully drizzle in the salted cream, whisking continuously. Again, the caramel will bubble and sizzle, so be careful. Once all the cream has been added, remove from the heat and dunk the bottom of the pan into the water bath in the sink for about a minute, whisking the caramel.
- Pour 225g of the caramel (about half) into a heatproof container and allow to cool to room temperature. This caramel is going to be beaten into the buttercream later.
- Add the remaining 2 tablespoons of cream to the remaining caramel and whisk until incorporated. Pour into a heatproof container and allow to come to room temperature. This looser caramel is going to be the cake filling.
- Combine flour, sugar and salt in a medium-sized saucepan. Whisk together. Add the milk and whisk until combined.
- Place saucepan over low heat and allow the mixture to come to a boil, whisking continuously. Once the mixture starts bubbling, cook for 1-2 minutes, then take the pan off the heat and whisk for a minute to beat some of the heat out of the pudding.
- Using a rubber spatula, scrape the pudding onto a clean plate and immediately cover it with plastic wrap, pressing the plastic wrap directly onto the pudding. This keeps a skin from forming. Allow the pudding to cool to room temperature. This would be a good time to make the cake layers.
- Once the pudding has cooled, beat the butter in a medium-sized bowl until smooth and fluffy and lightened in color, 5-7 minutes.
- Add the cooled pudding (which will look like glue at this point) one tablespoon at a time, mixing well after each addition. Once all the pudding has been added, mix for another few minutes, until the buttercream looks thick, smooth and creamy.
- Add the salted caramel you made earlier (the thicker caramel) and beat until well combined. Set aside.
- Preheat oven to 175°C/350°F (standard oven setting) and line the bottom of three 18-cm (or 7-inch) round cake pans with baking parchment. Butter the sides of the pans and dust lightly with flour.
- In a large bowl, and using a mixer, beat butter until pale and fluffy, 2-3 minutes. Add the sugar and mix until well incorporated and fluffy, another 3 minutes. Using a rubber spatula, scrape the sides and bottom of the bowl as necessary.
- Add the eggs one at a time, beating well after each addition. Once all the eggs have been added, the batter should be thick, glossy and smooth.
- In a small bowl, combine flour, baking powder, and salt. Add to the batter and mix on low speed until just incorporated. Add the buttermilk and vanilla and mix for another minute on high speed or until the batter looks smooth. Again, scrape the sides and bottom of the bowl every now and then.
- Divide the batter evenly over the prepared pans and bake the cakes on a rack in the middle of the oven for 23-25 minutes, or until a tester inserted into the center of the cakes comes out clean and the top of the cake springs back when lightly pressed with a finger. Remove from the oven and allow to cool to room temperature. Turn the cakes out of the pans, wrap them tightly in plastic wrap (individually) and place in the freezer for 20 minutes*. This makes assembling the cake a lot easier.
- Spoon a dollop of buttercream on a serving plate and place the first cake layer on top. Plop ¾ cup of the buttercream in the center of the cake layer and, using an offset spatula, spread it over the cake, pushing the buttercream towards the edges of the cake.
- Carefully scrape a thin layer of buttercream from the center of the cake layer again. You want to end up with a completely frosted cake layer, with a thin layer of frosting in the center and a thicker layer of frosting around the edge of the cake. This thicker edge will act as a dam to keep the caramel in the cake.
- Sprinkle the buttercream layer with chopped chocolate and spoon a few tablespoons (I used about ¼ cup) of the looser caramel (the cake filling) into the buttercream ‘pool’ you’ve just created.
- Place the second cake layer on top, pressing down lightly to secure. Repeat to frost and fill as above. Place the third cake layer on top and press down lightly to secure again. Crumb coat the entire cake with a thin layer of salted caramel buttercream, then place in the fridge for 30 minutes to allow the buttercream to set.
- Once the crumb coat has set, add the presentation layer of salted caramel buttercream. Using an offset spatula, spread the buttercream in a smooth coat of about 1-cm (½-inch) thick.
- Fill a piping bag with about 120ml (half a cup) of buttercream and pipe a border of small buttercream dollops around the top of the cake. Fill the center of the cake with about ¼ cup (or more) of the salted caramel sauce. Sprinkle the buttercream border on top with the remaining chopped chocolate. At this point, you can store the cake in an airtight container in the fridge for up to five days. Allow to come to room temperature a few hours before decorating or serving.
- Up to three hours before serving, decorate the cake with the pretzels. Using a sharp knife, cut the pretzel sticks to fit the side of the cake. I wanted the sticks to be a bit taller than the sides of the cake. Stick the pretzel sticks against the side of the cake, and decorate the top of the cake with the twisted pretzels. If you’ve stored the cake in the fridge, allow to come to room temperature before decorating, otherwise the pretzel sticks won’t stick to the buttercream. Once decorated, serve within three hours. Leftover cake can be stored in an airtight container in the fridge for a few days, but the pretzels will go a bit soft.




I think I may have found my birthday cake for this year. Is it too sad to have to bake your own cake???
Haha, well if you want to make sure the cake is going to be exactly to your taste, I think making your own birthday cake is your best option 😉
Wowww! Your recipe on hot milk cake by far is the best vanilla cake I have ever made ever! Thank you. Please I would like to bake it for my daughter using a 14 inch pan. How many times should I multiply the recipe. Ur reply would be appreciated
Hi Lucy, have you seen my post on how to scale recipes up or down? Consider not using baking parchment on the sides of the pan, btw. I find that, for larger cakes, buttering the sides and dusting them with flour works better.