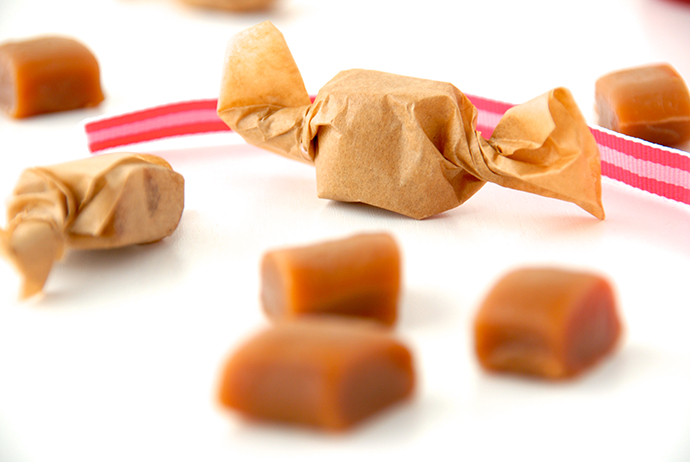
 I love making homemade caramels. I love eating homemade caramels. I love watching people struggle as they eat any kind of caramels…
I have to admit that I’m a bit of a dork when it comes to caramel. The first time I made it, I took all the necessary (and not-so-necessary) precautions so as not to burn myself with boiling sugar. Even though it was the middle of August and the sun was blazing outside (AND I was poured over the stove!), I wore a thick, long-sleeved cardigan, a ditzy apron and oven mitts. On top of that, I had a little bowl of water nearby to dunk my fingers in should they be splattered with hot caramel (did I tell you I was wearing oven mitts?).
Nevertheless, I was quite terrified.
Luckily I have a gutsy boyfriend and the will to move forward in life!
After some nerve-wracking moments (watching the sugar syrup boil…) everything turned out fine and I ended up with the most gorgeous caramel anyone ever laid eyes on. Since then, I’ve become somewhat of a pro at making caramel. These days, the only real danger is getting hypnotized by the bubbles as the sugar cooks and burning my precious caramel.
Remind yourself to stay focused! Oh, and just regard the basic rules of caramel-making:
- Wear a caramel-making uniform as described above (don’t forget the ditzy apron).
- Chase children and cats off the countertop (boyfriends too, if necessary).
- Put the caramel pan on a back burner.
- But don’t figuratively put the caramel on the back burner! Watch it like a hawk!
And last but not least…
- Don’t ever touch hot caramel or lick it off a spoon!!
Just trust me on this one. Some websites even advise you to wear safety goggles, but hey, I find the caramel-making uniform goofy enough as it is, so I usually just try to avoid caramel-eye-contact by not sticking my face over the pan. But that’s just me…
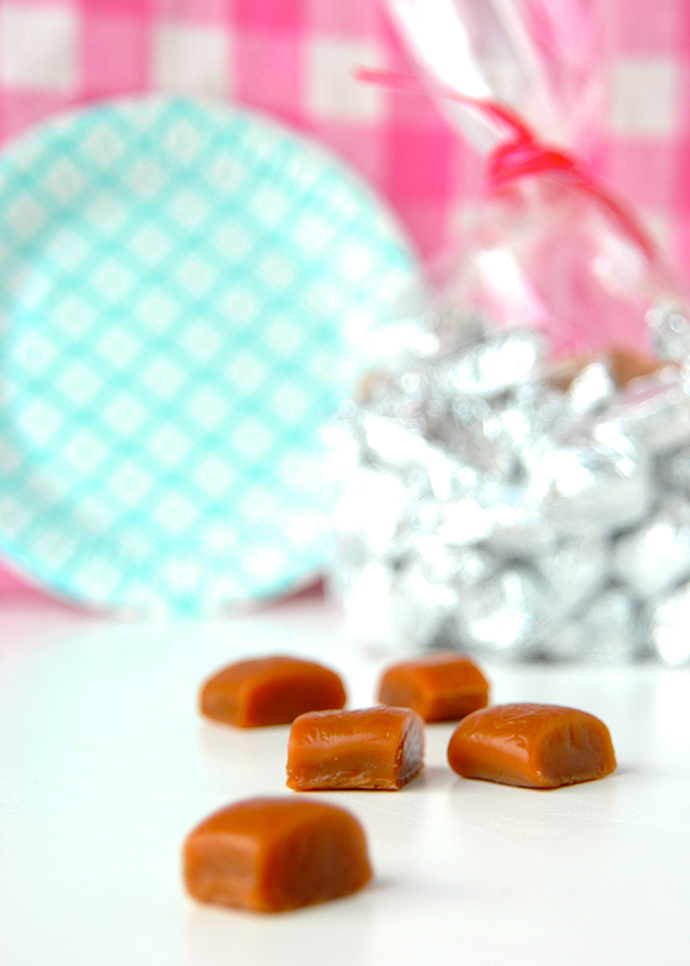 Anyway, the first time I made these particular caramels, I cut them a bit bigger than what I would recommend now and ended up with caramels that were at least an inch thick! Although it was fun having conversations with my 8-year-old niece while we were both enjoying a big, fat caramel, we agreed that a smaller caramel would perhaps be more elegant and ladylike. Plus, if you cut them smaller, you will have more!
Quite the win-win situation.
When making these, controlling the temperature of the cooking caramel is key to creating the caramels your heart desires most. I like mine rather hard. Not rock hard, but hard enough for them to slowly melt in your mouth as opposed to becoming chewy and soft. If you’re with me on this, bring your caramel up to 130°C or 266°F. However, if you like the chewy caramels best, bring the caramel up to 120°C or 248°F.
If you like, you could also stop anywhere in the middle.
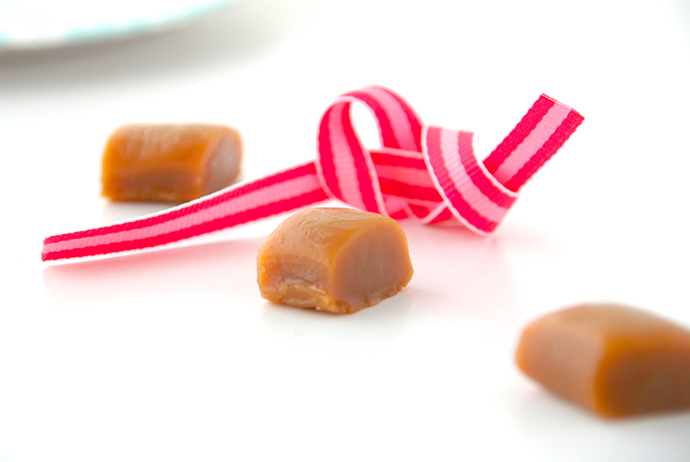 Another reason why I like caramel so much is that it is such a breeze to clean the pan afterwards. Just fill it to the brim with water, place it over high heat and let the caramel dissolve in the water. Once the water reaches a boil, all the caramel should either be dissolved or soft enough to wipe off with a soft sponge.
Just one last word of advise: when I say “wrap each individual caramel to prevent them from sticking together”, I mean it. I once ended up with a huge, glass jar full of caramels that I just couldn’t get out. I even sacrificed three spoons and a fork trying to break the clumped caramels apart, but they just wouldn’t budge.
Luckily, I make mistakes so you don’t have to!
Enjoy the caramels!
- 240ml (or 1 cup) whipping cream
- 80g (or ⅓ of a cup + 1 teaspoon) unsalted butter, cubed
- ½ teaspoon table salt
- 1 vanilla bean
- 340g (or 1⅔ cup + 1½ teaspoon) granulated sugar
- 60ml (or ¼ cup) water
- 80g (or ¼ cup) Golden Syrup
- Line a square baking dish (22x12-cm or 8x5-inch) with baking parchment.
- Combine the cream, salt and butter in a small saucepan. Pop in the (unsplit and unscraped) vanilla bean. Place the pan over low heat and bring the mixture to a simmer, stirring occasionally. Take off the heat and set aside.
- Note: by heating the cream mixture, you're not only melting the butter, you're also infusing the flavor of the vanilla bean into the mixture. Instead of a vanilla bean, you can add 1 to 2 teaspoons of vanilla extract.
- To a large pan (with a capacity of at least 3 litres/quarts), add the water, the Golden Syrup and the sugar. Place over a low heat, stirring until the sugar is completely dissolved.
- Once the sugar has dissolved, turn the heat up to medium-high and clip on a sugar thermometer.
- Cook the sugar mixture, without stirring, to a golden caramel (with a temperature of approximately 160°C/320°F). Make sure the caramel doesn't get too dark, as it will continue to get darker after you add the cream mixture.
- Grab a whisk and carefully add the cream mixture to the caramel. Be careful as this will (WILL!) splatter and bubble up like crazy (I always wear oven mitts).
- Heat on medium-high heat until the sugar thermometer registers 130°C/266°F. Carefully remove the sugar thermometer and pour the caramel into the prepared baking dish. If you like a soft, chewy caramel, take the caramel off the heat as soon as the thermometer registers 120°C/248°F.
- Allow the caramel to cool and firm up before cutting it into dice size pieces. I always use a large chopping knife and prefer to cut the caramel after it has firmed up almost completely, as the knife will stick to warmer caramel.
- Wrap each individual caramel into greaseproof paper or aluminum foil to prevent the caramels from sticking together.


How long does it take these to set?
A while, I think. I made these about three years ago, and I’m having trouble remembering how long I allowed them to cool, but I think it must have been about an hour until the caramel was cool enough to cut. It shouldn’t be tacky.