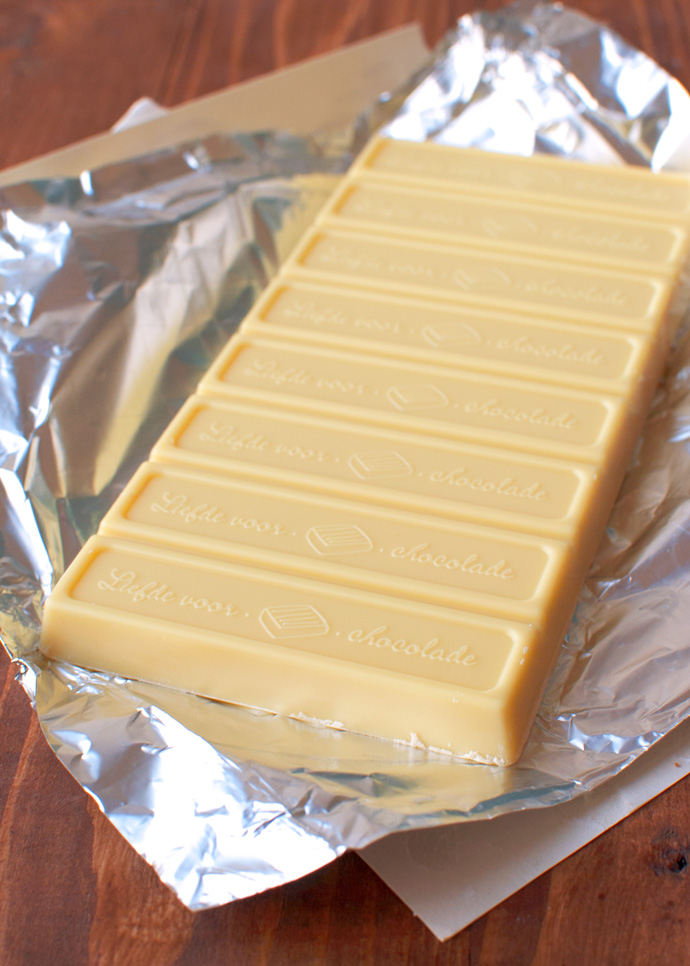
 Oh yeah, caramelized white chocolate. As in, white chocolate, but caramelized…
Sounds intriguing, right? That’s what I thought when one of my readers sent me a link to another food blog – Veggie Chef – a few weeks ago. At the time, I was halfway through my ‘Making Dulce de Leche‘ series, Maillarding away in my kitchen, testing out different ways to caramelize sweetened, condensed milk in order to make dulce de leche.
You still remember the Maillaird reaction, right? It’s basically a form of caramelization that occurs at lower temperatures when sugars are combined with protein. When you’re making dulce de leche, you’re not actually caramelizing: the sweetened, condensed milk turns golden brown, because of the Maillaird reaction.
The same goes for white chocolate.
Still with me? If you want to know more about this whole Maillard-thing, just check out my post on 10-Minute Dulce de Leche Cheat Sauce again. I explain everything there, but just to clarify:
High heat + sugar = caramelization
Low, medium or high heat + sugar + protein = Maillard reaction
The results are the same: a deep golden color and a complex, sweet flavor!
Anyway, why is this important? Well, I knew about caramelized white chocolate before my dear reader linked me to Veggie Chef. However, I had only heard about people making it in the oven, spreading white chocolate onto a baking sheet, popping it in the oven, stirring every 10 minutes until the chocolate caramelizes, which seems kind of tedious…
The guy behind Veggie Chef, Eddie Shepherd (who, by the way, happens to be an award winning chef) explains about a different method. Instead of baking white chocolate in the oven, he vacuum packs the chocolate in a plastic bag and cooks it in a hot water bath for a couple of hours.
Great idea, but where was I to get a vacuum-sealer-thing…
Anyway, as I had been busy throwing cans of sweetened, condensed milk in hot water baths (aka: pans of boiling water) I immediately thought of doing something similar. Instead of putting the chocolate in a plastic bag, I decided to first melt the chocolate in the bowl of a double boiler, pour the melted chocolate in a glass jar, seal it tightly and throw it into a pan of boiling water.
After all, I have gotten really good at throwing cans into pans with boiling water. And isn’t a jar just a can made of glass?
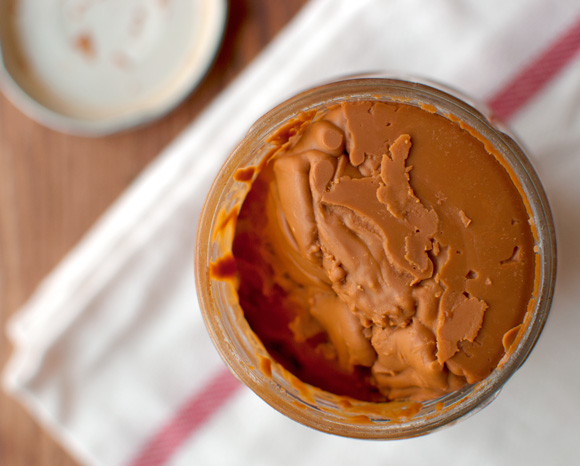
It worked perfectly! Well, almost perfectly… After about 3 hours in the simmering water, the chocolate turned a beautiful golden brown, but it thickened considerably. As in: even when warm, the caramelized chocolate was solid… According to various blog posts on caramelized white chocolate, it was supposed to melt completely at this stage. Sure, it should still firm up once it cooled down, but the hot chocolate should melt.
Mine didn’t.
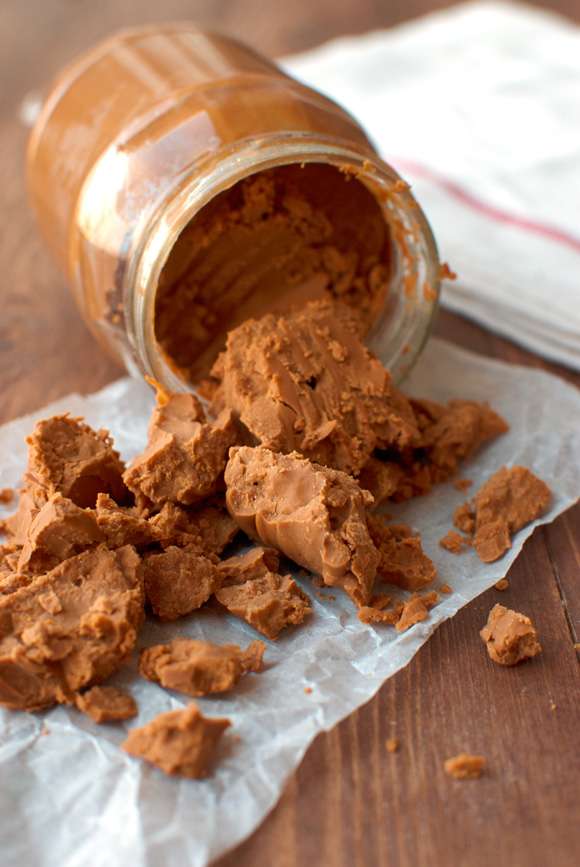
Not that it matters much, though! The chocolate may not have turned into a pool of molten gold, it was utterly delicious! Caramelized white chocolate still tastes like white chocolate, but with a huge caramel kick to it! Seriously guys, this stuff packs a punch! It’s super intense! It’s very sweet, like caramel and dulce de leche, but it has gorgeous deep caramel, milk and even toasted coffee tones to it.
Very, very, very intriguing and delicious…
So why didn’t the chocolate melt? Well, I did a little research and found out that it is all in the cocoa butter content of the white chocolate you use. Here’s the thing: if you want the caramelized white chocolate to be meltable, you want to make sure to use white chocolate that has a cocoa butter content of at least 30%, such as Valrhona Ivoire.
Which happens to be about $12 a pound…
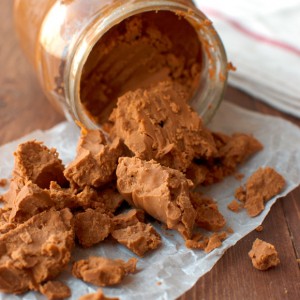
Sooooo, I used a regular supermarket brand instead. A brand that I really love, which is not only a lot cheaper, but – as it turned out – also contains a lot less cocoa butter. Because most supermarket chocolates contain less cocoa butter (most contain the minimum of 20%), these types of chocolate tend to dry out and crumble as they caramelize. I tried melting the caramelized chocolate crumbles in the bowl of a double boiler, but this didn’t really work. The chocolate did seem to loosen up a bit, but it didn’t completely melt. At best, it became spreadable.
However, the flavors were there. And they were amazing!
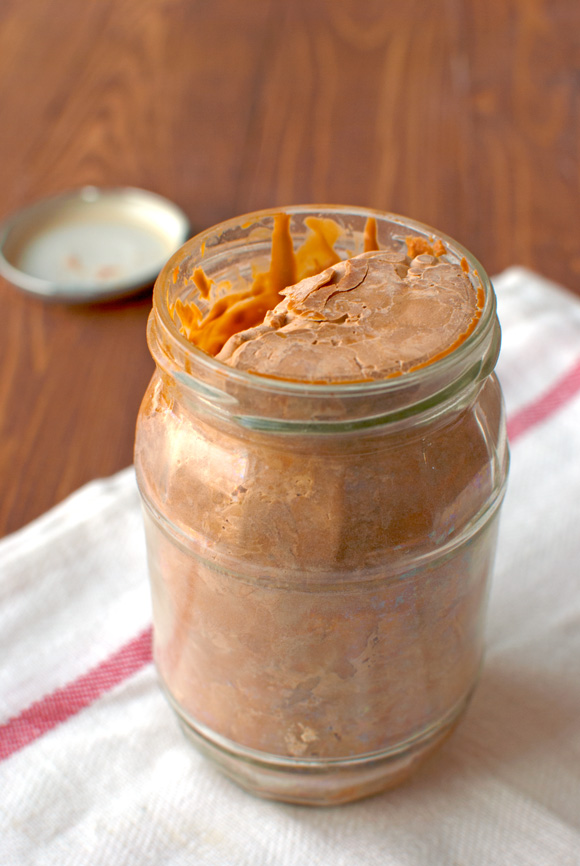
Cooled caramelized white chocolate with visible cocoa butter streaks
Having said that, not every kind of ‘chocolate’ can be used for this. For example, I wouldn’t try this with chocolate that has a cocoa butter content lower than 20% or with white chocolate chips.
Most chocolate chips are bake-stable, which means that, when you use them for things like chocolate chip cookies, the chocolate won’t flow into the cookie dough as you bake the cookies in the oven. The chips do melt, but if left to cool undisturbed (aka: without someone poking them or biting down on them) they’ll still look the same as chips that haven’t been in the oven.
To make chocolate bake-stable, the amount of cocoa butter is reduced. As the reduced cocoa butter chocolate warms up, the lower amount of cocoa butter causes the chocolate – once ‘melted’ – to be thicker and thus to flow less willingly.
Great for making those pretty chocolate chip cookies, bad for caramelizing!
Bars or blocks of chocolate may be a little more difficult to work with, but this is definitely a recipe that calls for bars! Even if it is a supermarket brand…
However, if you want to make caramelized white chocolate in the oven or if you (for some reason or recipe) want the finished product to be completely meltable, I would advise you to pay a little more and get some high-quality white chocolate with a cocoa butter content of at least 30%! Even if it sets you back $12!
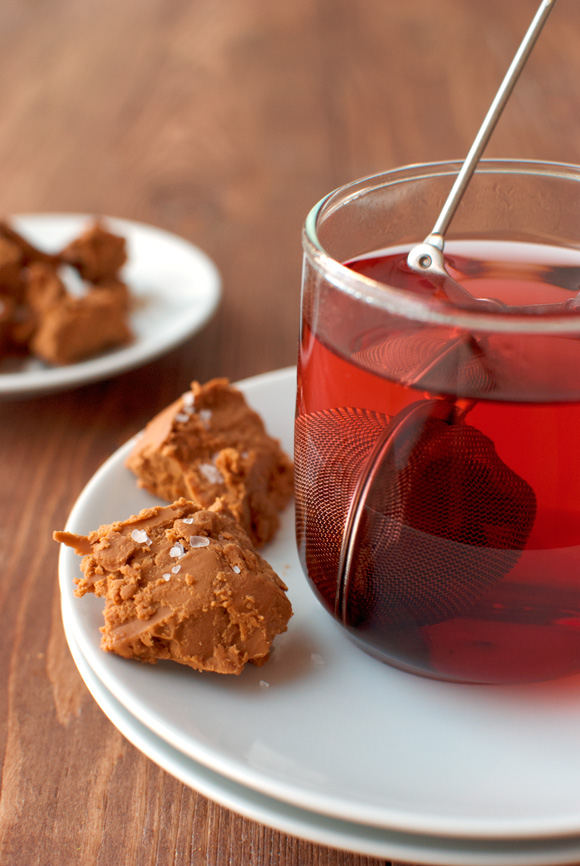
Personally, I don’t think I’m going to bother with the Valrhona. I might try it out sometime, if I happen to stumble upon some Valrhona Ivoire someday, but I really liked working with this particular supermarket brand.
Besides, I kind of liked the caramelized chocolate’s crumbly texture. It wasn’t unpleasantly dry, just more like untempered chocolate: soft and chewy. Sprinkled with a little sea salt, I think those chunks don’t look too bad next to a cup of tea or coffee!
Deeeelish!
Enjoy!
Click here to sign up to my mailing list.
Click here to follow me on Instagram.
- 400g (or 14 ounces) white chocolate with a cocoa butter content of around 22%
- a glass jar with a tightly fitting lid that can hold 350ml (or 1½ cups) of water.
- Start by bringing a large kettle of water to a boil. Pour the hot water in a large pan. Don't place the pan on the stove just yet.
- Chop the chocolate into small pieces. Add the chocolate to the bowl of a double boiler (check out my tips on 'Faking a Double Boiler') and heat gently, stirring occasionally, until the chocolate has melted.
- Once the chocolate is melting, make sure the jar you are using is air- and watertight. Simply seal the empty jar with a lid and drop it sideways (so it can roll around) into the pan of hot water. Look closely for any air bubbles. If there are air bubbles, this means that the lid does not make an air- and watertight seal. Try it with another jar if the first jar fails this test. The jar needs to be air- and watertight, because if water gets into your chocolate, it will change the chemical structure of the chocolate and ruin it.
- Carefully pour the melted chocolate into the glass jar, all the way up to the rim. Screw on the lid - make sure it's a tight seal!! - then carefully drop the jar sideways (again: so it can roll around) into the pan of hot water. Make sure the jar is completely submerged.
- Place the pan over high heat and bring the hot water to a boil again. Once the water has come to a boil, cover with a lid, turn the heat to low and simmer for 3 hours, or until the chocolate has become a deep golden brown. Make sure the water level doesn't drop below the jar; it should be completely submerged at all times. Check regularly to make sure.
- After the chocolate has browned nicely, use some handy kitchen utensil to remove the jar from the pan and place it on a heatproof surface until it's cool enough to handle.
- If you want to use the chocolate immediately, open the jar and use a fork to get the still slightly warm chocolate out of the jar and into a bowl or an airtight container.
- Use in a recipe or serve as chunks, sprinkled with a little sea salt with a cup of tea or coffee. Enjoy!




i have to try this. it sounds amazing!
Maillaird reaction is also prominent in barbecuing/grilling meats 🙂
This looks delicious, amazing photos too!
Thanks Scott! Maillarding makes everything just a little better if you ask me 🙂
A cheaper alternative to expensive white chocolate (that will actually melt) is Guittard white chips. They are available at World Market, usually around the holiday season. Stock up for the year! They met beautifully and would be great for this application.
Thanks for sharing Justin! 😀