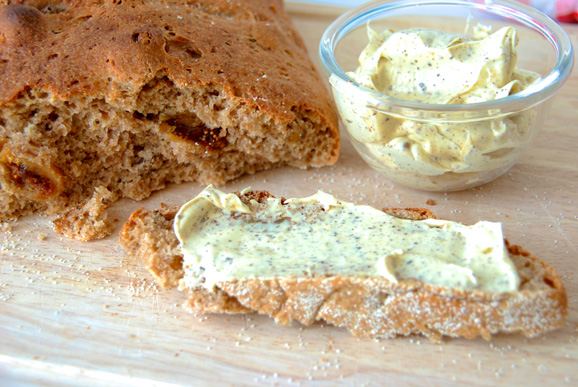
Brown Butter Spread on Spelt Bread with Walnuts and Figs
I love brown butter. In fact, I love it so much, that I dedicated my sixth post ever on Brown Butter Spread: a delectable, addictive spread that is just perfect slathered on a warm piece of bread! It even included a cute little description of the process of browning butter, pictures and all!
However, since I plan on making brown buttery things a lot more often and don’t want to tire my trusty readers with numerous how-to’s on how to brown butter each time I do, I decided that it was time for another ‘Basics and Tips’ post.
Water Content of the Butter
The first thing you’ll need to know when you plan on browning butter, is that the weight (and volume, for everyone who is not into metrics) of the finished product differs greatly from the amount of butter you’re starting off with. This is because butter usually contains about 17% of water, which evaporates as the butter browns.
This means, that 100g of unbrowned butter, will give you 83g of brown butter. This also means that if a recipe states you need 100g of brown butter, you’ll need to brown 120g of butter in order to get 100g of brown butter.
Get it?
The water content of butter can vary slightly though, so check the list of ingredients for its water content. It if says 17g of water per 100g of butter, the butter has a water content of 17%. You can use this equation to determine how much unbrowned butter you’ll need to get the desired amount of brown butter.
(desired amount of brown butter in grams x 100)/ (100 – water content in percentages) = amount of butter needed.
I usually brown a little more butter though, just to make sure I have enough after I’ve scraped the pan and bowl.
Salted Versus Unsalted Butter
I’m a big fan of using unsalted butter and I use it in practically all of my recipes, as it allows me to easily control the amount of salt in my dish. Any cook can tell you that it’s a lot easier to ad salt than to take it out. For browning butter, I would especially like to advise you to use unsalted butter.
As mentioned before, the water content of the butter cooks of during the caramelization process, which means that the percentage of salt in the butter rises. It’s not that salted butter won’t brown – because it will – it’s just that you have absolutely no control over the taste and salt percentage of the finished product.
If you like your butter salty, add some salt later on.
The Caramelization Process
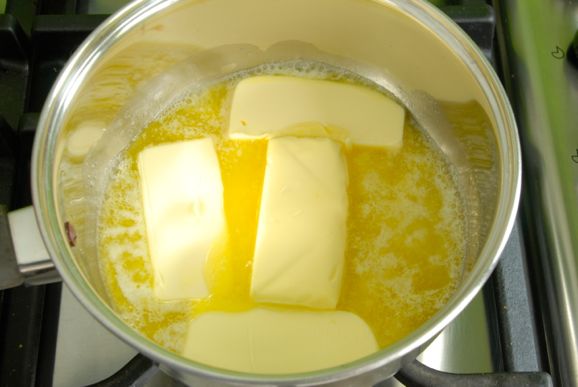
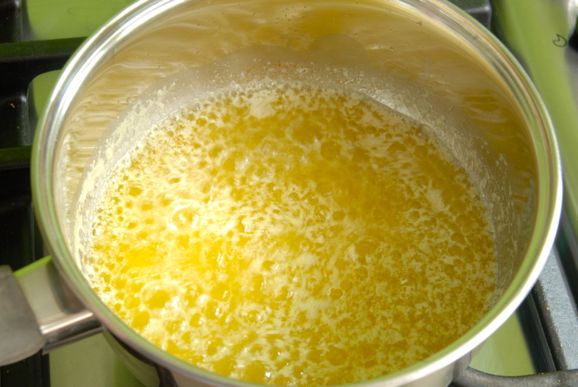
To brown the butter, start by plopping the desired amount of butter in a heavy-bottomed and preferably light colored saucepan.The heavy bottom will make sure the butter heats evenly, while the light color ensures that you can check the color of the butter as it browns.
Heat gently over low heat, until the butter has completely melted.
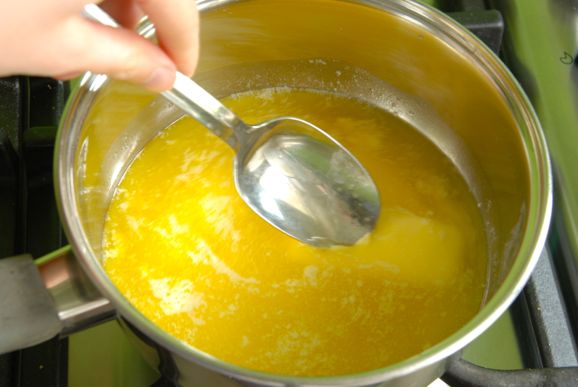
I sometimes push the unmelted butter around in the pan, to cool the surrounding butter that has already melted and to stop it from reaching high temperatures before the unmelted butter has had time to melt.
I’m not sure whether it’s really necessary, but at any rate, it gives my impatient hands something to do while I wait for the butter to melt.
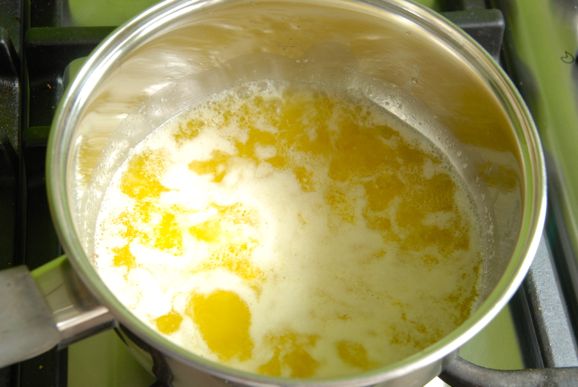
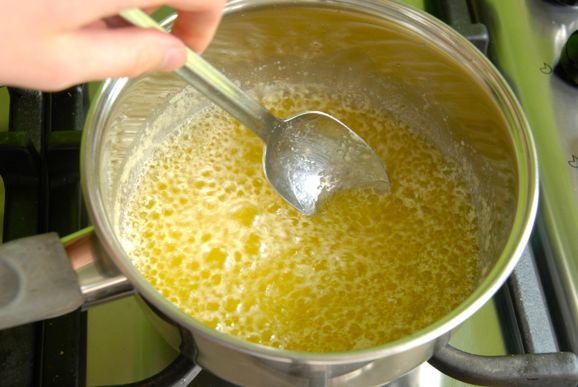
Once the butter has melted, gently allow it to come to a boil.
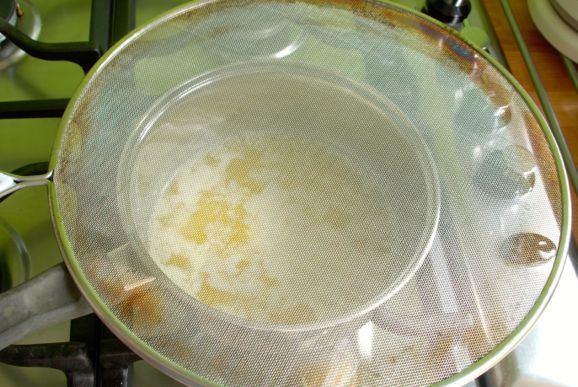
As it boils, the butter will bubble and splatter dramatically, so I always like to place a splatter screen over the pan.
As it bubbles, the water is evaporating from the pan and the butter has reached a temperature of 100°C or 212°F.
I always like to give the butter a good stir with a spoon every now and then, because I don’t own a heavy-bottomed saucepan and have to make do with a flimsy little thing that has barely scraped through a number of daring cooking adventures.
If your pan is like mine, I’d suggest you do the same.
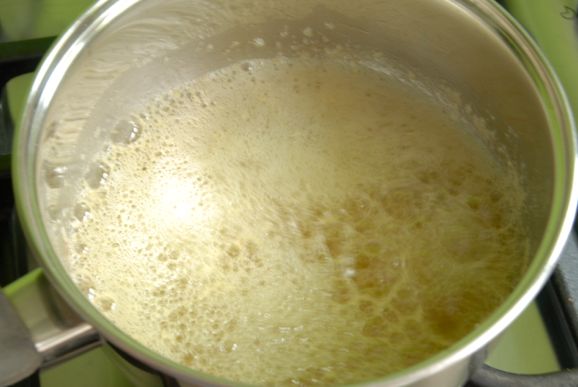
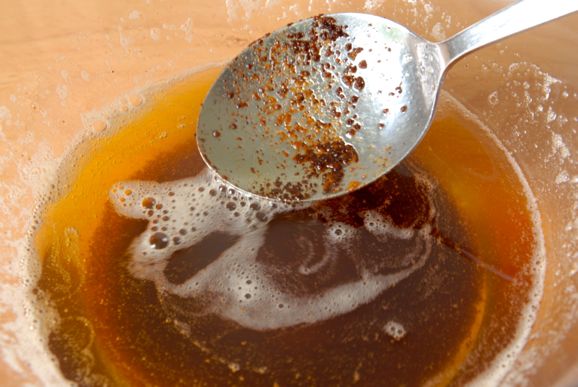
At some point, the butter will start to foam. This is when you want to watch the butter like a hawk, as it is now undergoing the caramelization process. You will know by the unmistakable, nutty smell that will now fill your kitchen.
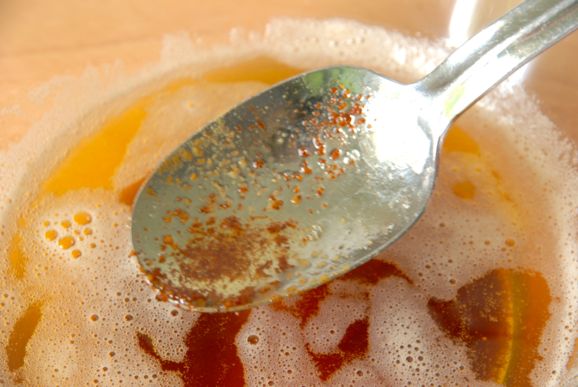
Because of he foam, it’s very difficult to determine whether the butter has browned enough to your liking, even if you are using a light colored pan. To check it, try clearing away some of the foam with a spoon or take the pan off the heat and use a soup ladle to pour a little of the butter in a clear glass, so you can determine its color.
Some people like their brown butter fairly light; a real hazelnut color.
You could take it pretty far though. I usually allow it to become a dark brown, as it deepens the flavor. This is particularly important when you plan on using the butter to make a cake.
Do keep in mind that it is the milk solids that brown, not the butter itself. The flavor of the caramelized (browned) milk solids will steep into the butter though…
Once you’re happy with the amount of caramelization, pour the butter in a heatproof bowl, so that it cools immediately. If you were to leave the butter in the pan, the residual heat from the pan would continue to cook the butter, causing it to burn.
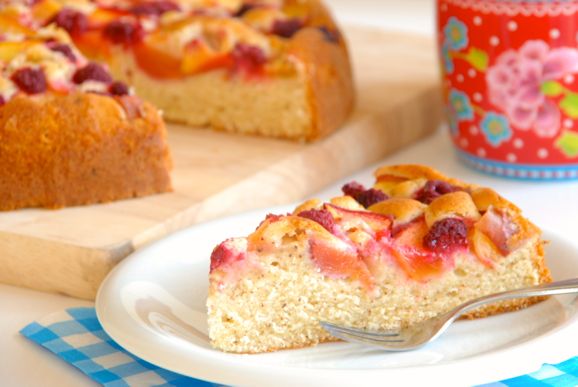
Drizzle the warm brown butter over savory dishes, such as roasted veal, chicken pasta or roasted vegetables, or allow it to cool to room temperature and use it in a cake – such as this beautiful Cake with Nectarine and Raspberry – or whip it up with some powdered sugar and spread it on a warm piece of bread!
