These fun, freehand meringue heart pops are delicious and fun on their own, but they also make super cute cake toppers! Magical rainbow meringue wonderland cake anyone?
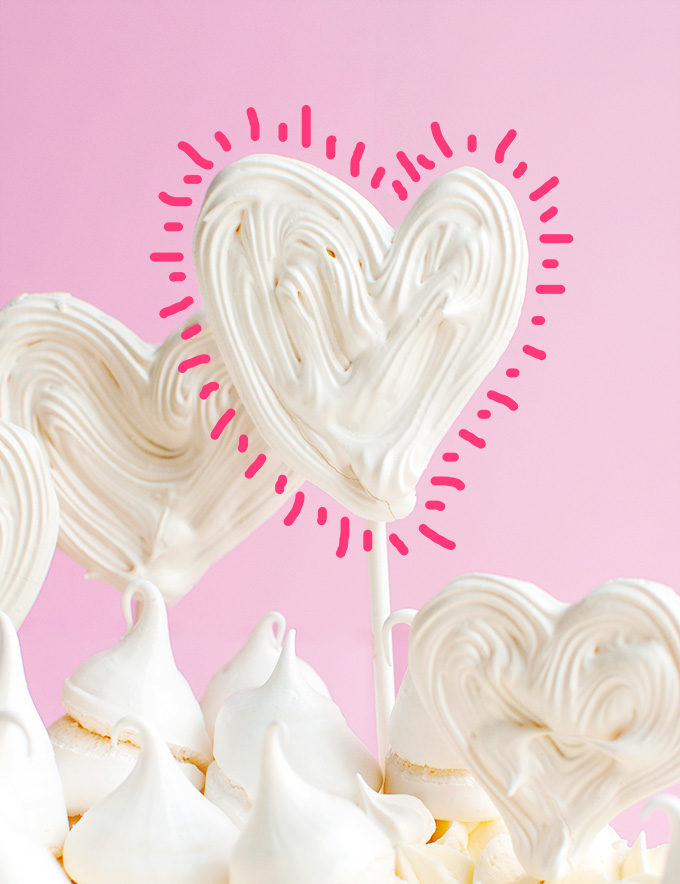
No, this is not secretly a belated Valentine’s Day post. I made these fun meringue pops to put on my niece’s birthday cake. Aren’t they cute?
I wasn’t exactly going for the whole freehand look, though. I wanted them to look super neat and perfect, like in this post by Beth at Hungry Happenings, but oh well… piping skills. Mine are apparently not that good, so I just went for artsy freehand hearts instead. I really like how they turned out! Sure, they’re not all the same size, and they’re a bit rough around the edges, but I like it. What did I say in my actual Valentine’s Day post? About not being great at making cutesy things? Point proven!
I didn’t even care that these meringues cracked a bit in the oven! Well, I would like to know what caused it. I’ve made meringue cookies plenty of times, and I ‘baked’ these at a very low temperature. But not only did these crack (luckily in a pretty way), they also ‘browned’ to a pale ivory color. But who cares? I decided I didn’t. And neither did my niece, who I made these for, so there 🙂
And they did make super cute cake toppers!
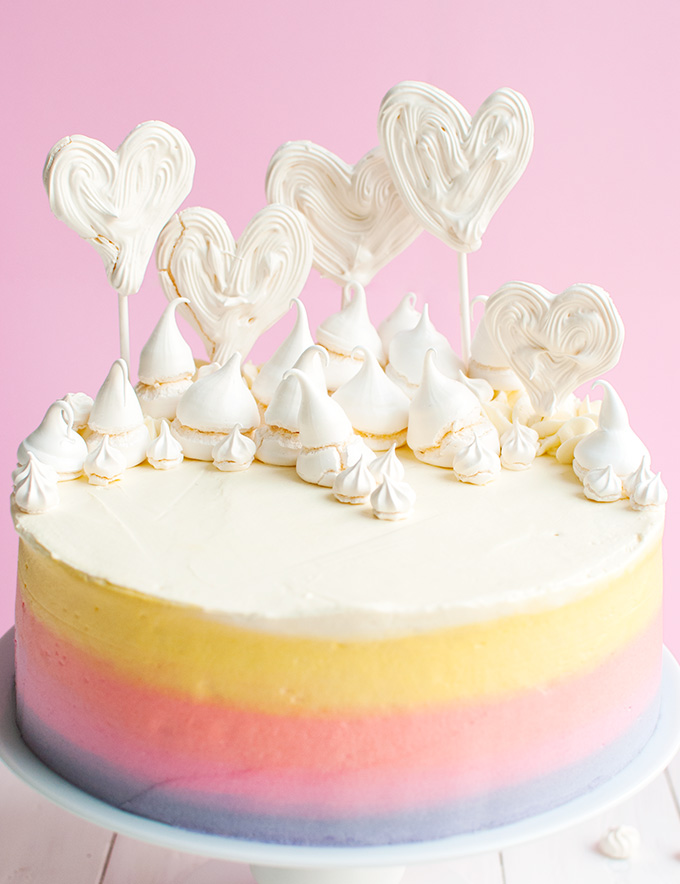
I made my niece a pink-on-the-inside Rainbow Meringue Heart Cake, or a My Little Pony Rainbow Wonderland Cake, as she called it. Yup, there were actual My Little Pony’s on there, too. I’ll post the recipe for the cake in a few days, with a photo of the finished cake, but I think the cake also looked pretty good without the pony’s!
The meringue pops were a great addition. They added height to he cake, making it all the more impressive! Don’t you love the pastel almost-rainbow sides? ????
I used Swiss meringue to make these pops. I didn’t pasteurize the egg whites or anything, though. I just made sure the sugar was dissolved into the whites before I started beating them. Once the meringue held a stiff peak, I plopped it in a piping bag fitted with a small star tip and started piping.
I made the hearts about 7-cm (about 3-inches) across, but you can make them as large or small as you like. I actually made some smaller ones, too.
Turning the meringue hearts into pops is easy! All you need is some melted chocolate and lollipop sticks. I bought lollipop stick ages ago, back in 2013, when I thought it’d be fun to make cake pops, but which I quickly found out isn’t actually my idea of fun (as I’m not good at making cutesy things), so the lollipop sticks had been lying around in my pantry ever since.
To turn the hearts into pops, just flip them over onto a baking sheet lined with parchment, spoon some melted chocolate onto the center of the hearts, and place a lollipop stick onto the chocolate. Then drizzle a little more chocolate on top of the sticks. Oh, and make sure to prop the ends of the sticks up on the edge of the baking sheet or a spoon or whatever, otherwise they’ll roll right off the hearts. Chill until the chocolate sets, and done!
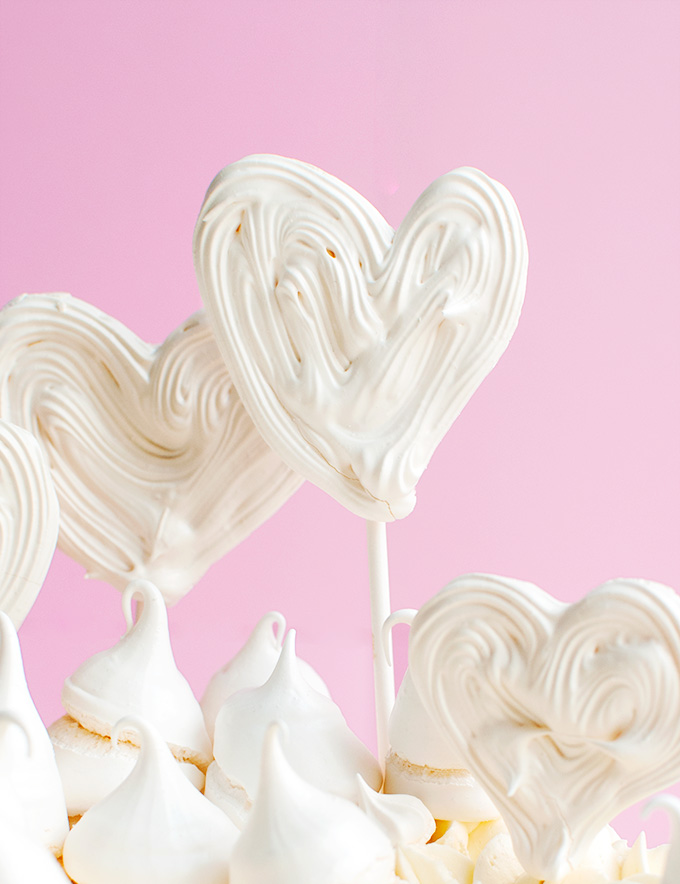
Perfect (well, perfect in their imperfectness) meringue heart pops that are deliciously crisp and subtly sweet and vanilla-y.
Of course, you can make these in lots of different colors. Or you can dust the baked meringue hearts with luster dust or edible glitter or whatever to make them even prettier. They’d also make very cute cupcake toppers!
If you like this post, click here to get more awesome posts like this delivered by email. I’ll also send you my super cute eCookbook ‘The Tough Cookie’s Five Favorite Frostings’, which included an amazing Nutella frosting, so make sure to sign up! And if you’re a pinner, scroll down for a nice long pin 😉
Talk soon, guys!
- 2 large egg whites (about 66g or 2.3 ounces)
- 150g granulated sugar
- ½ teaspoon vanilla extract
- 30g (or 1 ounce) dark chocolate
- lollipop sticks
- Preheat the oven to 90°C/195°F (standard oven setting).
- Using a rubber spatula, stir together egg whites, sugar and vanilla in a medium-sized, heatproof bowl. Set the bowl over a pan with simmering water (making sure the water doesn’t touch the bowl) and gently heat the mixture, stirring until the sugar has completely dissolved. To make sure the sugar has dissolved, rub a little of the mixture between your forefinger and thumb. Once the sugar has properly dissolved, you no longer feel any sugar crystals.
- Take the bowl off the water bath and, using a mixer fitted with the whisk attachment, beat the mixture until it holds stiff peaks, about 7 minutes.
- Line two baking sheets with baking parchment by sticking the parchment on the sheets with a little meringue.
- Transfer the meringue to a piping bag fitted with a small star tip. Twist the end of the bag to seal and push the meringue down towards the tip. And go for it! Channel your inner school-girl-with-a-serious-crush and start drawing heart shapes, making sure the hearts don’t touch and that the tops are relatively flat. I made mine about 7-cm/3-inches across. I made tiny kisses with leftover meringue.
- Dry the meringues out in the oven for about 3 hours with the oven door slightly ajar, until completely crisp. You should be able to easily pick them off the baking parchment. Turn off the oven and leave the meringues to cool completely in the oven (I usually leave them in overnight).
- Once the meringues are completely cool, melt the chocolate in a heatproof bowl set over a pan of simmering water. Arrange the meringue hearts onto a cookie sheet lined with baking parchment that fits into your fridge, flipping them over so that you can attach the lollipop sticks to the bottom of the hearts.
- Spoon about half a teaspoon's worth of chocolate on the back of the hearts (be careful when you turn them over, as they are very fragile) and place a lollipop stick onto the chocolate. Use a wooden spoon to prop the ends of the stick up to keep it level, otherwise it will fall out. Spoon a little more chocolate on top of the stick where you've placed it in the chocolate.
- Repeat with the other hearts, then place in the fridge until the chocolate has set. Use immediately or store in an airtight container for up to a week.







Adorable!!!
Thanks so much Gigi! 😀
Freehand hearts look like they were made with love. Super neat and perfect hearts look like they were made in factory. I’d always opt for made with love!!
Yes! My thoughts exactly 😉