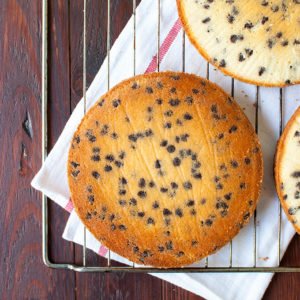
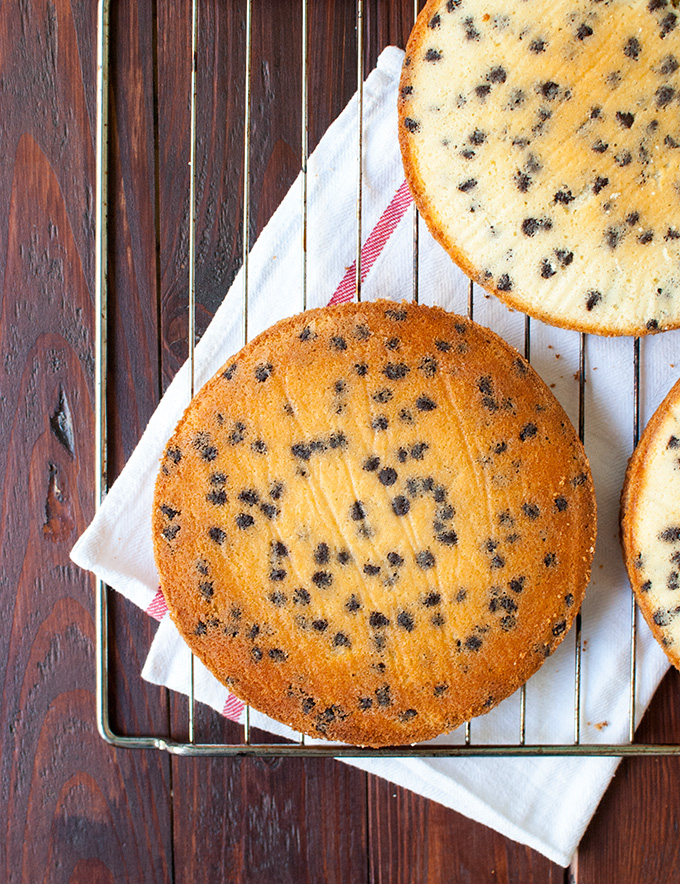
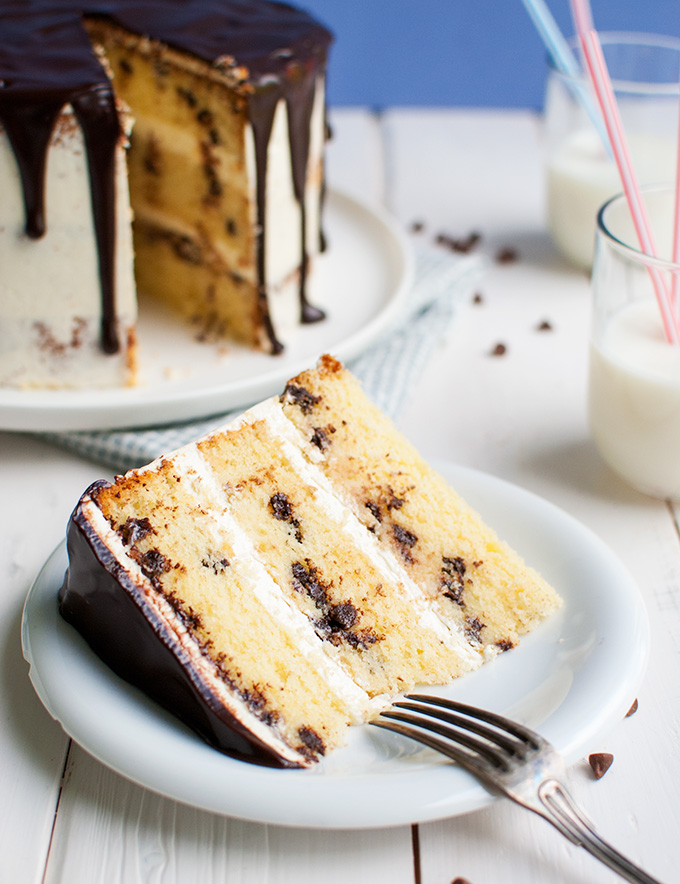
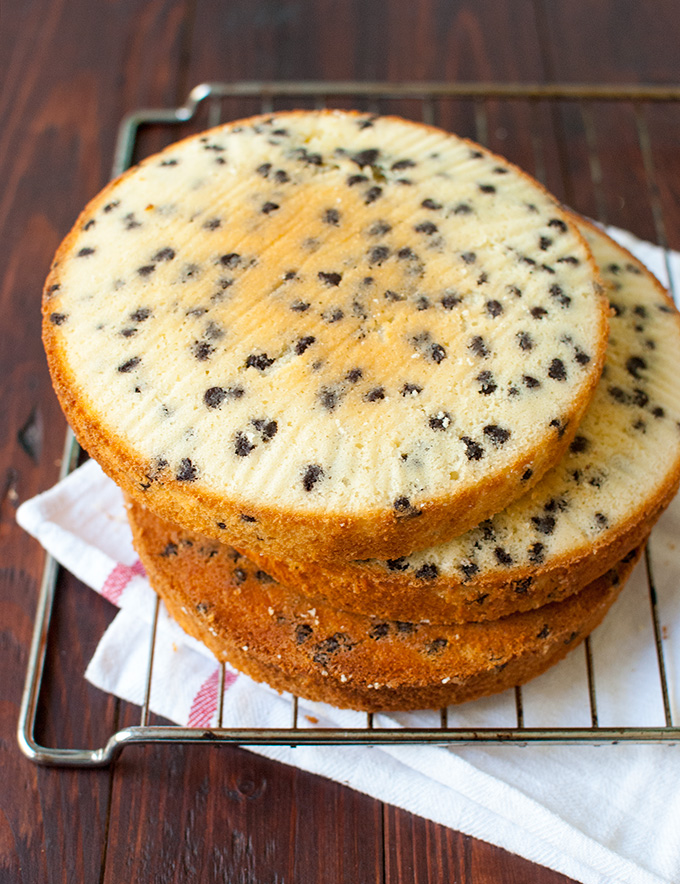
These chocolate chip cake layers are thick, fluffy and incredibly delicious. Packed with dark chocolate chips, they are the perfect base for a chocolate chip cake. Or use these layers instead of ordinary cake layers to jazz up a simple vanilla or chocolate cake!
Whoops, one day late! I’m the worst when it comes to keeping promises. I’ve GOT to fix that about myself before Baby Boy is old enough to remember when I promised him something 😉
But anyway, time for cake.
When I made that awesome Vanilla Chocolate Chip Drip Cake I was super impressed with the chocolate chip cake layers. They’re perfect: light, fluffy, moist, flavorful. AND easy to make. A great recipe to have up your sleeve for that time when you’re craving a, oh I don’t know, chocolate chip espresso mocha cake, or a chocolate chip strawberry ganache cake, or something, but you can’t find a recipe for it online.
Just use this recipe, add your favorite soak and frosting, and you’ve got a custom cake that will definitely satisfy that craving!
So how do you make those awesome cake layers?
It’s super simple. Just cream butter and sugar together until pale and fluffy. Add eggs one at a time, mixing well after each egg. Throw in a mixture of flour, baking powder and salt, and drizzle in buttermilk and vanilla extract. Then fold in some dark mini chocolate chips tossed in a little flour, and that’s it!
Sounds easy, right? That’s because it’s a standard cake recipe.
But a GREAT cake recipe!
Oh, and just a little tip: in the recipe below, it says not to grease the pans if they’re non-stick. I stopped greasing non-stick cake pans a while ago, because a lot of my cakes would collapse after removing them from the oven. I read somewhere online that too much fat in the batter can cause this, OR greased sides. Because I didn’t think the recipes were the problem, I decided to first skip on the greasing, and it totally fixed my problem! My cakes don’t collapse anymore. Instead, they are able to cool without losing their ‘grip’ on the sides of the cake pan. Does that makes sense?
Sure, it also means running a knife along the edges of the cakes to loosen them from the pan, but I’m okay with that 😉
So, if collapsing cakes is a problem in your kitchen, consider not greasing the sides of the pans anymore.
But I’m off for tea and a Rhubarb & Custard Cupcake. It’s rhubarb time!
If you like this post, click here to subscribe to my mailing list and get my mini eCookbook for FREE because you’re awesome, scroll down to pin this recipe for later, and share this post with all your cake-loving friends 😉
Talk soon!
- 400g (or 3 cups + 3 tablespoons) all-purpose flour
- 2½ teaspoons baking powder
- ¼ teaspoon table salt
- 226g (or 1 cup) unsalted butter, softened at room temperature
- 400g (or 2 cups) granulated sugar
- 4 large eggs (about 225g, or 8 oz. total)
- 320g (or 1⅓ cup) buttermilk, at room temperature
- 1 teaspoon vanilla extract
- 150g (or 1 scant cup) dark mini chocolate chips
- Preheat oven to 160°C/320°F (standard oven setting) and line the bottom of three 18-cm/7-inch round cake pans with baking parchment. If you’re using non-stick pans, there’s no need to grease the pans.
- In a medium-sized bowl, whisk together flour, baking powder and salt. Set aside.
- In the bowl of a stand mixer fitted with the paddle attachment, beat butter and sugar until lightened in color and creamy, about 5 minutes on high speed. Use a rubber spatula to scrape the sides and bottom of the bowl every now and then.
- Add the eggs one at a time, beating well after each addition (2-3 minutes on high speed). Once all the eggs have been added, beat for another minute, or until the mixture looks smooth and fluffy, like buttercream frosting.
- Add half the flour mixture and mix on low speed until just incorporated. Combine buttermilk and vanilla and add half of it to the batter, mixing until incorporated. Repeat with the remaining flour and buttermilk mixtures, ending with the buttermilk mixture.
- Add chocolate chips and mix until just incorporated.
- Divide the batter evenly over the prepared pans. Place on a rack in the middle of the oven and bake for 40-45 minutes, or until a tester inserted into the center of the cakes comes out clean.
- Remove from the oven and allow to cool completely to room temperature before loosening the cakes from the pan by running a knife along the edges of the cakes.
- Cakes can be made ahead: once cool, wrap tightly in plastic wrap and place on the fridge for up to 3 days, or freeze up to 2 months.

