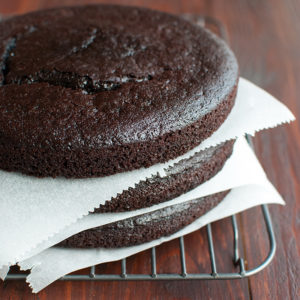
These chocolate espresso cake layers are super easy to whip up, but MAN do they deliver! They’re tender, moist, and super chocolatey. With a healthy dose of coffee. Top with a simple chocolate buttercream, and you’ve got yourself one hell of a cake 😉
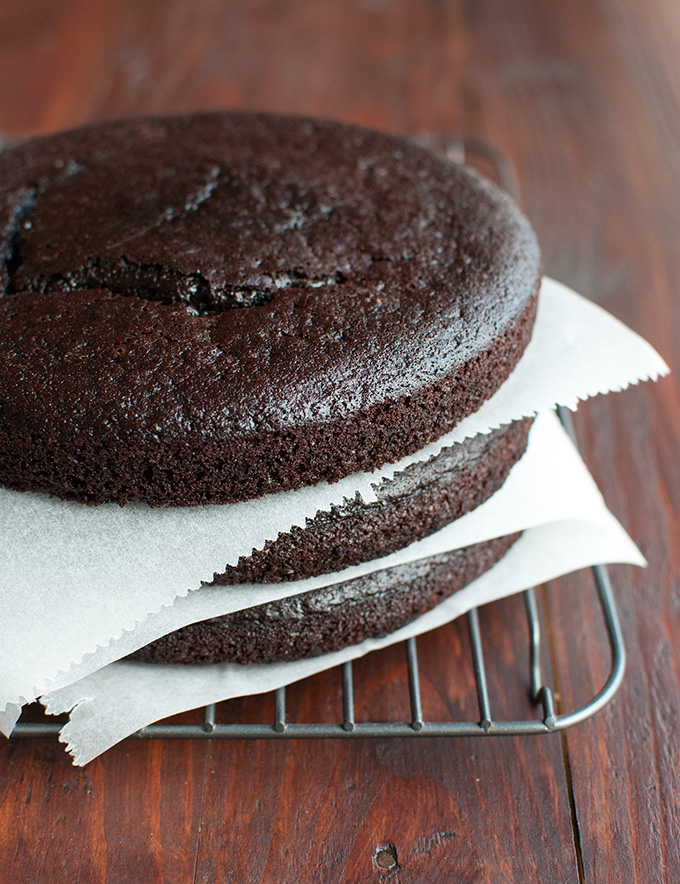
Time for yet ANOTHER building block, because yup, still love building blocks!
I used these deliciously moist chocolate espresso cake layers in THE Chocolate Espresso Cake. My dream cake. The cake I could eat every day for the rest of my life. It’s soooo good! But yeah, also a bit of a project, with the two different fillings. So I thought I’d just post the recipe for the cake layers and let you decide for yourself what to do with them 😉
You could cut back on the work by just making one filling: either my (Swiss) French coffee buttercream or that dreamy, fudgy Dark Chocolate Crémeux Frosting. Or you could come up with another cake-frosting combo, of course. Let’s see, what else pairs well with chocolate and coffee? Mascarpone frosting, perhaps? Or just a little whipped cream jazzed up with a touch of Baileys Irish Cream?
Sounds good to me!
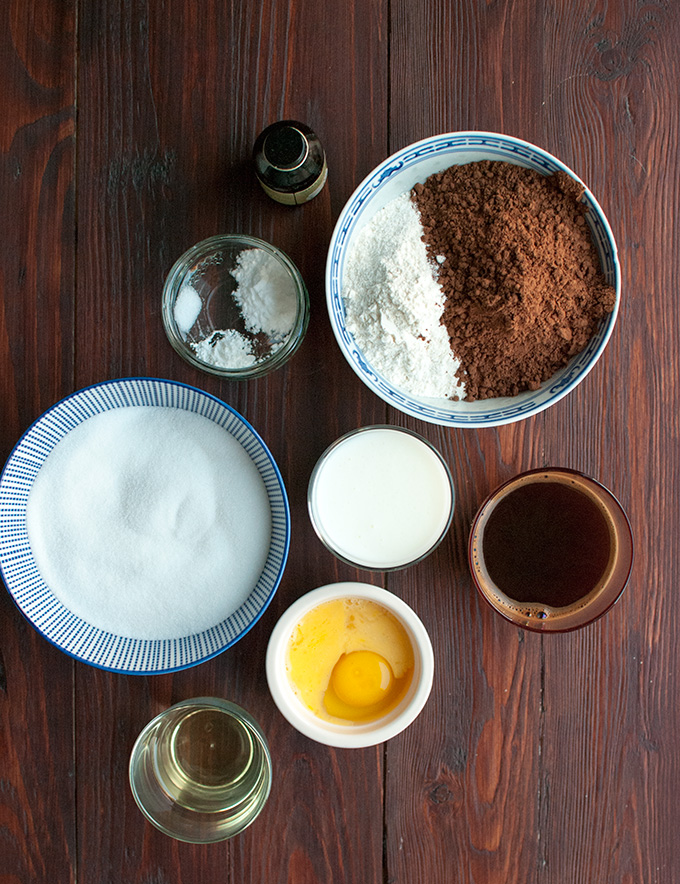
To make these cake layers, you need some pretty standard cake making ingredients, starting with:
- eggs
- oil
- sugar
I use one and a half eggs in this recipe. Just crack an egg in a bowl, whisk it with a fork, then use half in the recipe and give the other half to your dog or add more eggs to whip up an omelette or something…
Once you’ve beaten together your eggs, oil and sugar, it’s time to add some wet ingredients:
- hot coffee
- buttermilk
- vanilla extract
First drizzle in some hot coffee. A LOT of hot coffee. These are chocolate ESPRESSO cake layers, remember? I used freshly brewed French press coffee, but you can use whatever coffee you like.
Once the coffee is nicely mixed in, add the buttermilk and vanilla and mix until combined.
Next up, our dry ingredients:
- flour
- Dutch-processed cocoa powder (for that ultra chocolatey flavor!)
- baking powder
- baking soda
- table salt (because chocolate ❤️ salt)
Stir the dry ingredients together, add the dry stuff to he batter, and mix until combined. And that’s your batter done!
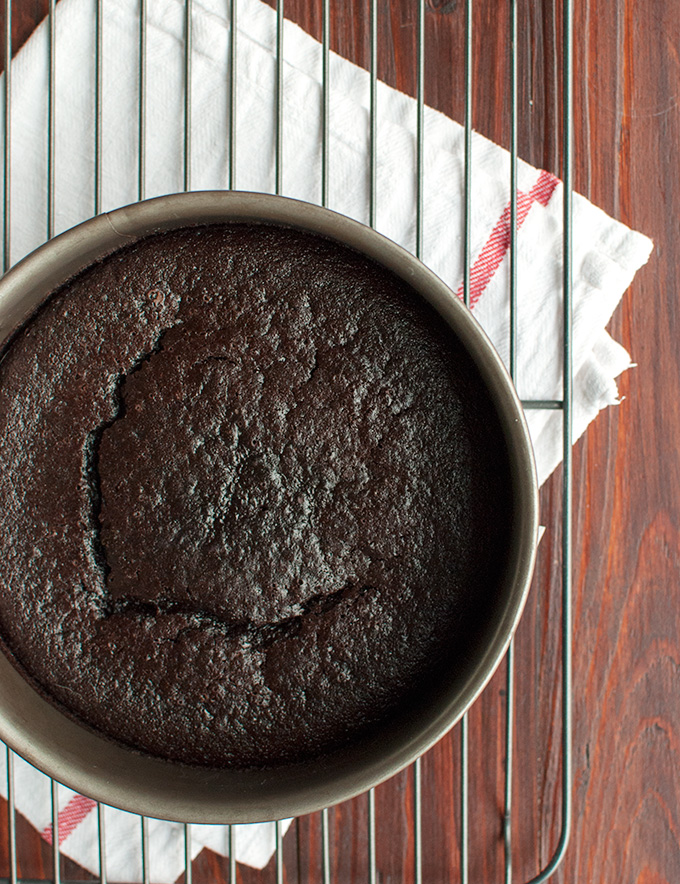
Divide the batter over three buttered cake pans and bake in the middle of the oven until a tester inserted into the centers of the cakes comes out clean. Allow to cool to room temperature before frosting or wrap with plastic wrap to store in the fridge for a couple of days.
I usually bake my cake layers on day 1, and make my frosting on day 2, right before I assemble the cake. That way, my cake layers have more than enough time to cool before I need them and my frosting always has that perfect freshly made spreading consistency.
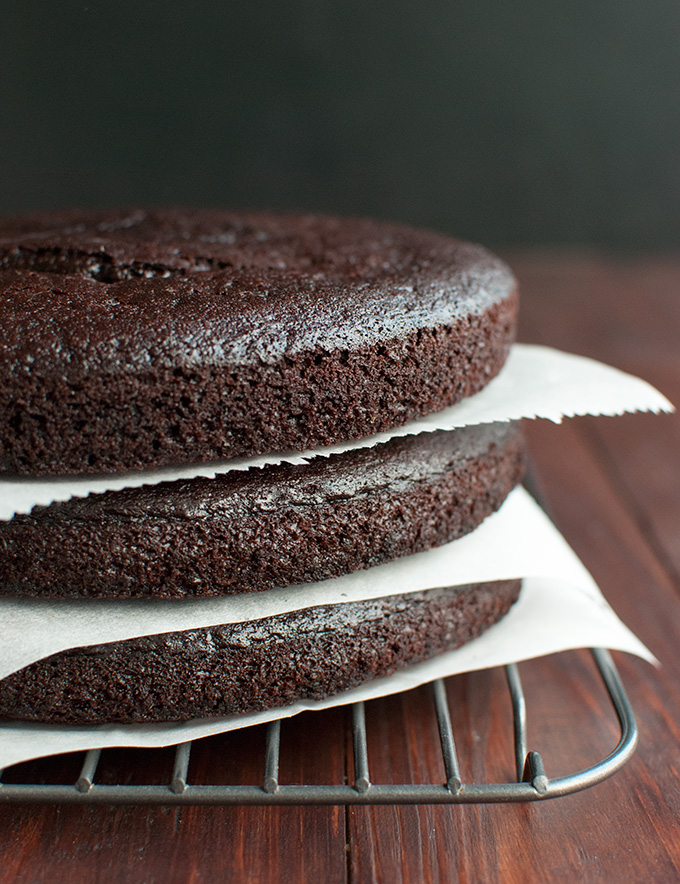
Btw, these layers also keep really well in the freezer. Just wrap each layer in a double layer of plastic wrap and freeze for up to two months!
Perfect if you occasionally find yourself in need of some emergency cake!
But that’s enough about cake for today. Don’t forget to subscribe to my mailing list! You’ll get my eCookbook with a recipe for THE BEST (really, really, REALLY!) Nutella frosting. It’s yum, so make sure to click that link 😉
Talk soon!
- 255g (or 1 cup + 1 tablespoon) freshly brewed (hot!) coffee
- 200g (or 1½ cup + 5 teaspoons) all-purpose flour
- 150g (or 1¼ cup + 1½ teaspoon) Dutch-processed cocoa powder
- 1½ teaspoons baking soda
- ⅜ teaspoon baking powder
- pinch of table salt
- 1½ large eggs (about 84g or 3 ounces)
- 110g (or 125ml, or ½ cup + 1 teaspoon) sunflower oil
- 470g (or 2⅓ cup + 1 teaspoon) granulated sugar
- 255g (or 1 cup + 1 tablespoon) buttermilk
- ⅜ teaspoon vanilla extract
- Preheat oven to 175°C/350°F (standard oven setting). Line the bottom of three 18-cm (7-inch) springform pans with baking parchment, butter the sides, and dust the sides with cocoa powder.
- Set aside the hot coffee, you’ll need it in a few moments and you want it to still be hot, but not scalding. In a large bowl, stir together flour, cocoa powder, baking soda, baking powder and salt. Set aside.
- In a large mixing bowl, mix together eggs, oil, and sugar until combined, 1 minute on high speed. Drizzle in the hot coffee, mixing as you go. The hot coffee will help dissolve the sugar, but you don’t want it scrambling the eggs. Once combined, add the buttermilk and vanilla and mix until combined, about 1 minute.
- Add the dry ingredients to the egg mixture. Using a rubber spatula, stir until mostly incorporated, then mix for about 30 seconds until the batter looks smooth (albeit grainy from the sugar).
- Divide the batter evenly over the prepared pans, then bake the cakes on a rack in the middle of the oven for 35-37 minutes, or until a tester inserted into the center of one of the cakes comes out with just a few moist crumbs attached. Remove the cakes from the oven and allow to cool to room temperature.
- Cakes can be stored in the fridge for 3 days, wrapped tightly in plastic wrap (individually), or in the freezer for one month.



Cake is always what I need in an emergency!! This cake looks perfect for all chocoholic occasions. Loving the building block series.
My thoughts exactly! I’m still trying to come up with a way to have homemade room temperature cake available to me whenever I want, though. I hate to wait for cake to come to room temperature 😉
It looks delicious! I have sent you a private message on facebook a few days ago with some questions about what oven you use and what brand cocoa powder you use for your “best chocolate cupcakes ever” (unfortunately i could not comment on that post). Could you please reply to the fb message 🙂 ?
Hi Aike, I’ll try to reply on the FB message, but I need to warn you: huge FB idiot me 😉
I made this cake on the weekend and you are right it is a project! However, it was worth the effort – I learned a lot and my husband says that it was the best cake I’ve ever made – (I’ve made a lot of cakes). Thanks for Sharing!
I’m so glad you and your husband liked the recipe, dd! I absolutely LOVE this cake 😀