Yes, the Momofuku Birthday Cake is incredibly delicious, but it’s also really small, especially if you’re throwing a big birthday party. In this post I show you how to turn Momofuku’s 6-inch cake into a 7-inch cake! More cake? Yes please!
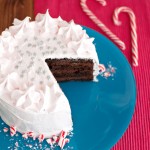
 So, enough about my niece’s sixth birthday cake. Let’s move on to one of MY birthday cakes: the Momofuku Birthday Cake. The recipe that inspired me to use a simple vanilla milk soak instead of imbibing syrup in my niece’s birthday cake in the first place.
If you’re not familiar with Momofuku, some context: Momofuku restaurants are a pretty big deal. The original Momofuku restaurant in New York City, Momofuku Noodle Bar, was opened in 2004 by chef David Chang. Business was great so he went ahead and opened a bunch of other high end Momofuku restaurants. In 2008, the first Momofuku Milk Bar (the bakery) was opened under the direction of pastry chef Christina Tosi, who also came up with the Birthday Cake.
Today, the Momofuku cakes are famous because they are supposed to be ridiculously good (“this is the best cake you’ll ever have”, that sort of thing), AND because they’re supposed to be “difficult” to make because there are so many different steps and elements.
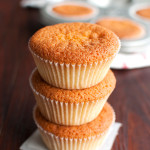
 And yes, making this cake was a project. The cake is comprised of four different elements: the cake layers, the frosting, the soak, and the crumbs. And yes, there are indeed a lot of steps, if you combine those four different recipes and the assembly of the cake. But those four recipes considered individually? Not difficult at ALL!
Besides, don’t most cakes (good cakes, at least) require you to prepare different cake building elements, like cake layers, frosting, and maybe a soak, syrup, or topping? This cake is no different. And certainly not difficult!
To make things even easier and more straightforward, I decided to give each of the recipes for the different Birthday Cake elements a separate post. Just so I can include every tip, trick, and comment I might have on the recipes. And all right, to bulk up my Building Block section a little, of course. Because these are recipes I’d like to use in other cakes, too 😉
At any rate, this is the Momofuku Birthday Cake made easy!
 And bigger, too!
The original Momofuku Birthday cake recipe makes a 15-cm/6-inch cake. Which is ridiculously small for a birthday cake because it serves, what? 6 people? Maybe 8?
Since there were a lot of people coming to my birthday party, I had to make a bigger cake. Sure, I also made ANOTHER cake (Chocolate Espresso Cake. Totally delicious!), but c’mon! Bigger cakes are better. Especially on birthdays. So I used my super handy Round Cake Pan Conversion Formula to adjust the original recipe that makes a 15-cm/6-inch cake to make a 18-cm/7-inch cake.
The conversion formula gives you a factor by which you need to multiply the ingredients the original recipe calls for to calculate how much of each ingredient you’re going to need for a bigger cake.
 Usually, that’s it. You calculate how much of each ingredient you’ll need for a bigger (or smaller!) cake, and get to baking. And usually, you calculate the factor based on the pan size the original recipe calls for. Not so with the Momofuku. For the Momofuku cake, I used the size of the finished cake to calculate the factor, because the cake layers itself are actually baked in a sheet pan.
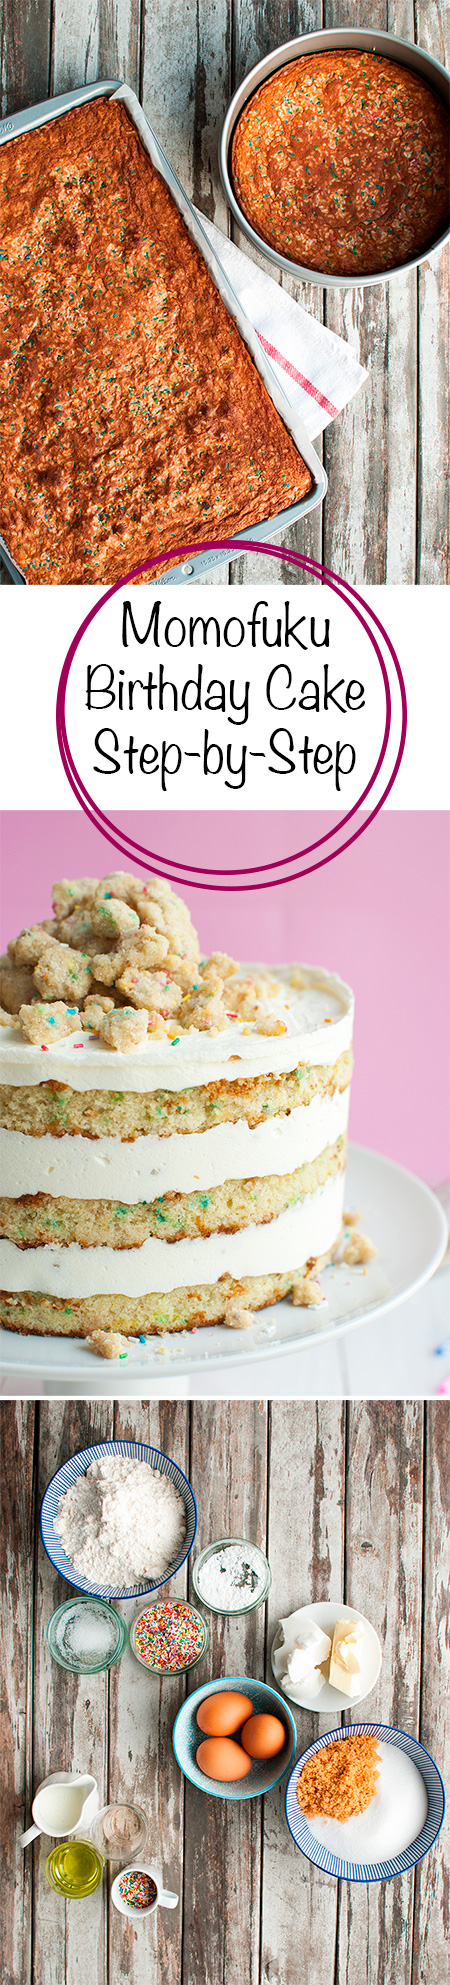
The original recipe uses a 25×38-cm (10×15-inch) sheet pan. Two round cake layers are then stamped out of the big sheet cake using a 15-cm/6-inch cake ring, after which the leftover cake scraps are pressed together into a final cake layer. It’s actually not as messy at I may make it sound. Here’s a video if you’re interested.
But since the Momofuku cake layers are baked in a sheet pan, and I didn’t know the size of the sheet pan I’d need to make a 18-cm/7-inch cake, I couldn’t use the sheet pan to calculate the factor.
Still with me? Finished cake size = used to calculate the factor by which to multiply all ingredients.
 I could have used that same factor to calculate what size sheet pan I’d need to make a sheet cake big enough to stamp out two perfect 18-cm/7-inch cake rounds and have enough scraps to make a third layer, but at that point I decided to do things a little differently. See, I don’t have a sheet pan big enough to make three 18-cm/7-inch cake rounds. And I didn’t want to have to buy one especially for this recipe.
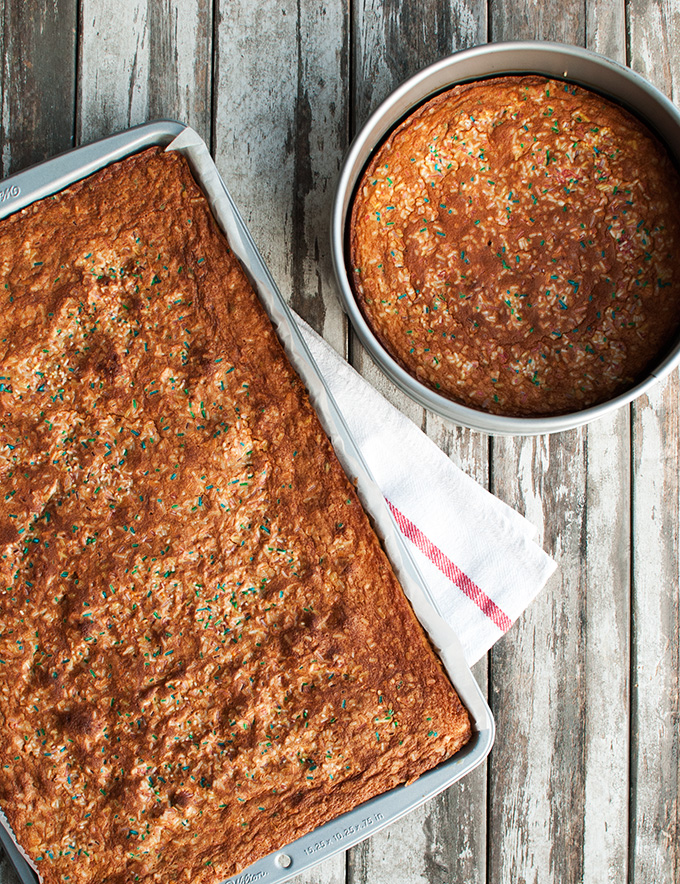
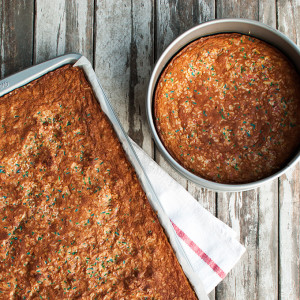
So my recipe, which makes a way bigger cake, nonetheless uses a pan that’s only a little bigger than the original Momofuku recipe, a 26×38-cm/15.25×10.25-inch pan. A pan I already had from a Wilton Bake ‘n Coat set I bought a couple of years ago. And since I knew it wouldn’t make enough cake to make three 18-cm/7-inch cake layers, I simply made another cake in a round 20-cm/7.8-inch cake pan, which I trimmed to make the final 18-cm/7-inch cake round.
Because the sheet pan was a little bigger, though, I used my Rectangular Cake Pan Conversion Formula to adjust the Momofuku recipe to fit my pan. See, the size of the cake pans is really important. If the pans are too big, the cake layers won’t be thick enough. And if the cake pans are too small, odds are the pans will overflow during baking, and you’ll end up with a messy oven.
 If you have a sheet pan that’s not quite 25×38-cm (10×15-inch), I strongly encourage you to use the conversion formula too! It’s definitely worth the extra trouble, in my opinion. I’d probably have gotten away with using the original Momofuku recipe for my sheet pan, as it was only a little bigger than the pan the Momofuku original calls for, but I would have ended up with slightly thinner layers. And hey, this is a NAKED cake. It looks prettier when all the cake layers are of the same thickness!
So no huge sheet pan. Just a sheet pan I already had combined with a round cake pan I already had. As a result, my recipe uses three perfectly round cake layers. And I had some leftover cake scraps, because I didn’t need to press those together to make another cake layer.
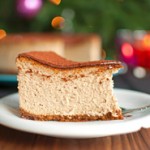
The cake scraps didn’t go to waste, by the way. I used them to make super cute Mini Momofuku Birthday Cakes, but you can also just eat them. They’re really good 😉
Note: the recipe I’ve included for the sheet pan below fits a 25×38-cm (10×15-inch) pan, so it’s the original Momofuku recipe. It’s easier to adjust to a bigger/smaller sheet pan than the recipe I used for my slightly smaller sheet pan.
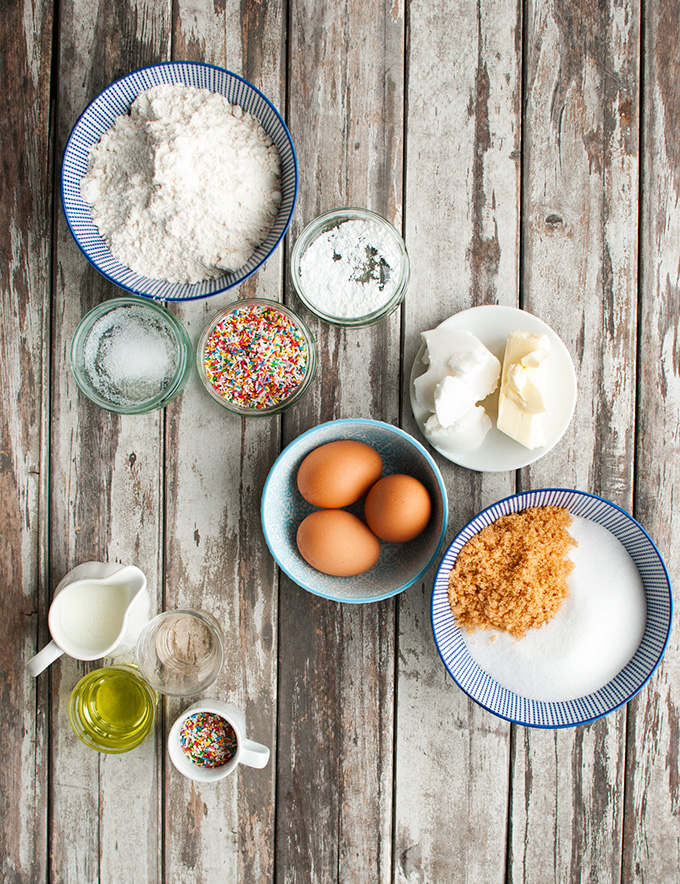
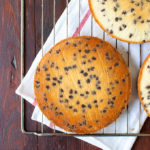
So, on with the ingredients. This recipe calls for some weird ingredients you probably don’t have in your pantry. Like, grapeseed oil. Cake flour. Fake vanilla extract. And in my case: shortening.
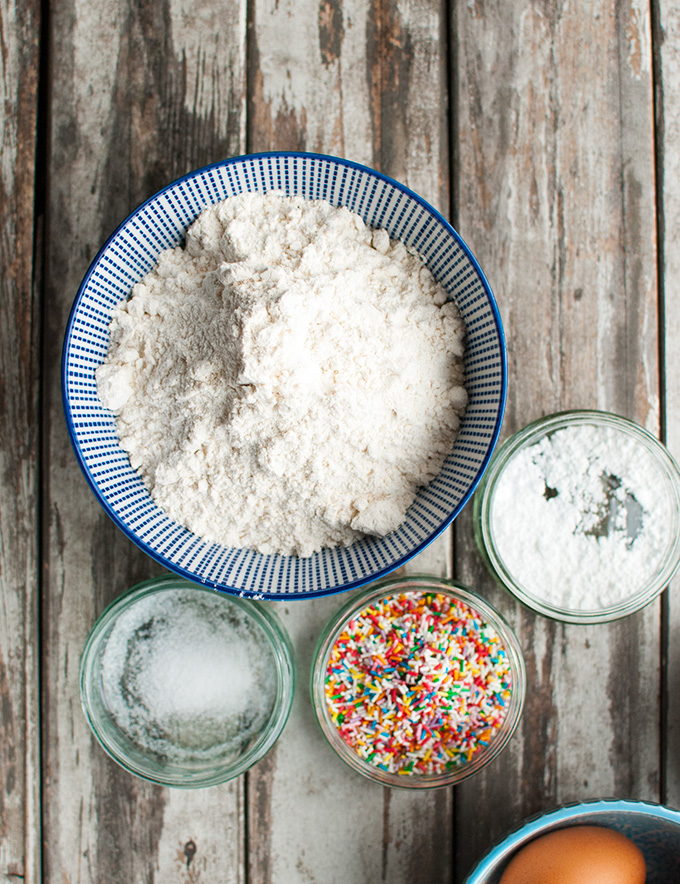
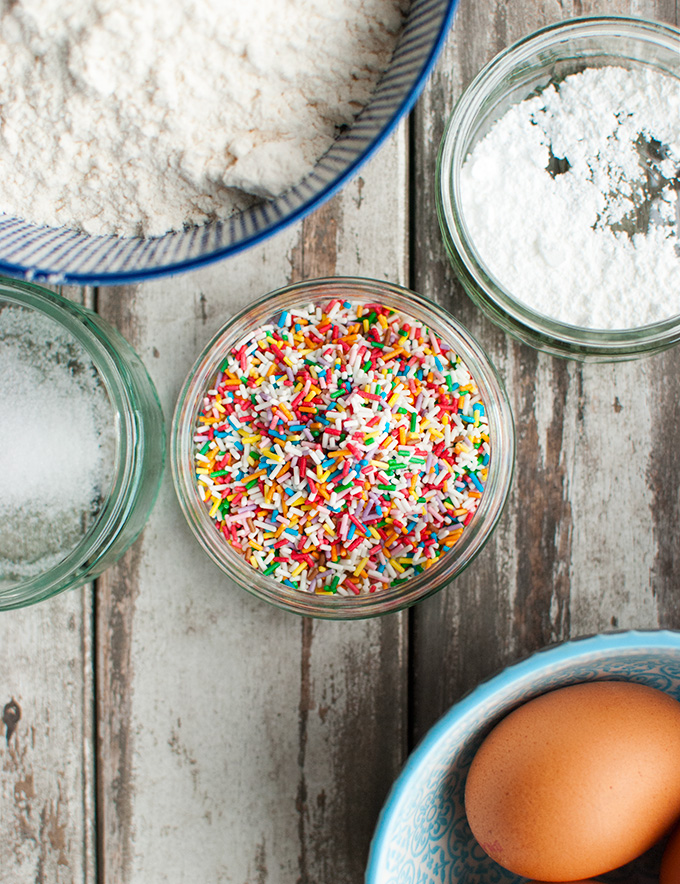
Oh, and sprinkles of course. You need rainbow sprinkles to turn the cake into a funfetti cake. Not only are they folded into the batter, they’re also sprinkled over the batter in the pan right before it goes into the oven.
I’m not sure the sprinkles I used were the best choice for this cake, btw. But more on that in a minute…
 Making this cake was not difficult. Easy, even!
Step 1: beat butter and shortening together with granulated sugar and light brown sugar, and mix in some eggs. Pretty straightforward.
Step 2: drizzle in a mixture of buttermilk, grapeseed oil and fake vanilla extract. Mix again.
Step 3: mix in cake flour, baking powder, and salt. Fold in a fair amount of sprinkles. Don’t fold too much or the sprinkles will bleed into the batter. Pour the batter into the pan and sprinkle with more sprinkles.
That’s it. Time to bake!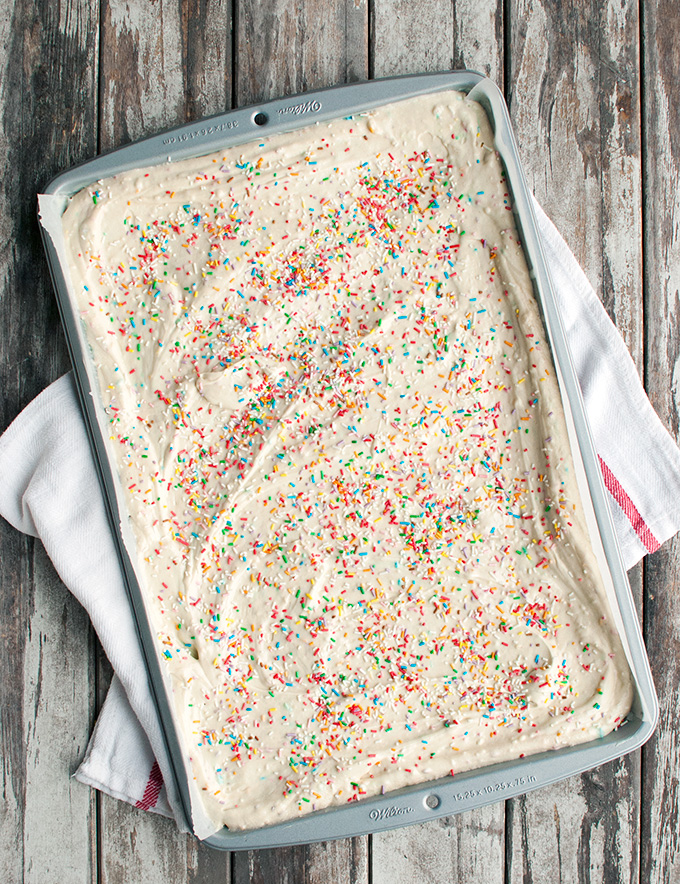 Which brings me to the sprinkles again. See those pretty red, orange and pink sprinkles on the batter in the photo up there? They’re THERE, right?
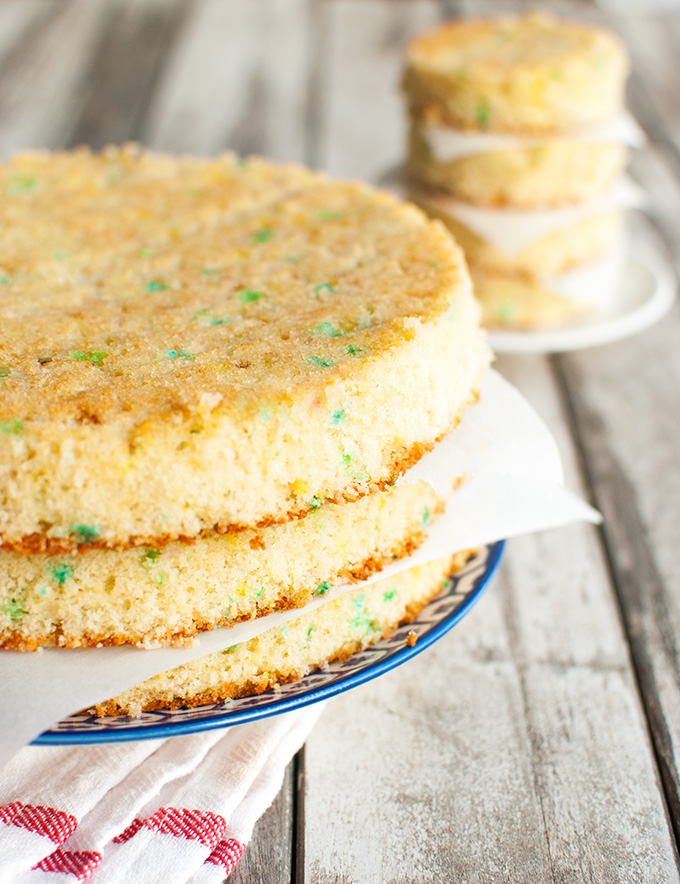
Now look at the photo below, of the finished cake layers. Where did all the red and pink sprinkles go? I put them on the cake, but they’ve just melted into nothingness or something. They’ve completely disappeared. It’s so weird!
So don’t use FunCakes sugar strands. It’s the sprinkles I used.
 I made two batches of batter, by the way. Because I used two pans and I couldn’t fit both into my oven at the same time. It was a good thing, too. Had I made one big batch of batter and divided it over the pans, the sprinkles in the batter for the second cake would have bled into the batter by the time the first cake would have been done and the second cake could go into the oven.
I also made the cake layers a day before I made the vanilla milk soak and the frosting and assembled the cake. After baking, I allowed the cake layers to cool, wrapped them in plastic wrap and stored them in the fridge.
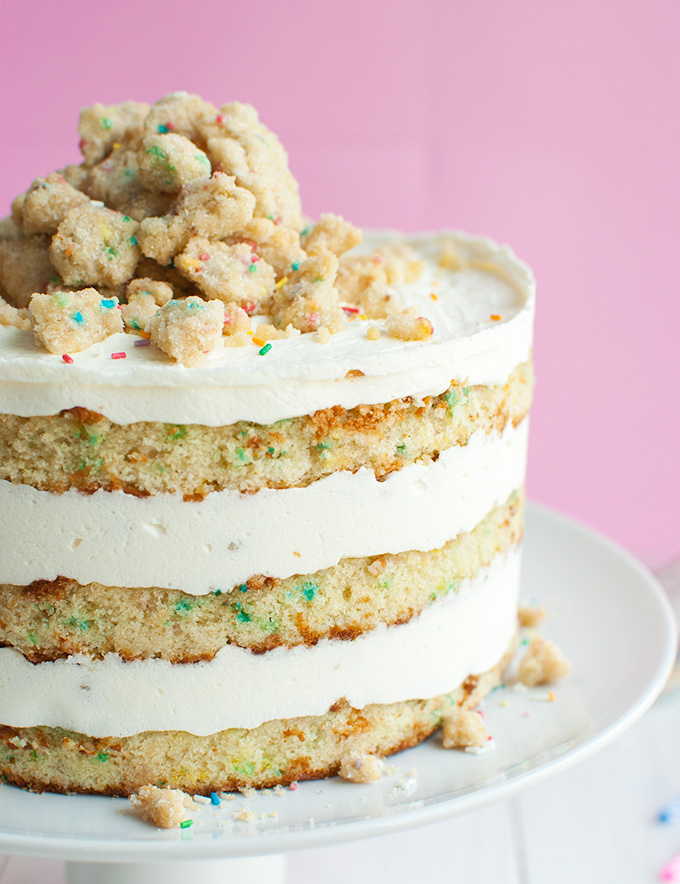
Yes, this is the cake. Worth all the trouble, right? 😉
But man, this has turned into a massive post!
Key points:
- Pan size is super important.
- Use the rectangular cake pan conversion formula or the round cake pan conversion formula to adjust the recipe to fit your pan if your pans aren’t the same size as the pans called for in the recipe.
- Don’t use FunCakes sugar strands.
That’s it! If you like this post, click here to subscribe to my mailing list and receive my mini eCookbook for FREE, or scroll down for a nice pin 🙂
Back soon with the recipe for those delicious Momofuku crumbs you see up there on top of the cake!
- 245g (or 2 cups – 2 teaspoons) cake flour
- 6g (or 1½ teaspoons) baking powder
- 3g (or ½ teaspoon) table salt
- 50g (or ¼ cup) rainbow sprinkles
- 55g (or 3 tablespoons + 2¾ teaspoons) unsalted butter, softened at room temperature
- 60g (or ⅓ cup) vegetable shortening
- 250g (or 1¼ cup) granulated sugar
- 50g (or 3 tablespoons + 2 teaspoons, packed) light brown sugar
- 3 large eggs (or 168g)
- 110g (or ½ cup – 2 teaspoons) buttermilk
- 65g (or ⅓ cup) grapeseed oil
- 8g (or 2 teaspoons) clear vanilla extract
- 25g (or 2 tablespoons) rainbow sprinkles for sprinkling
- 78g (or ½ cup + 2 tablespoons) cake flour
- 1.9g (or ½ teaspoon) baking powder
- 1g (or a big pinch) table salt
- 16g (or 4 teaspoons) rainbow sprinkles)
- 18g (about 4 teaspoons) unsalted butter, softened at room temperature
- 19g (or 5 teaspoons) vegetable shortening
- 80g (or ⅓ cup + 1 tablespoon) granulated sugar
- 16g (or 1 tablespoon + ½ teaspoon) light brown sugar, packed
- 53g whole egg (almost 1 large egg)
- 35g (or 2 tablespoons + 1 teaspoon) buttermilk
- 21g (or 5 teaspoons) grapeseed oil
- 2.5g (or ½ teaspoon) clear vanilla extract
- 8g (or 2 teaspoons) rainbow sprinkles
- Preheat oven to 175°C/350°F (standard oven setting). Butter a 25x38-cm (10x15-inch) rectangular sheet pan and line the bottom and long sides with baking parchment. Set aside.
- In a medium-sized bowl, whisk together flour, baking powder, salt and sprinkles for the batter.
- In the bowl of a stand mixer fitted with the paddle attachment, combine butter, shortening, granulated sugar and light brown sugar. Mix on high speed for 2-3 minutes.
- Crack the eggs in a bowl and scramble with a fork to break the yolks and mix it with the white. Add the egg in four additions, beating well after each addition.
- Combine buttermilk, oil, and vanilla in a large glass. Turn mixer to low and stream in the buttermilk mixture. Increase mixer to high and beat for 4-6 minutes until mixture is light and fluffy. Scrape the bowl with a rubber spatula every now and then.
- Add the flour mixture and fold it into the batter with a rubber spatula until mostly incorporated. Mix on low for 10-20 seconds.
- Pour batter into the prepared pan, spreading it in an even layer with the back of a spoon. Sprinkle with the sprinkles reserved for sprinkling.
- Bake on a rack in the middle of the oven for 23-28 minutes, or until a tester inserted into the center of the cake comes out clean. Remove from oven and allow to cool completely before turning out.
- Preheat oven to 175°C/350°F (standard oven setting). Butter a 20-cm (8-inch) round cake pan and line the bottom baking parchment. Set aside.
- Make the batter according to the instructions for the rectangular sheet pan, but use a handheld mixer instead of a stand mixer.
- Bake on a rack in the middle of the oven for 18-20 minutes, or until a tester inserted into the center of the cake comes out clean. Remove from oven and allow to cool completely before turning out.
- Using the collar of a 18-cm/7-inch springform pan, cut two rounds out of the sheet cake using a pairing knife, and another one out of the round cake. Use the cake scraps from the rectangular cake to make mini Momofuku Birthday Cakes!
- You can make the cakes a few days ahead. Wrap the cool cakes tightly in plastic wrap and store in the fridge for up to five days.


Great tutorial Nila! I agree that Christina Tosi’s recipes are lots of steps, but really not that difficult and the payoff is usually worth it. I have never tried clear vanilla extract, but now I’m very curious to try it to see why she likes it so much.
Yeah I was intrigued about it, too! I really does have a different flavor, of course. I think real vanilla extract is actually a bit more subtle. The fake stuff makes the cake kind of taste like store bought vanilla things to me, like store bought vanilla cake, custard, ice cream… you name it. But in a good way 😉