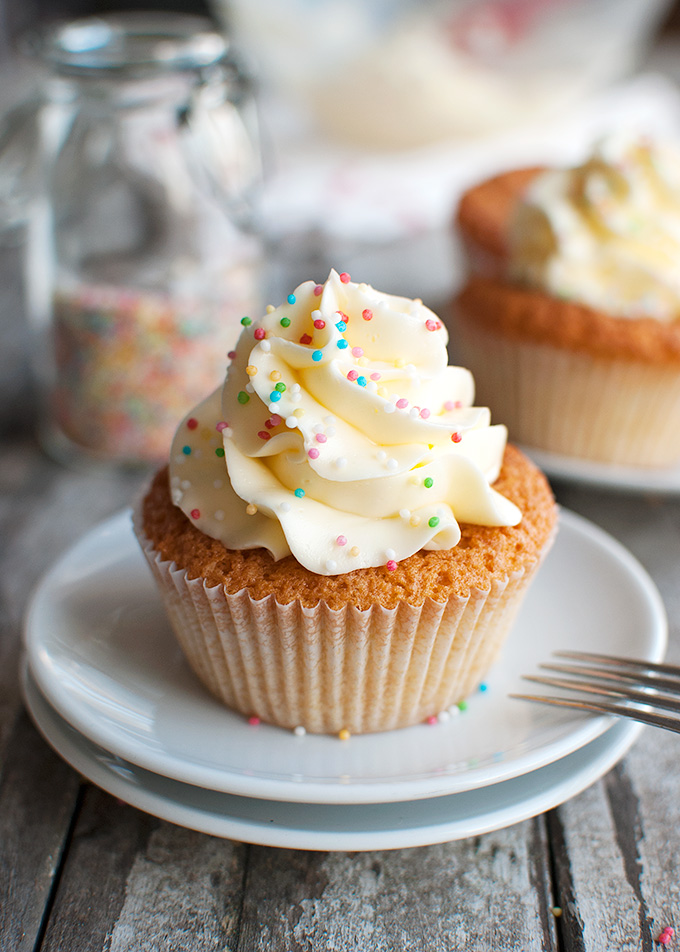
 Hey guys, my baby turned! He or she managed to go from frank breech to an incomplete breech all by himself, and today the Rocking Rebel and I went to the hospital where two very nice doctors helped our baby to turn head down. As it turned out, our baby only needed a tiny little nudge in the right direction. I’m so happy and proud! I still can’t believe I’m going to be a mom in just a couple of weeks 🙂
But anyway, buttercream. Let’s focus on that now that I’ve shared my good news with the world.
This is the eleventh post in my ‘Battle of the Buttercreams 2.0’ series. I’ve already explained all about how to make the fluffiest American buttercream, flour buttercream (aka: ermine buttercream), French buttercream, and German buttercream. And I’ve shared some awesome flavor variations, of course. Have you all had a chance to read my last post on caramel buttercream? That stuff is dangerous…
Anyway, this post is all about Italian buttercream, which is made by beating softened butter into an Italian meringue. In other words, if you want to make Italian buttercream, you first need to whip up Italian meringue.
By the way, back in 2013, this buttercream wasn’t very popular among my taste testers. Most thought it tasted a bit too buttery… As I pretty much agreed with that, I have since rewritten my recipe, and this new and improved recipe now contains only half (!) the amount of butter as my 2013 recipe. As a result, this buttercream recipe is a lot softer, lighter and fluffier!
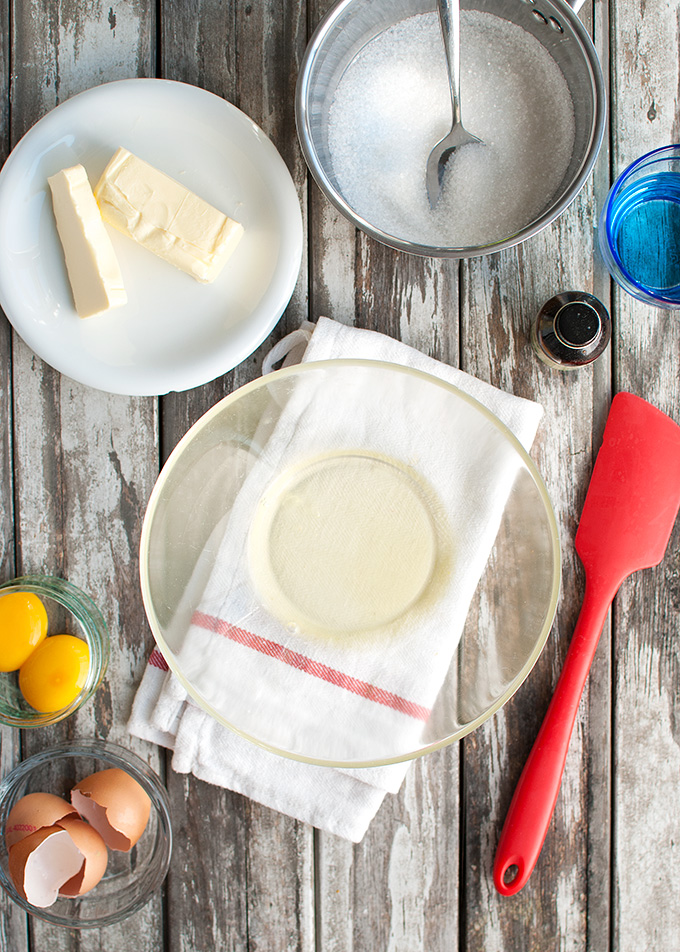 So, what do you need to make this delicious buttercream? Well, everything you need to make Italian meringue. AND butter.
As with all the other buttercreams I’ve discussed in this series, I use unsalted butter, but you can also use salted if it’s all you happen to have on hand. What’s more, you want said butter – whatever kind you’re using – to be nice and soft. Take the butter out of the fridge 30-45 minutes before you want to use it, cube it, and allow it to come to room temperature (18-20°C/65-68°F).
For the Italian meringue, you need egg whites, a splash of water, and granulated sugar. Oh, and as I’m making vanilla Italian buttercream in this post, this recipe also calls for a drop or two of pure vanilla extract.
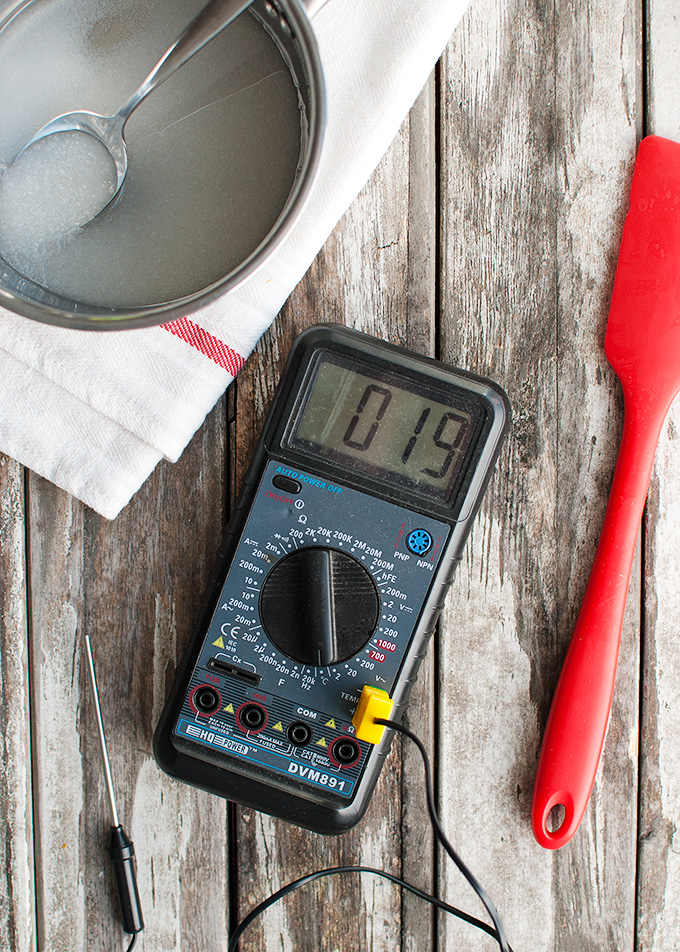 Another thing you cannot go without, is a sugar or candy thermometer, or a multimeter, like the one pictured above.
As I explain in my post on Italian meringue, this particular type of meringue is a cooked meringue, which is made by pouring hot sugar syrup into beaten egg whites. That’s where the sugar thermometer (or multimeter!) comes in: you need to cook the sugar syrup to a very specific temperature, namely 113°C/235°F.
You see, when you cook sugar, the water inside the sugar evaporates (not just the water you added to the saucepan). This means that the sugar concentration increases and as a result the chemical properties of the sugar change. The hotter the sugar gets – and the higher the sugar concentration – the harder it will be once it has cooled down to room temperature. There are different temperature stages you can bring the sugar up to, and 113°C/235°F (or the soft-ball stage) is one of them.
But let’s not get too technical. All you need to know when you want to make Italian meringue is that you a) really need a sugar thermometer, and b) you need to cook the sugar syrup until it reaches a temperature of 113°C/235°F.
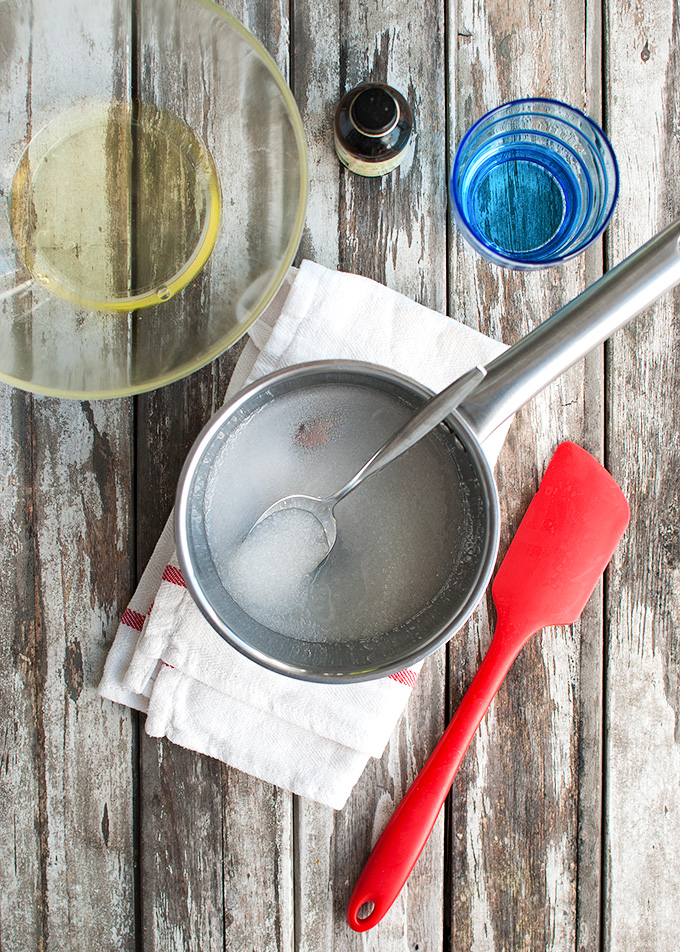 Once you’ve got yourself a sugar thermometer (be sure to check the toolbox for a multimeter before you buy one!), whipping up an Italian meringue is easy.
You start by simply combining sugar and water in a small saucepan. Heat over low heat while you stir the mixture with a metal spoon until the sugar has dissolved. Then turn the heat up to medium-high and allow the syrup to come to a boil.
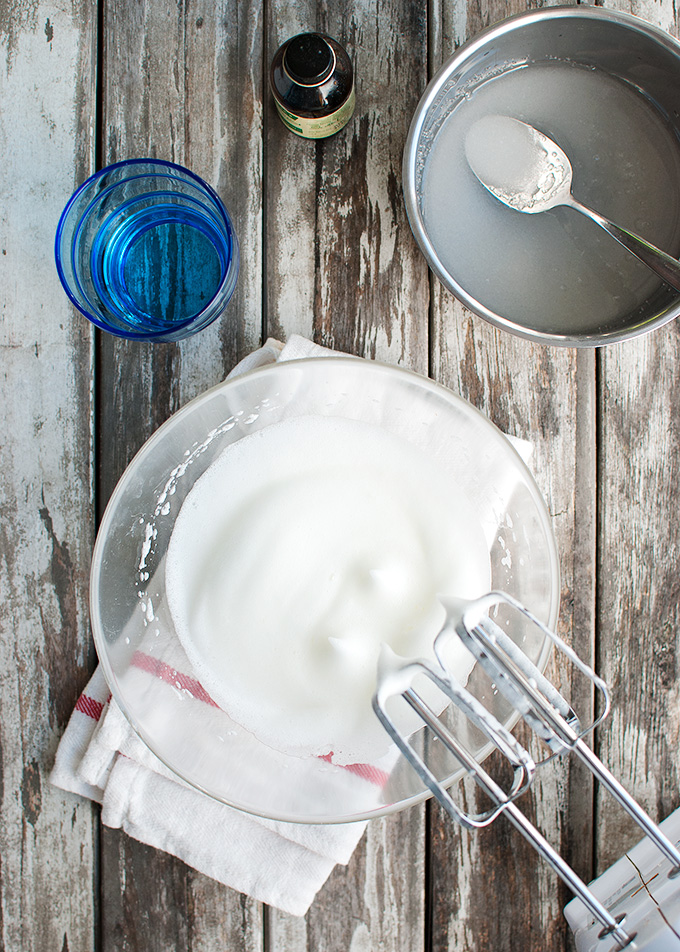 While the syrup is bubbling away (keep an eye on the temperature) beat the egg whites in a heatproof bowl until foamy and almost able to hold a soft peak.
Once the sugar syrup reaches the desired temperature, carefully drizzle the hot syrup into the egg whites, mixing continuously. Make sure not to pour the syrup directly onto the whisk attachment of your mixer, or the syrup could splatter against the sides of the bowl or into your face, which wouldn’t be very pleasant…
So please be careful!
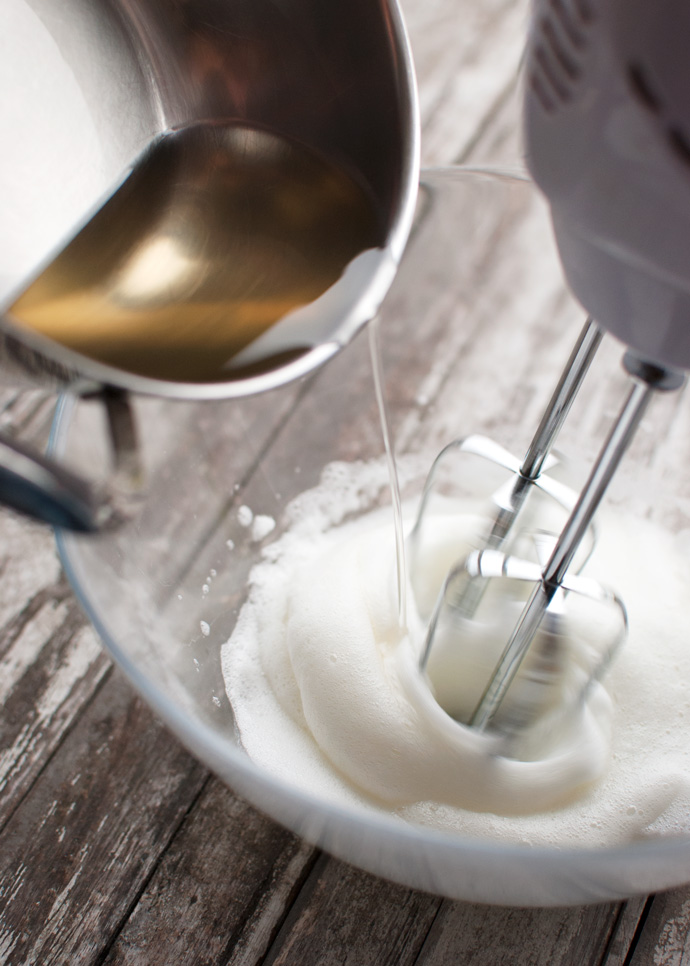 Once all the syrup has been added, keep mixing until the meringue has cooled to room temperature, the bottom of the bowl feels cool to the touch, and the meringue looks gorgeously glossy and thick.
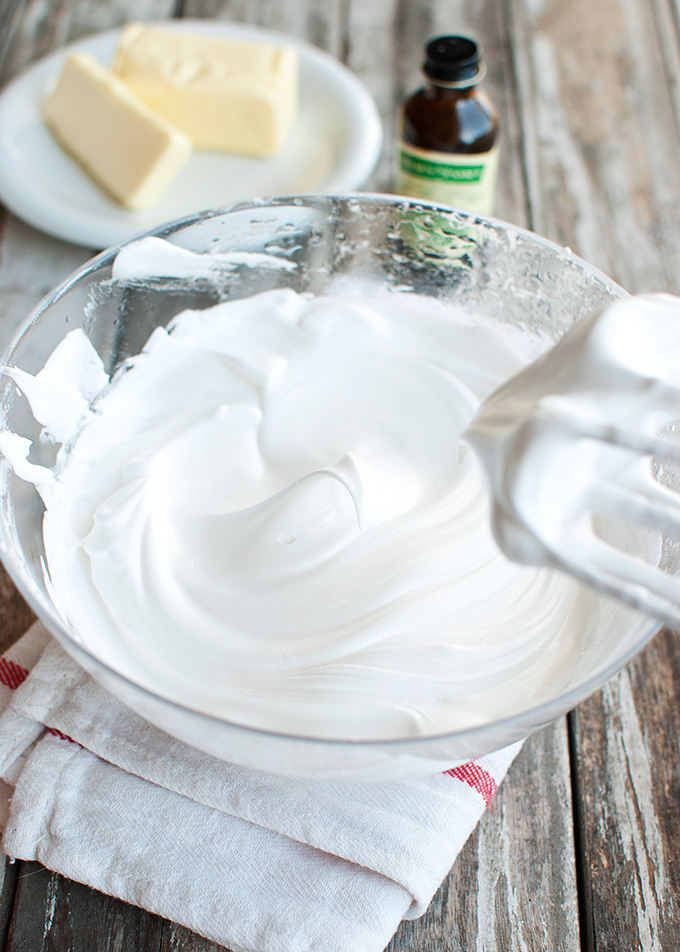 Once the meringue has cooled to room temperature, you can start adding the butter.
As you know, there are two ways of incorporating the butter into a buttercream base: the beaten butter method, and the cubed butter method. For this buttercream, I’ve tried both methods, and although both work, I feel like the cubed butter method results in a creamier, fluffier and smoother buttercream. It’s a close call though, and since both methods work, I’d say go with the one you like best.
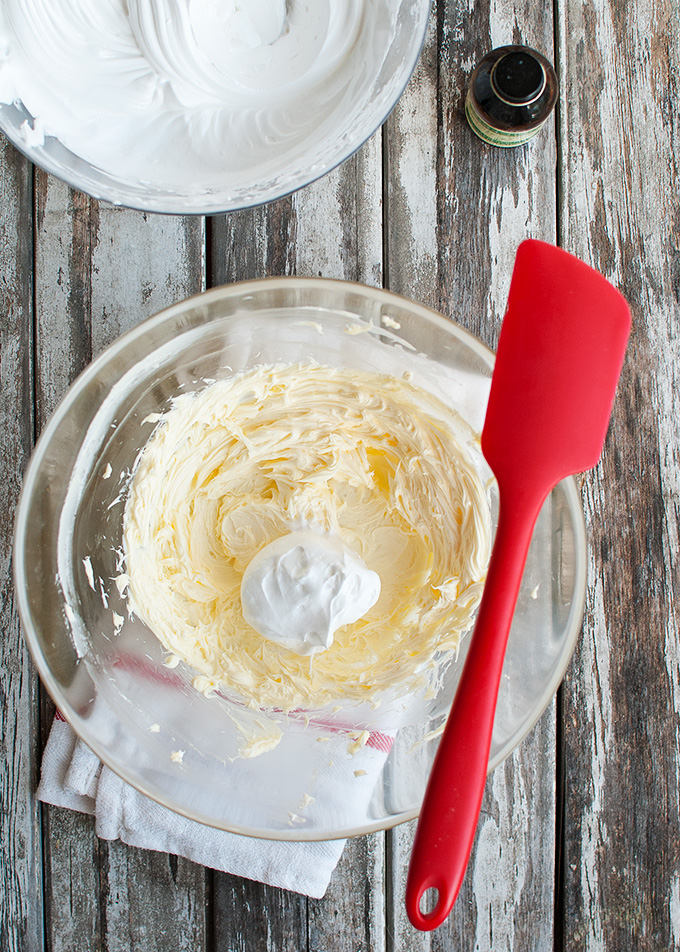 Just be aware of the fact that, if you decide to use the cubed butter method, the buttercream may at some point look like it’s separating. Don’t panic when that happens. Just keep mixing and mixing and the buttercream will come together again. Just a little tip…
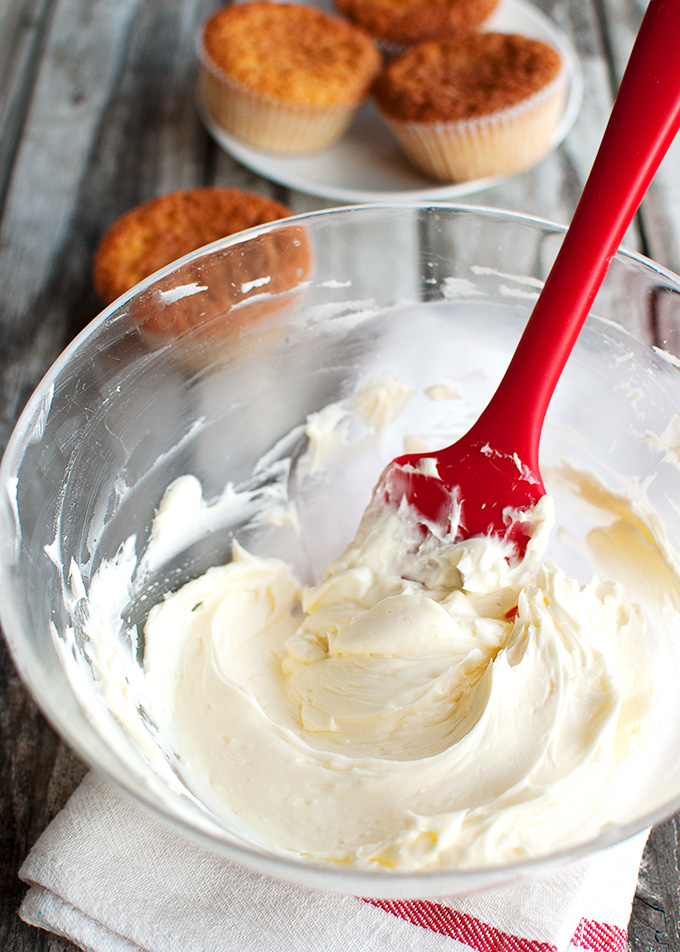 Now then, let’s look at some of this buttercream’s main characteristics:
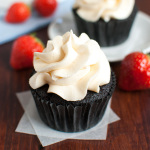
Color: lighter than most buttercreams. This buttercream looks white against a dark chocolate cake.
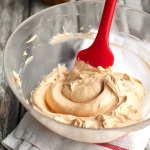
Texture: smooth, creamy and velvety. It’s a bit denser than some other buttercreams, like flour buttercream.
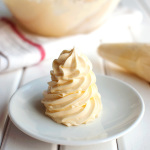
Piping: pipes beautifully.
Level of difficulty: this is one of the more difficult buttercreams to master, because you need to cook the sugar syrup to exactly the right temperature. Also, the sugar syrup is hot! So please be careful! On the other hand, if you’ve made caramel before, this recipe shouldn’t be too hard for you.
Fat content*: 26.6%
Sugar content*: 35%
Does it form a crust: no.
* based on nutritional information
And while I hate to bring up the health-factor on a blog about desserts and cakes, I feel like some of you may like to know that this is the healthiest type of buttercream so far! Up until now, flour buttercream was the healthiest option. But not only does Italian buttercream have less calories, it also contains a lot less sugar and only 0.6% more fat!
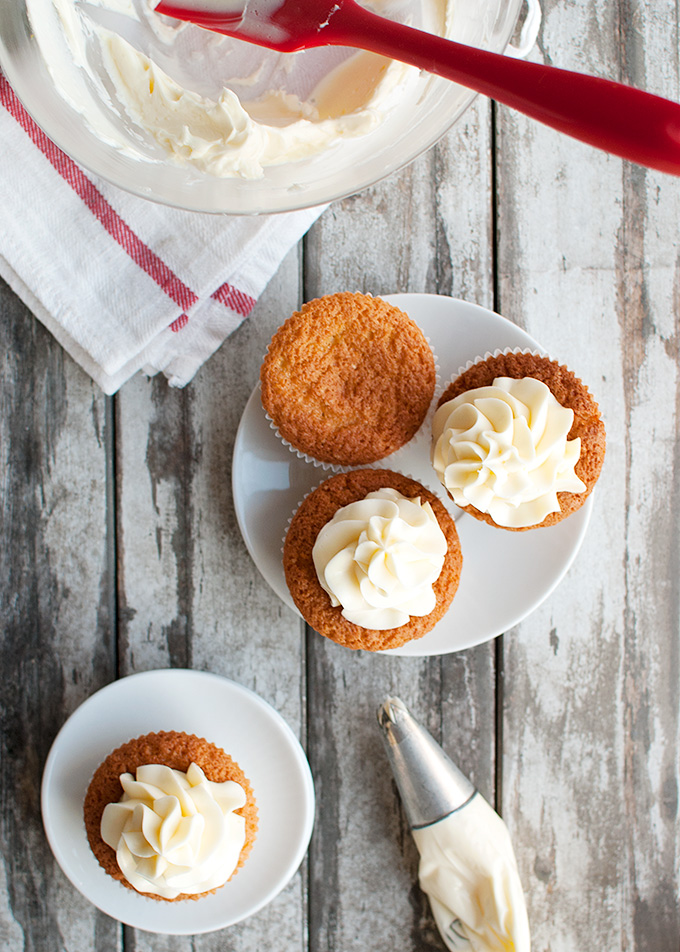 More importantly, it’s equally delicious!
So… how does the Italian buttercream compare to the buttercreams I’ve already posted about? Texture-wise, Italian buttercream is a bit denser and creamier than American and flour buttercream, and it’s a bit firmer than French and German buttercream, which makes it perfect for piping intricate designs and little details.
Flavor-wise, you can compare this buttercream to flour buttercream: it isn’t as sweet as American buttercream, and it’s not as heavy as French buttercream, which is made with egg yolks. It also isn’t as buttery as German buttercream. All in all, it has a pleasantly light taste, which makes it the perfect buttercream to pair with fruity flavors, such as orange, raspberry and lemon. However, I recently discovered that it also goes really well with stronger flavors, particularly pumpkin. But more on that later… 😉
Another thing to keep in mind is that this buttercream holds up pretty well in warmer temperatures. So if you’re planning a summer party outside, this buttercream is a great choice!
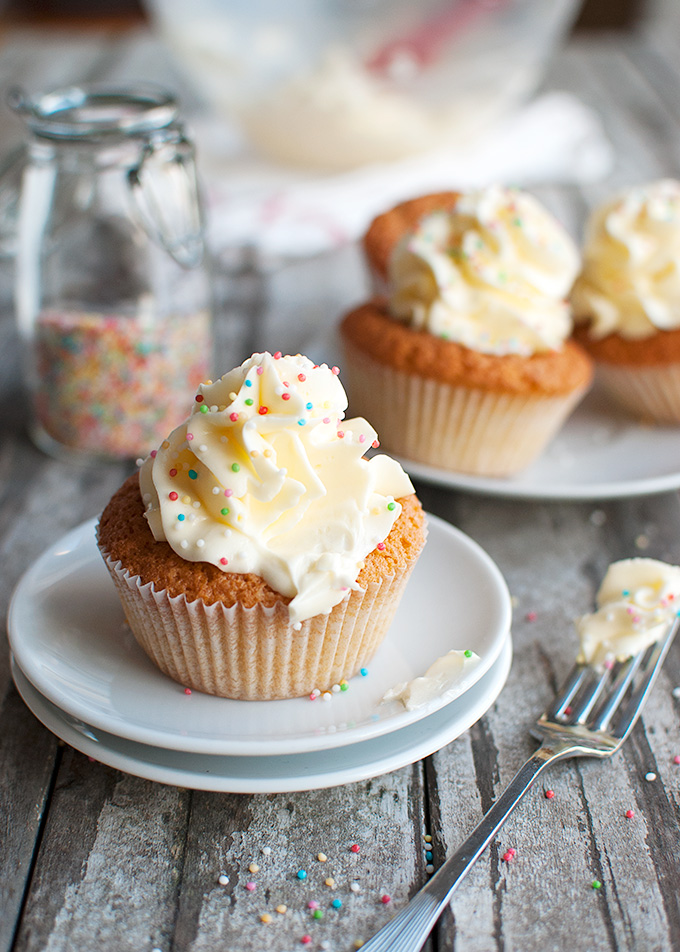 Just be aware that this buttercream contains raw eggs. Yes, hot sugar syrup is poured onto the egg whites, but I personally doubt this actually pasteurizes the eggs.
If the fact that this delicious buttercream contains raw eggs bothers you, but you love the sound of a creamy, denser buttercream with a subtle sweetness and a soft texture, Swiss buttercream may be just what you’re looking for!
I expect to post about it in a few weeks 😉
Click here to sign up to my mailing list.
Click here to follow me on Instagram.
- 120g (or ½ cup + 5 teaspoons) granulated sugar
- 3 tablespoons water
- 2 large egg whites (about 65g or ¼ cup)
- 113g (or ½ cup) unsalted butter, cubed and softened at room temperature
- ½ teaspoon vanilla extract
- Combine sugar and water in a medium-sized saucepan. Heat over low heat, stirring with a metal spoon until the sugar has dissolved and the syrup is clear. Crank up the heat to medium-high and allow syrup to come to a boil.
- In the meantime, place egg whites in a medium-sized, heatproof bowl and mix (with a mixer fitted with the whisk attachment) until the whites are almost able to hold soft peaks.
- Once the sugar syrup has come to a boil, clip on a candy (or sugar) thermometer or insert the probe of a multimeter. Cook until the syrup reaches a temperature of 113°C/235°F, then immediately remove from the heat and slowly drizzle the hot syrup into the bowl with the egg whites, mixing continuously to prevent the eggs from scrambling. Don't pour the syrup onto the whisk, or the syrup may splatter against the sides of the bowl (or into your face!). Instead, aim for a spot close to the whisk.
- Once all the syrup has been added, keep mixing until the bottom of the bowl feels cool to the touch and the meringue has cooled down to at least body temperature.
- Once the meringue feels cool, there are two ways of turning it into buttercream. You can use the beaten butter method or the cubed butter method.
- Start adding the butter to the meringue one cube at a time, mixing well after each addition. As you're adding the butter, the mixture will lose most of its volume and at some point may even start to look as if it's separating. Don't panic! Just keep mixing and the buttercream will magically come together and become smooth and creamy. Once the buttercream has come together, mix in the vanilla.
- Use immediately or store in an airtight container or a zipper bag in the fridge for up to two weeks or in the freezer for up to two months. To use buttercream that has either been refrigerated or frozen, first allow to come to room temperature then beat with the mixer until smooth and spreadable again. Cakes or cupcakes decorated with buttercream generally keep 3-5 days, stored in an airtight container in the fridge. Allow cakes and cupcakes decorated with buttercream to come to room temperature before serving, because this improves the texture of the buttercream. For a big cake, this may take up to 4 hours.





I can’t believe you’re going to be a mum either! Zo spannend!!
Heel veel succes en plezier en geluk gewenst!
Oh en je foto’s zijn gorgeous en ik wil altijd lekkere dingen eten door je posts.
xx Roos
Hi Roos, thanks! Echt super spannend inderdaad 😀
Hi Nila, I really love how you experimented with each buttercream to get the best formula while maintaining its unique differences! Can you advice which buttercream is the best if i want to do the following variation:
Green tea, coffee, mango, cookies & cream?
And how do I mix them in the cream? I’m quite wary it’ll become runny…
And since I live in Indonesia, which is very warm, it’ll be great to have one with staying power.
Thanks a lot for your sharing! 🙂
Hi Maria, sorry for the late response, your comment got a little lost 🙁
I’m so glad you like the buttercream series! For lighter flavors, such as the mango, I’d go with the flour, Swiss or Italian buttercream. For the cookies ‘n cream, green tea, and coffee versions, the flour buttercream would also be a great choice! Each of these buttercreams hold up pretty well in warmer temperatures. You can add mango puree or extract and the cookie crumbs straight to the finished buttercream. Coffee and green tea should be added to the milk for the pudding. Happy baking 🙂
Help! The meringue collapsed while beating at medium speed to bring it to room temperature. It was lovely fluffy until about 8 minutes of beating (I wasn’t watching it closely, as it seemed akin to watching paint dry) and then it was sticky glop. Can I just let it rest next time until cooled?
It’s not really a problem if the meringue collapses. You can still use it to make buttercream. Just use the beaten butter method and beat spoonfuls of the collapsed meringue into beaten butter to make buttercream 😉