What’s better than the Momofuku Birthday Cake? These ridiculously cute MINI Momofuku Birthday Cakes! Funfetti cake layers, cream cheese frosting and birthday crumbs… It’s all there, just a bit smaller ????
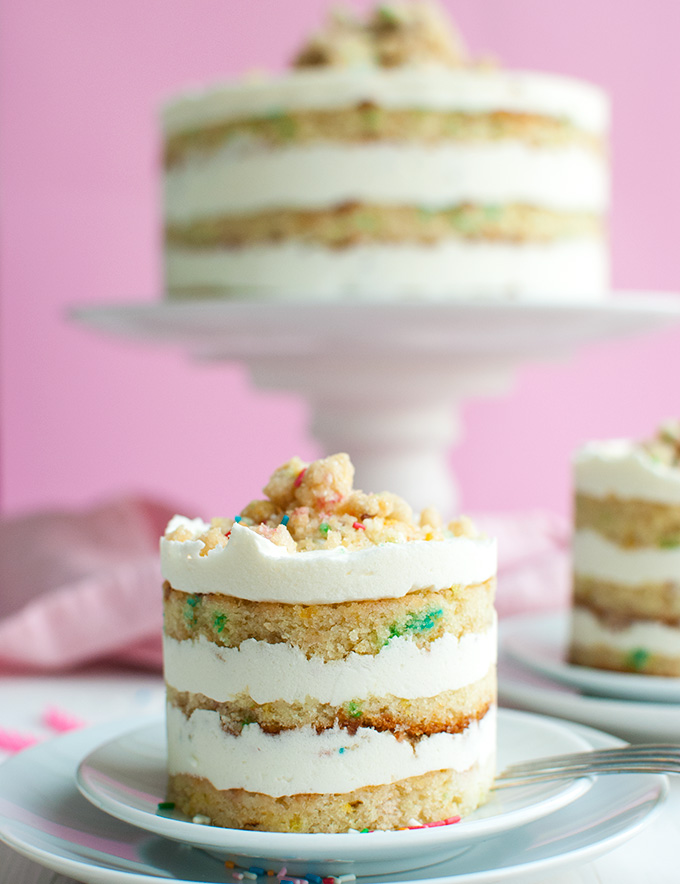
Yes! Mini cakes. Mini MOMOFUKU cakes. Aren’t they cute? Pretty? Special? Not your typical cake, right? No, not something you’d easily forget, right?
WRONG! (← haha ????)
Confession: I almost forgot to post about these little babies. How is that even possible? I made these in FEBRUARY, when I made the big Momofuku Birthday Cake for my birthday. That’s four months ago! I even included a photo of these pretty minis in my post about the Momofuku cake. And I was secretly way more impressed with these minis than I was with the original Momofuku, because these are way, way, WAY cuter. Yet I didn’t remember to post about them until NOW?
How?!
All I can say is that I think I should get professional help to declutter my messy mind so there’s more room for these perfect little cakes. They’re worth it.
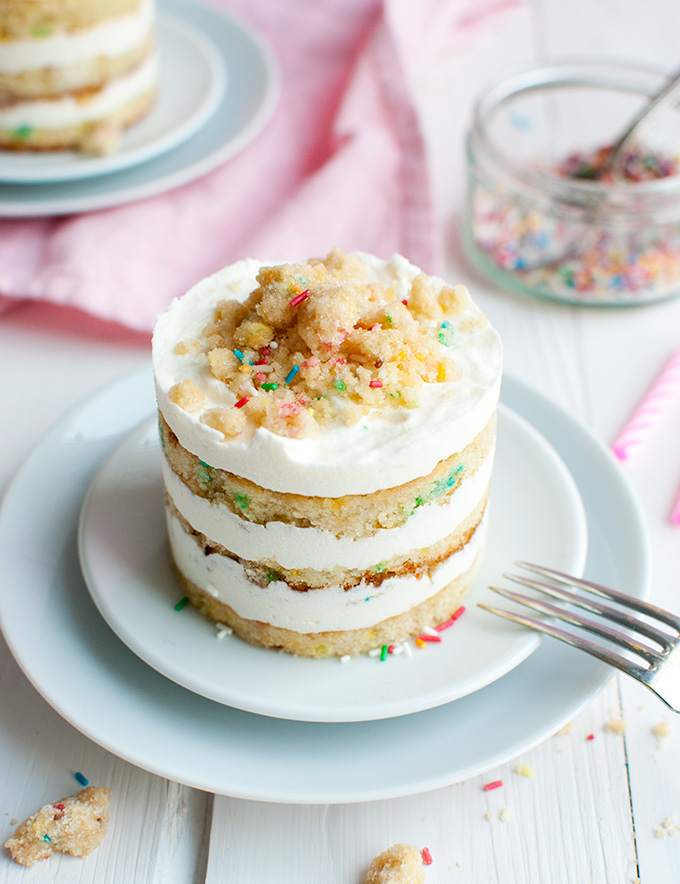
So how did I make these cute mini cakes?
Long story. When I made my 18-cm/7-inch Momofuku Birthday Cake, I adjusted the original recipe by Christina Tosi smaller cake recipe to make a larger cake.
For the Momofuku Birthday Cake (and all her other cakes, I think) Tosi bakes a sheet cake and then uses a cake ring to stamp two cake rounds out of it. She uses these perfect cake rounds for her second and third cake layers. She then presses the remaining cake scraps together to create the bottom cake layer, which means no leftover scraps. Here’s a video of her demonstrating this technique.
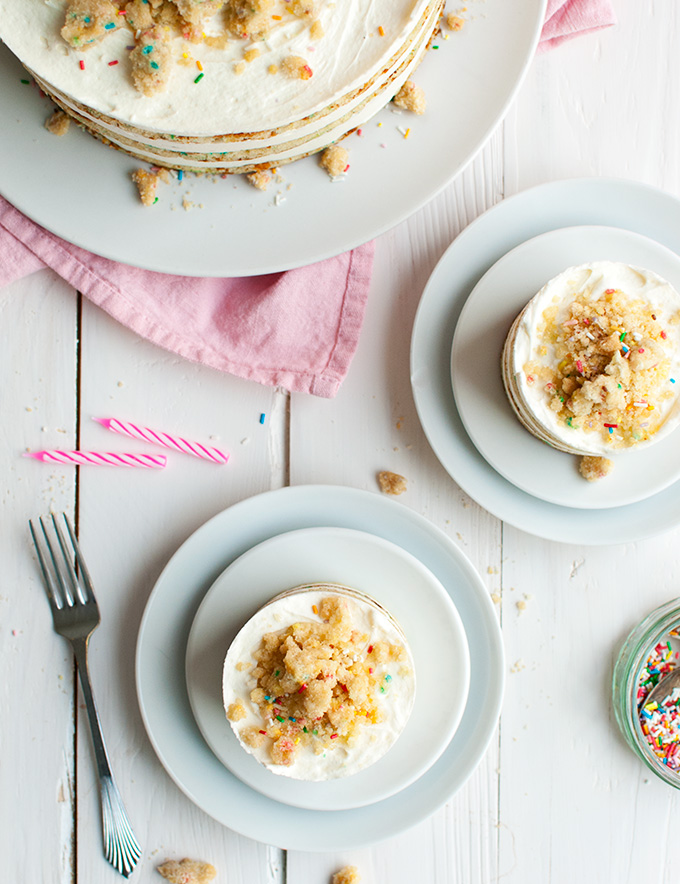
When I made MY (bigger) Momofuku Birthday Cake, I didn’t want to invest in a larger sheet pan big enough for two perfect cake rounds and enough cake scraps to make a third layer, so I just baked the sheet cake Tosi’s recipe calls for and an EXTRA 20-cm/8-inch round cake. I used this extra round cake to stamp out one perfect cake round, and stamped the other two out of the sheet cake. And the bigger Momofuku Birthday Cake was a fact.
But. This meant that, as opposed to Tosi, I DID end up with some leftover cake scraps.
And sure, I could have just eaten those scraps. But right before I stuffed my face with them I found a 7,5-cm/3-inch cake ring in my kitchen drawer, so OF COURSE I decided to turn the scraps into super cute Mini Momofuku Birthday Cakes instead!
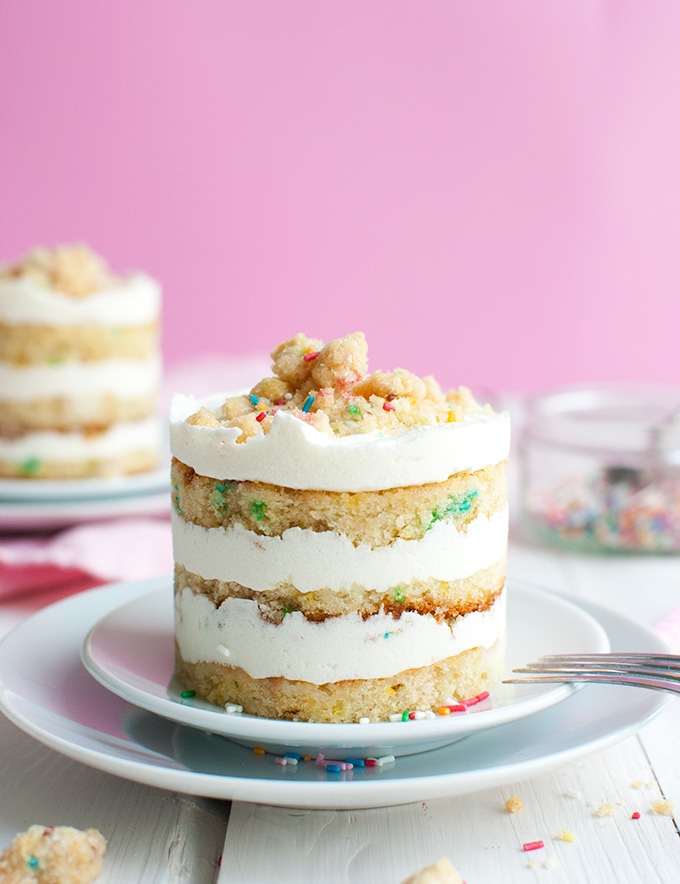 If you make my recipe for Momofuku Birthday Cake, you’ll have enough cake scraps for 4 of these mini cakes. Just whip up some more frosting, milk soak, and birthday crumbs using the recipe below, and you have everything you need to make yourself next week’s dessert.
Because yes, you can totally keep these mini cakes in the freezer for a week or two!
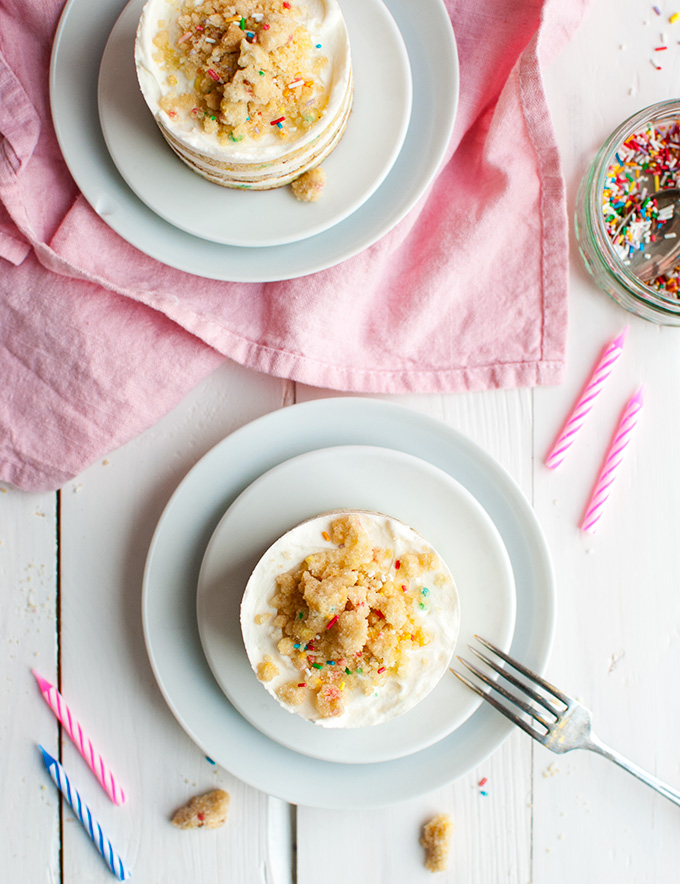
Or, if you don’t want to make the big cake at all, you can make JUST these. See, I liked the minis so much that I adjusted the original Momofuku Birthday cake recipe to give them their very own recipe!
Just bake a funfetti cake layer in a 25×25-cm/10×10-inch brownie pan, stamp out 9 cake rounds using a 8-cm/3-inch cookie cutter or cake ring, and split each round into two thinner layers. This gives you 18 cake rounds, enough for 6 minis!
Truth be told, I think I’d sooner make these minis again than the big cake. They’re so fun 😉
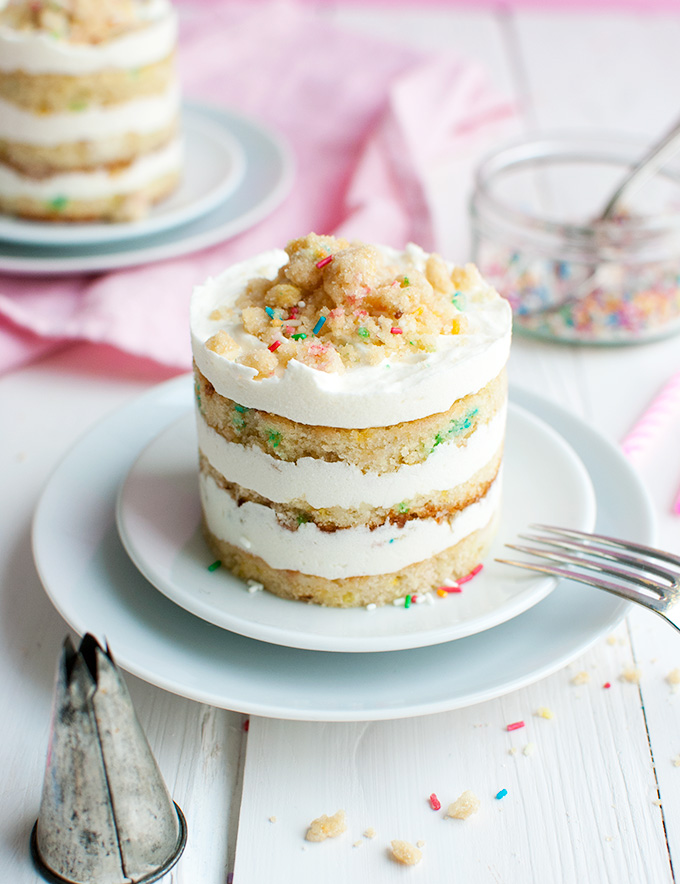
Fun and CUTE! Just look at the size of that mini cake up there next to that piping tip and try telling me that isn’t the most adorable little cake you’ve ever seen!
…
That’s right. It’s just impossible.
But that’s enough cake for today. Don’t forget to subscribe to my mailing list to get my super awesome mini eCookbook, and scroll down for a nice pin.
Happy baking!
- 165g (1¼ cup + 1 tablespoon) all-purpose flour
- 4g (or 2¼ teaspoon) baking powder
- 2g (or ¼ teaspoon) salt
- 35g (or 2 tablespoons + 2½ teaspoon) rainbow sprinkles
- 36g (or 2 tablespoons + 1½ teaspoons) unsalted butter, softened at room temperature
- 40g (or 3 tablespoons + 1 teaspoon) vegetable shortening
- 165g (or ¾ cup + 4 teaspoons) granulated sugar
- 33g (or 2 tablespoons + 1 teaspoon, pakced) light brown sugar
- 2 large eggs (or 112g)
- 43 (or 3 tablespoons + 1½ teaspoons) grapeseed oil
- 5g (or 1 teaspoon) vanilla extract
- 16g (or 4 teaspoons) rainbow sprinkles
- 52g (or ¼ cup + ½ teaspoon)granulated sugar
- 12g (or 2½ teaspoons, packed) light brown sugar
- 46g (or ⅓ cup + 2 teaspoons) all-purpose flour
- ⅛ teaspoon + a pinch baking powder
- a pinch of table salt
- 5 teaspoons rainbow sprinkles
- 2 tablespoons grapeseed oil
- 1½ teaspoons clear vanilla extract
- 100g (or ½ cup – 1 tablespoon) unsalted butter, softened at room temperature
- 42g (or 3 tablespoons + 2 teaspoons) vegetable shortening
- 46g (or 1.6 oz) cream cheese, softened at room temperature
- 21g (or 2½ teaspoons) glucose
- 15g (or 2¼ teaspoons) corn syrup*
- 2 teaspoons clear vanilla extract
- 170g (or 1⅓ cup + 1 teaspoon) powdered sugar
- ¼ teaspoon table salt
- 90g (or ⅓ cup + 2 teaspoons) whole milk
- 1 teaspoon clear vanilla extract
- Preheat oven to 175°C/350°F (standard oven setting). Butter a 25x25-cm (10x10-inch) brownie pan and line the bottom and two of the sides with baking parchment so you can lift the cake out of the pan later. Set aside.
- In a medium-sized bowl, whisk together flour, baking powder, salt and sprinkles for the batter.
- In the bowl of a stand mixer fitted with the paddle attachment, combine butter, shortening, granulated sugar and light brown sugar. Mix on high speed for 2-3 minutes.
- Crack the eggs in a bowl and scramble with a fork to break the yolks and mix it with the white. Add the egg in four additions, beating well after each addition.
- Combine buttermilk, oil, and vanilla in a large glass. Turn mixer to low and stream in the buttermilk mixture. Increase mixer to high and beat for 4-6 minutes until mixture is light and fluffy. Scrape the bowl with a rubber spatula every now and then.
- Add the flour mixture and fold it into the batter with a rubber spatula until mostly incorporated. Mix on low for 10-20 seconds.
- Pour batter into the prepared pan, spreading it in an even layer with the back of a spoon. Sprinkle with the sprinkles reserved for sprinkling.
- Bake on a rack in the middle of the oven for 18-25 minutes, or until a tester inserted into the center of the cake comes out clean.
- Remove from oven and allow to cool completely before turning out.
- Cooled cake can be stored in the fridge for up to five days, wrapped tightly in plastic wrap.
- Preheat oven to 150°C/300°F (standard oven setting) and line a cookie sheet with baking parchment. Set aside.
- Combine granulated sugar, light brown sugar, flour, baking powder, salt, and sprinkles in a medium bowl. Add oil and vanilla, and using your hands, mix until no dry spots remain and large clumps form when mixture is pressed together. Break the dough up into clusters (small clusters for small cakes!) and spread onto prepared baking sheet.
- Bake in the middle of the oven, stirring occasionally with a wooden spoon, until the crumble is light golden brown and crunchy, 10–12 minutes (it will firm up as it cools).
- Remove from the oven and let cool completely.
- Crumbs can be stored in an airtight container at room temperature for five days.
- Combine butter, shortening, and cream cheese in the bowl of a stand mixer fitted with the paddle attachment and mix on high speed for 2-3 minutes, or until light and fluffy. Scrape the sides of the bowl with a rubber spatula if necessary.
- Add the glucose, corn syrup, and vanilla and mix again on high speed for 2-3 minutes, or until the frosting looks glossy white.
- Add powdered sugar, salt, baking powder, and lemon juice and, using your spatula, mix until just combined. Mix on high speed for 4-6 minutes, until the frosting is beautifully white and fluffy.
- Frosting keeps, stored in an airtight container in the fridge, up to 1 week.
- Combine milk and vanilla in a small pouring jug and stir to combine.
- Invert cake onto clean board/counter and peel off baking parchment. Using a 7,5-cm/3-inch round cookie cutter, stamp 9 little rounds out of the sheet cake. Eat the scraps!
- Get yourself a big serving platter or cookie sheet for your six mini cakes and check whether it fits in your freezer. Line the inside of six 7,5-cm/3-inch round cookie cutters or cake rings with acetate. Using a serrated knife, cut each cake round carefully in half so that you'll have two thinner cake layers (18 cake layers in total).
- Assemble the cakes by placing a cake layer in each of the small cake rings, pressing these first layers down to the serving plate. Drizzle each cake layer with 1½ teaspoons of the vanilla milk soak. Frost each mini with 4-5 teaspoons of frosting. Then sprinkle each mini with some of the crumbs (about one third of the total crumbs for six mini's).
- Place a second cake round in each mini cake ring, pressing it down onto the layer of frosting and crumbs underneath. Drizzle each layer with another 1½ teaspoons of the soak, frost with another 4-5 teaspoons of frosting, and sprinkle with more crumbs (about half the remaining crumbs for 6 mini's). Top each cake with a final cake round, frost with another 4-5 teaspoons of frosting, and sprinkle with the remaining crumbs.
- Transfer cakes to freezer and freeze at least 12 hours to set cake and filling. The cake will keep in the freezer for up to 2 weeks.
- At least 2 hours before serving, pull the minis out of freezer and remove the cake rings. If they don't come of right away, let them sit for a few minutes before trying again. Gently peel off acetate strips. Defrost the cakes in the fridge or on the counter for at least 2 hours. Serve cold or at room temperature.






You forgot to include the buttermilk in the ingredients. Calculated it from the original recipe to be 74 grams. Great photos.
Thanks for letting me know! I’ll update the recipe 😉
Hi, The momofuku cake looks gorgeous! By the way, your pictures are really cute, how on earth do you get them looking so amazing!
Thanks so much Emily! I worked really hard to improve my food photography skills over the years 😉