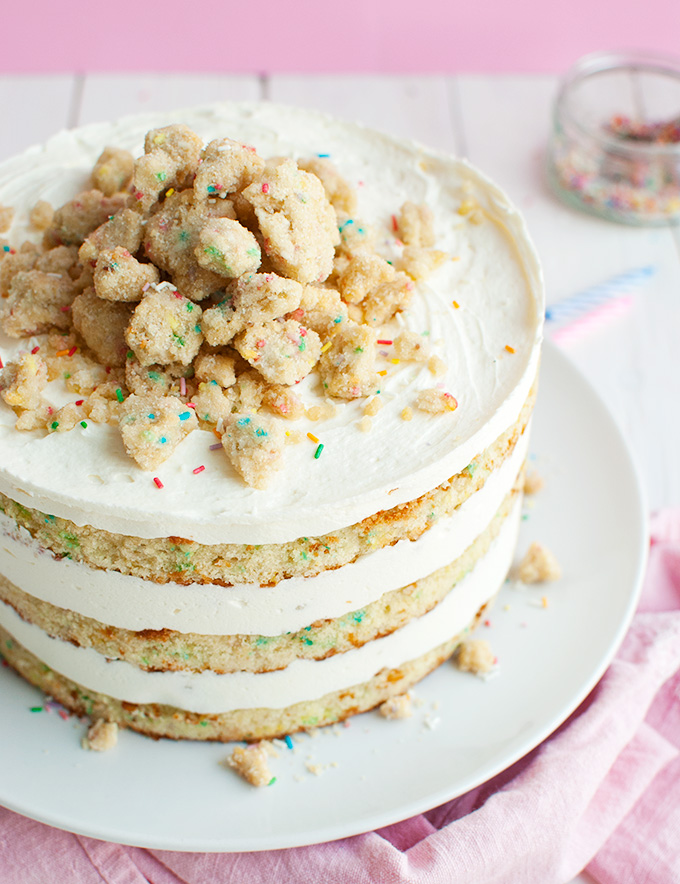
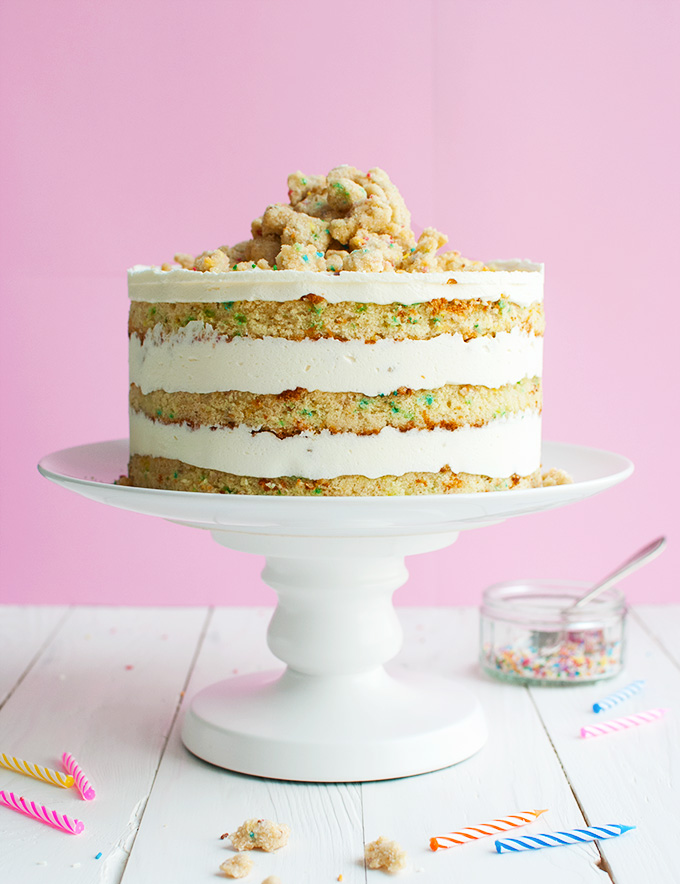
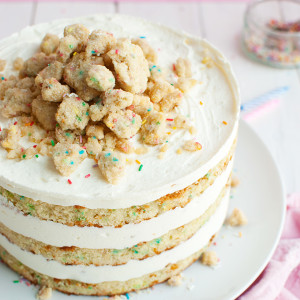
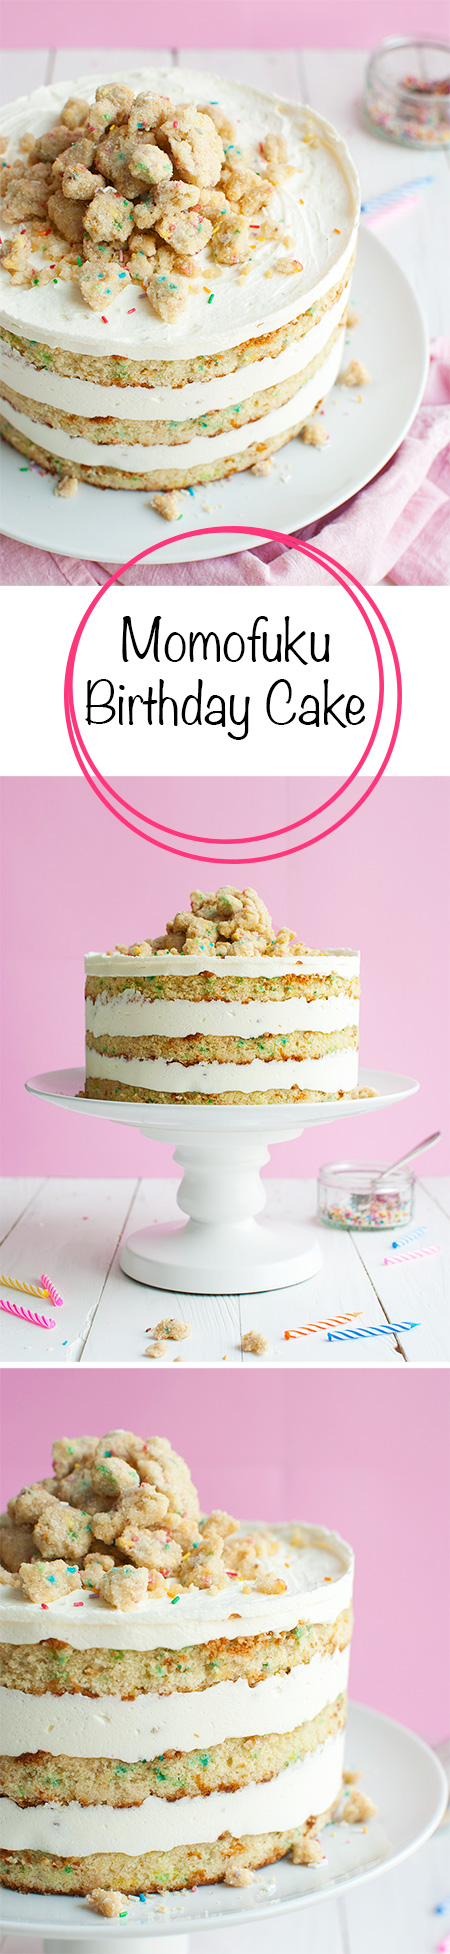
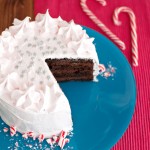
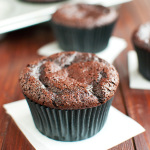
Yes, here it is. The Momofuku Birthday Cake in all its glory. It has sprinkles. It has crumbs. It’s super sweet and festive, and really no that difficult to make! Best thing? This recipe makes a massive 18-cm, or 7-inch, cake. Time to celebrate!
Yes. It’s time for the Momofuku Birthday Cake. Finally!
Why did it take me so long to post it?? Well, like I told you in my last post, Baby Boy got sick. And after that, it was of course my turn to get sick. Ugh, why does it have to work like that? That when kids get sick, their parents get sick a week or two later? I know about germs and contagious stuff and everything, but still! So. Not. Fun.
When Baby Boy was happily running around the house again, albeit a bit snotty, I came down with a mild case of sinusitis. Mild as in: no need for antibiotics. But man, the pain! There were times (read: last week) when I couldn’t even keep my eyes open, my head hurt so much. Luckily, I’m feeling much better again. My head still hurts from time to time, but it’s not the kind of pain that makes me want to just curl up in a ball on the couch anymore. I’m actually functioning again. And for the first time in two long weeks I’m not covered in snot! So yes, definitely time to celebrate!
Funfetti birthday cake, anyone?
So let’s see. The Momofuku Birthday Cake. It’s famous. It’s super sweet, over-the-top, and according to a lot of home bakers, quite intimidating.
But I only agree with the super sweet and over-the-top part. If you’ve read my last few posts, you already know that I had no problems making this cake. The fluffy, funfetti cake layers are easy to throw together. The milk soak is a breeze. The crumbs are easier than chocolate chip cookies. And the frosting is just a matter of mixing stuff together. No problems there.
But then, I did my research 😉
Apparently, the recipes you find online don’t make enough frosting to properly fill the cake, while other recipes don’t call for the right size cake pan. Things like that can drive any baker crazy! But with the help of some other amazing bloggers, who shared useful insights like this on their blog, I tweaked the recipe accordingly (made more frosting, adjusted pan size) and it was all smooth sailing from there!
 The cake may be considered somewhat of a project because there are four recipes involved, for the four different cake elements. But other than that, it’s an easy cake!
To make this cake even more achievable, even for newby home bakers, I did a post on every individual element, with lots of tips and tricks. Here they are:
So there’s no reason not to try this famous cake!
I won’t discuss how to make the different elements in this post. I’ll just say that they’re easy to make. Instead, let’s focus on the cake itself 🙂
 Something you might like to know: I adapted the original Momofuku Birthday Cake recipe to make it a bit bigger. The original only makes a 15-cm/6-inch cake, which won’t do for a birthday party in my opinion. So I adjusted the recipe using my super useful Round Cake Pan Conversion Formula to make an 18-cm/7-inch cake. Much better!
Another thing: this recipe calls for a number of ingredients you probably don’t have in your pantry right now, like grapeseed oil, clear vanilla extract, cake flour, and, in my case, vegetable shortening. You’ll also need acetate for assembling the cake. Some of this stuff is pretty expensive, but did you know that a 15-cm/6-inch Momofuku Birthday Cake costs $49?!
That’s not nearly how much I spent on ingredients. I think I spent about $20 to make this cake. Which is a lot for a homemade cake, I guess, but a lot less than you’d spent for it in the Milk Bar.
 So how do you assemble this thing?
You’ll need either a 18-cm/7-inch cake ring or the collar of a 18-cm/7-inch springform pan. I didn’t want to buy a cake ring especially for this recipe, so I just used the collar of a springform pan. Worked great!
With the cake ring/collar, you first cut three rounds of funfetti cake for the cake layers. In the original recipe, the cake layers are baked as one big sheet cake in a sheet pan. Because I wanted my cake to be bigger, and thus needed more cake than the original recipe makes, I made an extra round cake in a 20-cm round cake pan. This meant that I’d have enough cake to cut out 3 larger cake rounds, two from the sheet cake and one from the round cake.
For the details, check my post on the Birthday Cake cake layers.
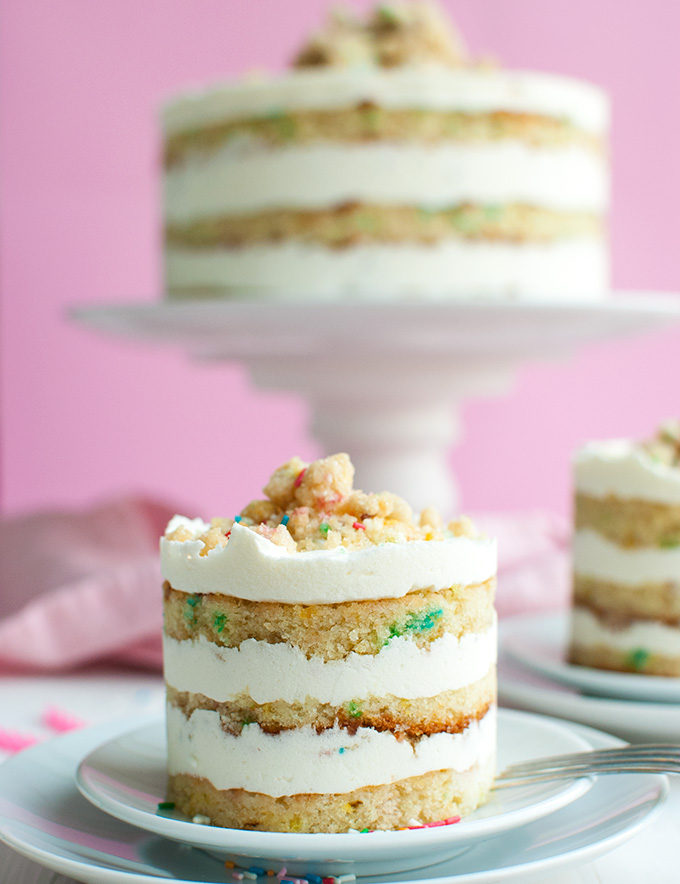
If you stick to my recipe, you’ll have some leftover cake scraps that are really delicious on their own, but you could also turn them into INSANELY cute Mini Momofuku Birthday Cakes, like the one in the photo below. Sooo pretty! ????
Anyway, once you’ve got your cake rounds, set the springform collar onto a nice serving plate (make sure it fits into your freezer, because this cake needs to set in the freezer!) and line the inside of the collar (or cake ring, if you have one) with acetate. That done, carefully place the first cake round into the acetate-lined springform collar, pressing it down onto the plate.
And here’s where things get really easy.
Drizzle half the vanilla milk soak over the cake round, plop on a third of the frosting, and scatter some of those delicious crumbs over the fluffy frosting. Use your fingers or the back of a spoon to push the crumbs into the frosting a bit. Top with the second cake round.
Because the acetate I bought came in strips of 8-cm (about 3 inches) wide, I had to line the inside of the springform collar with another strip of acetate at this point. If your acetate comes in thin strips, tuck the second strip between the springform collar and the first acetate strip so that the ring of acetate is high enough to support the height of the finished cake.
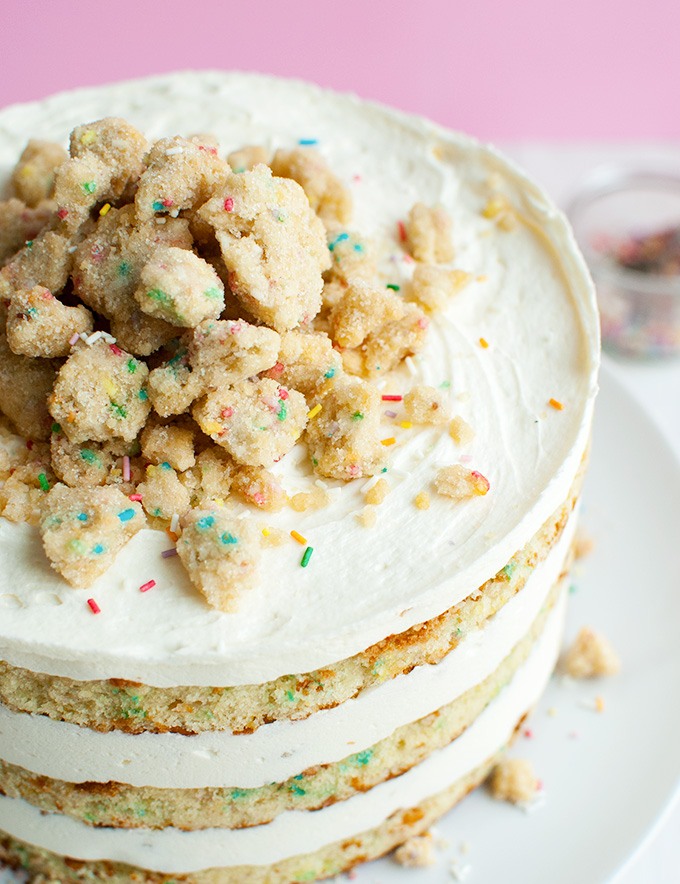
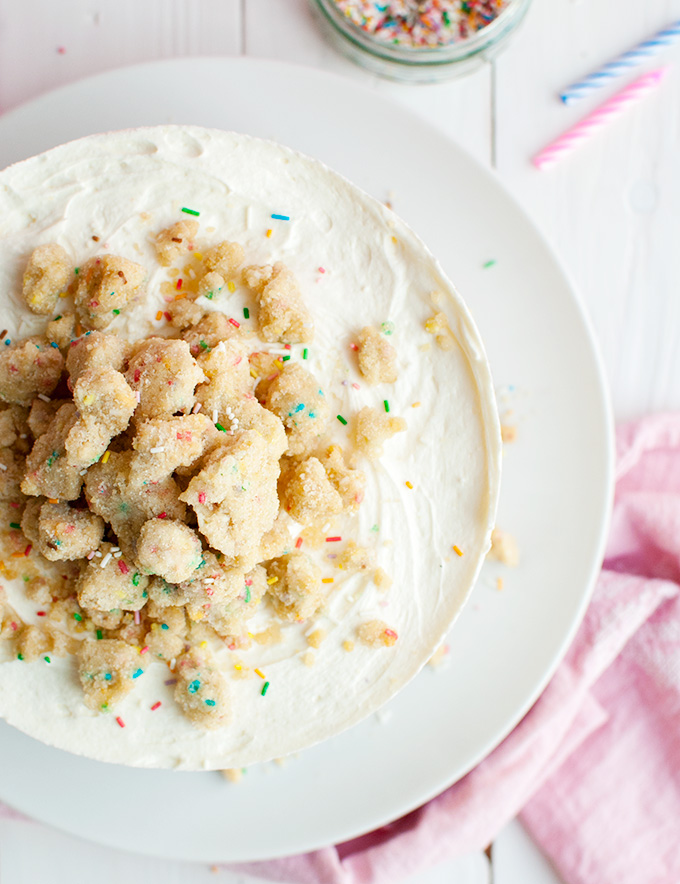
Then drizzle the remaining soak over the cake round, plop on another third of the frosting (so half of the remaining frosting), add some crumbs, and place the final cake round on top. Top with the remaining frosting, decorate with the remaining crumbs, sprinkle over some extra sprinkles, just because, then place it in the freezer overnight to allow the flavors to meld together and the cake to set somewhat.
The next day, just open the springform collar to remove it, peel off the acetate, and allow the cake to thaw in the fridge or at room temperature. I served the cake at room temperature, but the original recipe is a little vague on that. I guess that means it’s also good served cold?
Either way, not a difficult cake to make! Especially not if you stick to the following schedule:
Day 1: make the cake layers and crumbs
Day 2: make the frosting and the soak, and assemble the cake.
Then place the cake in the freezer overnight, or until the day before you need it. I actually made the cake a week before my birthday. It keeps really well in the freezer!
Pre-party day: take the cake out of the freezer before you go to bed and place it in the fridge to thaw overnight.
Party day: Take the cake out of the fridge to allow it to come to room temperature 3-5 hours before your guests arrive.
Tip: make this cake a week or two before your party to keep the pre-party stress to a minimum 😉
So, was it worth it? Is this cake as good as everyone says it is?
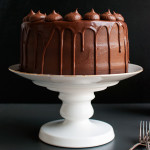
Well, it IS delicious. And my family absolutely loved it. But there was that OTHER cake I made for my birthday. A chocolate espresso cake. And being the cake lover that I am, I had a slice of each cake, and ate them side by side. And yes, I really loved the Momofuku cake. It’s super special and festive and sprinkly. BUT. My chocolate espresso cake is better.
There. Said it 😉
If you like this post, click here to subscribe to my mailing list (and receive my super cute mini eCookbook for FREE), please tell all of your friends about my blog, or scroll down to pin this recipe for later.
And stay tuned for that amazing chocolate espresso cake, AND those cute Momofuku Mini’s!
But first, Easter stuff…
- 245g (or 2 cups – 2 teaspoons) cake flour
- 6g (or 1½ teaspoons) baking powder
- 3g (or ½ teaspoon) table salt
- 50g (or ¼ cup) rainbow sprinkles for the batter
- 55g (or 3 tablespoons + 2¾ teaspoons) unsalted butter, softened at room temperature
- 60g (or ⅓ cup) vegetable shortening
- 250g (or 1¼ cup) granulated sugar
- 50g (or 3 tablespoons + 2 teaspoons, packed) light brown sugar
- 3 large eggs (or 168g)
- 110g (or ½ cup – 2 teaspoons) buttermilk
- 65g (or ⅓ cup) grapeseed oil
- 8g (or 2 teaspoons) clear vanilla extract
- 25g (or 2 tablespoons) rainbow sprinkles for sprinkling
- 78g (or ½ cup + 2 tablespoons) cake flour
- 1.9g (or ½ teaspoon) baking powder
- 1g (or a big pinch) table salt
- 16g (or 4 teaspoons) rainbow sprinkles, for the batter
- 18g (about 4 teaspoons) unsalted butter, softened at room temperature
- 19g (or 5 teaspoons) vegetable shortening
- 80g (or ⅓ cup + 1 tablespoon) granulated sugar
- 16g (or 1 tablespoon + ½ teaspoon) light brown sugar, packed
- 53g whole egg (almost 1 large egg)
- 35g (or 2 tablespoons + 1 teaspoon) buttermilk
- 21g (or 5 teaspoons) grapeseed oil
- 2.5g (or ½ teaspoon) clear vanilla extract
- 8g (or 2 teaspoons) rainbow sprinkles for sprinkling
- 140g (or ½ cup + 3 tablespoons + ½ teaspoon)granulated sugar
- 35g (or 2 tablespoons + 1½ teaspoon, packed) light brown sugar
- 125g (or 1 cup) all-purpose flour*
- 2.8g (or ½ teaspoon + 1 pinch) baking powder
- 2.8g (or ½ teaspoon – 1 pinch) table salt
- 28g (or 2 tablespoons + 2½ teaspoons) rainbow sprinkles
- 56g (or ⅓ cup + 1 teaspoon) grapeseed oil
- 16g (or 1 tablespoon) clear vanilla extract
- 190g (or ¾ cup + 4 teaspoons) unsalted butter, softened at room temperature
- 85g (or ½ cup – 1½ teaspoons) vegetable shortening
- 95g (or 3.3 ounces) cream cheese, softened at room temperature
- 68g (or 2 tablespoons + 2 teaspoons) glucose**
- 20g (4 teaspoons) clear vanilla extract
- 335g (or 2½ cups + 3 tablespoons) powdered sugar
- 3g (or ½ teaspoon) table salt
- pinch of baking powder
- scant ¼ teaspoon lemon juice
- 80g (or ⅓ cup) whole milk
- 1 teaspoon clear vanilla extract
- Preheat oven to 175°C/350°F (standard oven setting). Butter a 25x38-cm (10x15-inch) rectangular sheet pan and line the bottom and long sides with baking parchment. Set aside.
- In a medium-sized bowl, whisk together flour, baking powder, salt and sprinkles for the batter.
- In the bowl of a stand mixer fitted with the paddle attachment, combine butter, shortening, granulated sugar and light brown sugar. Mix on high speed for 2-3 minutes.
- Crack the eggs in a bowl and scramble with a fork to break the yolks and mix it with the white. Add the egg in four additions, beating well after each addition.
- Combine buttermilk, oil, and vanilla in a large glass. Turn mixer to low and stream in the buttermilk mixture. Increase mixer to high and beat for 4-6 minutes until mixture is light and fluffy. Scrape the bowl with a rubber spatula every now and then.
- Add the flour mixture and fold it into the batter with a rubber spatula until mostly incorporated. Mix on low for 10-20 seconds.
- Pour batter into the prepared pan, spreading it in an even layer with the back of a spoon. Sprinkle with the sprinkles reserved for sprinkling.
- Bake on a rack in the middle of the oven for 23-28 minutes, or until a tester inserted into the center of the cake comes out clean.
- Remove from oven and allow to cool completely before turning out.
- Cooled cake can be stored in the fridge for up to five days, wrapped tightly in plastic wrap.
- Preheat oven to 175°C/350°F (standard oven setting). Butter a 20-cm (8-inch) round cake pan and line the bottom baking parchment. Set aside.
- Make the batter according to the instructions for the rectangular sheet pan, but use a handheld mixer instead of a stand mixer.
- Bake on a rack in the middle of the oven for 18-20 minutes, or until a tester inserted into the center of the cake comes out clean.
- Remove from oven and allow to cool completely before turning out.
- Cooled cake can be stored in the fridge for up to five days, wrapped tightly in plastic wrap.
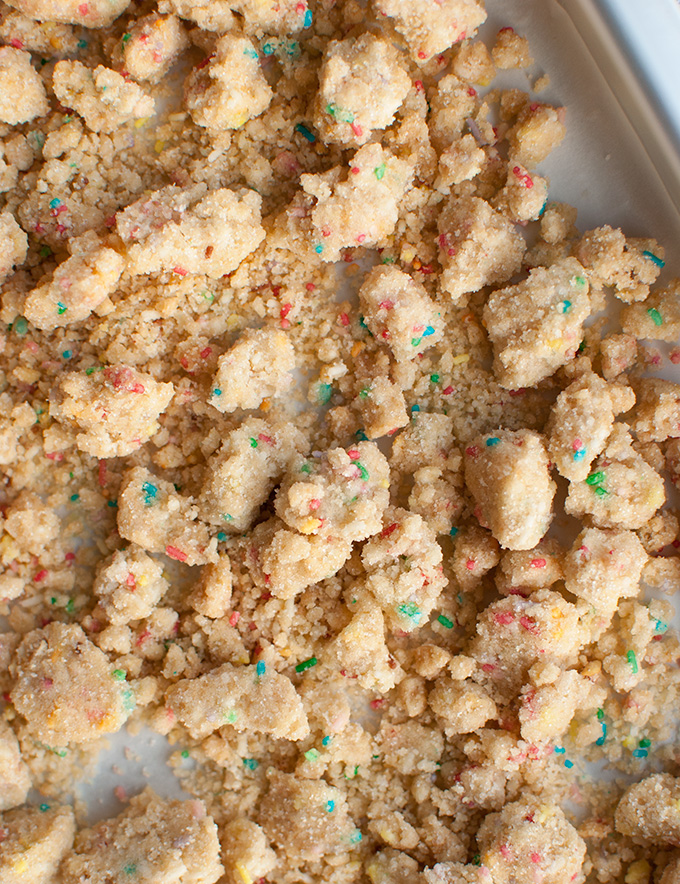
- Preheat oven to 150°C/300°F (standard oven setting) and line a cookie sheet with baking parchment. Set aside.
- Combine granulated sugar, light brown sugar, flour, baking powder, salt, and sprinkles in a medium bowl. Add oil and vanilla, and using your hands, mix until no dry spots remain and large clumps form when mixture is pressed together. Break the dough up into clusters (some small, some large) and spread onto prepared baking sheet.
- Bake in the middle of the oven, stirring occasionally with a wooden spoon, until the crumble is light golden brown and crunchy, 10–12 minutes (it will firm up as it cools).
- Remove from the oven and let cool completely.
- Crumbs can be stored in an airtight container at room temperature for five days.
- Combine butter, shortening, and cream cheese in the bowl of a stand mixer fitted with the paddle attachment and mix on high speed for 2-3 minutes, or until light and fluffy. Scrape the sides of the bowl with a rubber spatula if necessary.
- Add the glucose, corn syrup, and vanilla and mix again on high speed for 2-3 minutes, or until the frosting looks glossy white.
- Add powdered sugar, salt, baking powder, and lemon juice and, using your spatula, mix until just combined. Mix on high speed for 4-6 minutes, until the frosting is beautifully white and fluffy.
- Frosting keeps, stored in an airtight container in the fridge, up to 1 week.
- Combine milk and vanilla in a small pouring jug and stir to combine.
- Invert cakes onto clean board/counter and peel off baking parchment. Using an 18-cm/7-inch springform pan collar as a guide, cut 2 rounds out of the sheet cake and 1 out of the round cake using a paring knife. Save the scraps to make those cute mini cakes!
- Get yourself a serving platter and check whether it fits in your freezer. If it fits, place an 18-cm/7-inch springform collar (or a cake ring) in the center. Line the inside of the springform collar with acetate (my acetate came in 10-cm/3-inch strips, so I used two separate strips to line the pan).
- Place one of the cake rounds in the springform pan, pressing it down to the serving plate. Carefully drizzle the cake layer with half of the soak. Use the back of a spoon to spread one third of the frosting evenly over the cake. Sprinkle one fourth of the birthday crumbs evenly over frosting and press the crumbs into the frosting with the back of a spoon.
- Top with the second cake round. If your acetate comes in thin strips, gently tuck the second acetate strip between cake ring and the top cm/¼-inch of the first acetate strip now, so that you have a clear ring of acetate 5–6" tall—high enough to support the height of the finished cake.
- Drizzle the second cake layer with the remaining milk mixture and frost with half of the remaining frosting. Scatter one third of the remaining crumbs over the frosting and press them into the frosting with the back of a spoon. Place the remaining cake round on top.
- Cover top of cake with remaining frosting. Top with remaining birthday crumbs.
- Transfer cake to freezer and freeze at least 12 hours to set cake and filling. The cake will keep in the freezer for up to 2 weeks.
- At least 3 hours before serving the cake, pull sheet pan out of freezer and remove the springform collar. Gently peel off acetate strips. Defrost in fridge or on the counter for at least 3 hours, but preferably longer. Serve cold or at room temperature.
** I only use glucose, because it’s basically the same thing as corn syrup.


How did you get 2 rounds out of the sheet pan? My sheet pan is 10.25 x15.25 and my round cake pan is 8×20
Did you use the exact pan sizes the recipe calls for?