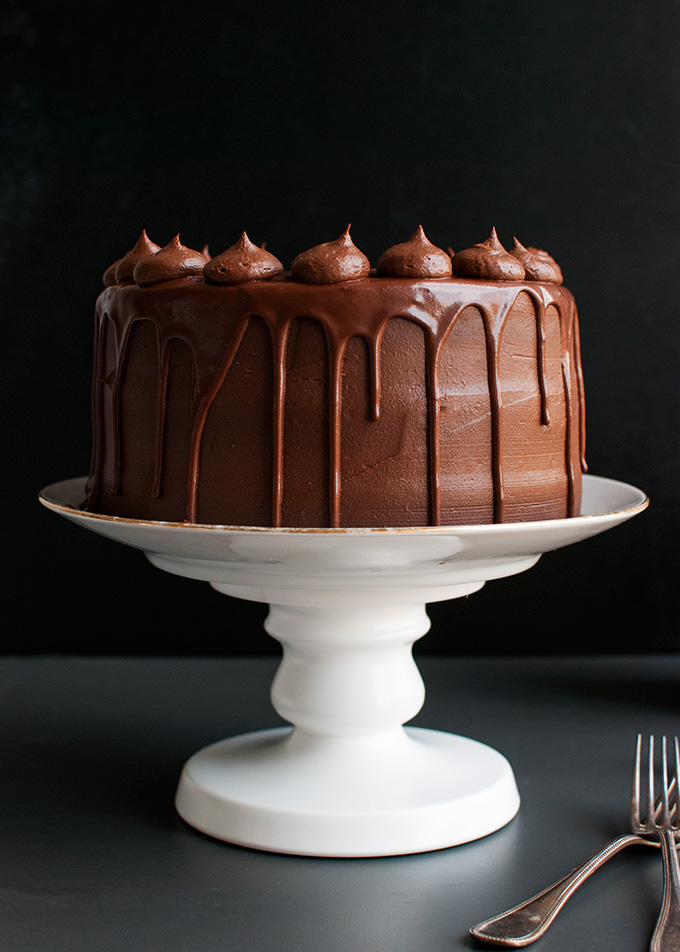
This is my new favorite cake, my version of Proof Bakery’s Chocolate Espresso Cake: intense coffee-soaked chocolate espresso cake layers filled with a dense, rich, dark chocolate crémeux frosting and super smooth French coffee buttercream, finished with a bittersweet chocolate glaze and chocolate crémeux blobs. The BEST!
So in February I turned 29. And my niece has her birthday the day after mine, so I ended up making three cakes for my birthday weekend. First there was the beautiful Pastel Rainbow Meringue Heart Cake, which I transformed into a super cute My Little Pony Rainbow Cake for my niece’s birthday. Then there was the Momofuku Birthday Cake, which was insane and delicious and super cool. And then there was this one, which was my absolute favorite.
The Dark Chocolate Espresso Cake ← insert choir of angels singing here.
This cake is GOOOOOD! The whole Internet keeps drooling over the Momofuku Birthday Cake, but I’m telling you, this cake is just better. Sure, I’m biased because this is my recipe, but that doesn’t mean that I’m not telling the truth here. This cake really IS the better cake. After all, the Momofuku Birthday Cake has one major flaw: it doesn’t have chocolate. This one has! Conclusion: this one is better.
Waaaaaay better 😉
As I told you guys in my post on the Coffee Soak which I use in this cake, I first learned about Proof Bakery’s Chocolate Espresso Cake in a Youtube video in which a couple of guys try three different cakes ranging from $27 to $1.120, including Proof Bakery’s Chocolate Espresso Cake.
Btw, that has GOT to be the best job ever, right?
But anyway, not being in any position to go to Proof Bakery in L.A. to buy myself some cake, I searched the web for a recipe and, guess what? I found one! It seemed pretty solid, so I gave it a go, but none of the elements really worked for me. The cake was too greasy and deflated after baking (too much fat?), the milk chocolate crémeux was too soft to use as a frosting, the coffee syrup was just way too sweet, and the coffee buttercream was too thick and dense for my liking.
It was a sad little cake. I didn’t even make the glaze because the whole thing fell apart right after I assembled it…
But the cake looked so promising in the video, that I decided to make my own version of it, with recipes I knew would work!
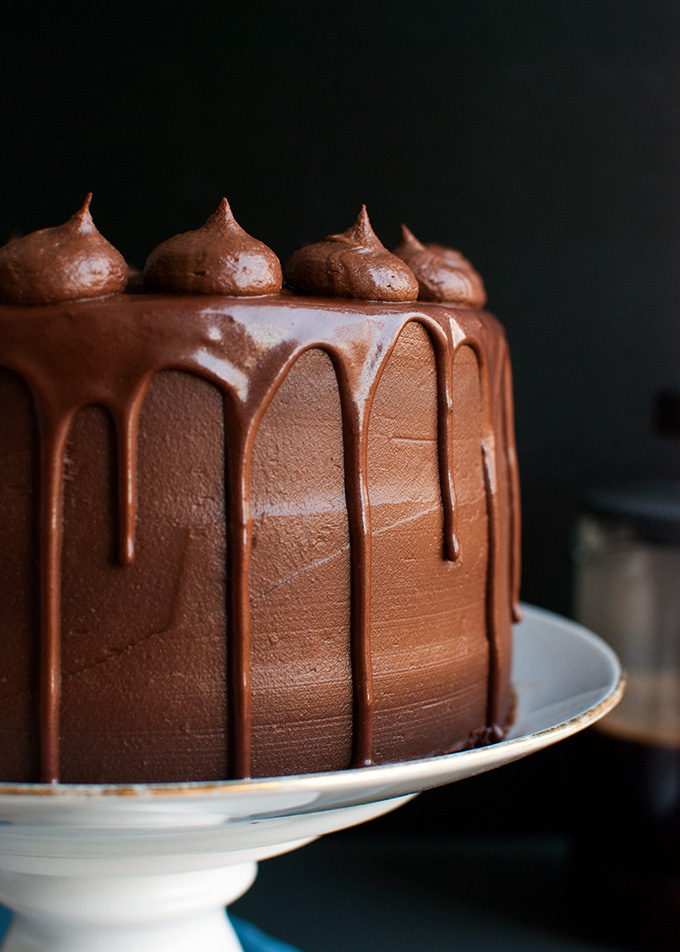
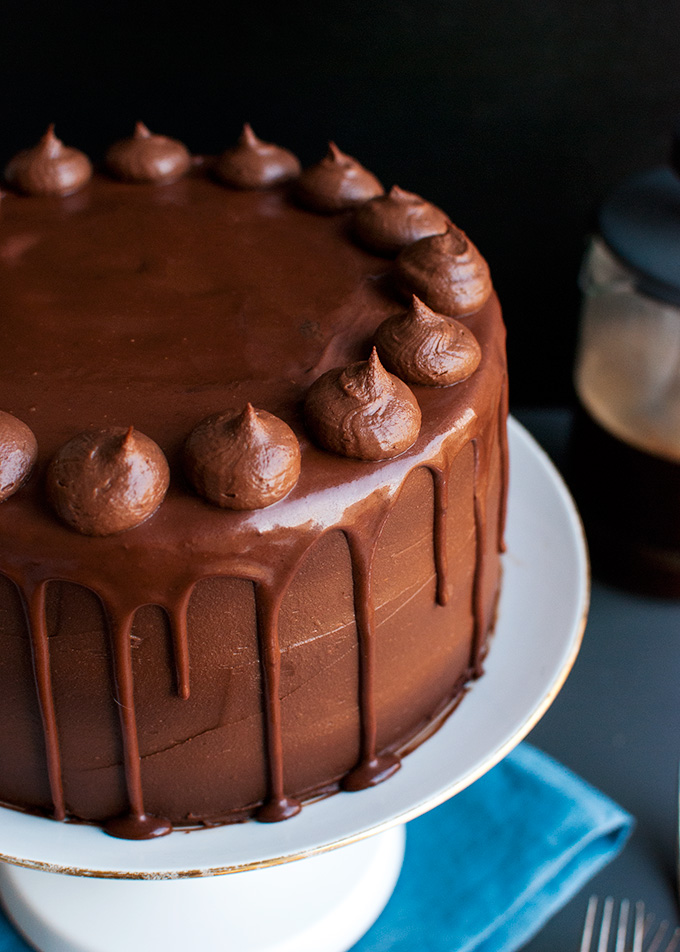
So I first adapted my favorite recipe for chocolate cake, using coffee instead of hot water to give it a huge coffee boost. Inspired by Momofuku’s Vanilla Milk Soak I experimented with a simple Coffee Soak that not only added moisture to the cake layers, but also imparted yet more coffee flavor. I then used my favorite recipe for French Coffee Buttercream and adapted Proof Bakery’s recipe for milk chocolate crémeux to make a dark chocolate crémeux because I prefer dark chocolate. Finally, I adapted Proof Bakery’s recipe for the bittersweet chocolate glaze a bit because it was too thin, adding more chocolate to give it a little more body.
And I’m so happy with the results!
All of the elements turned out really well, and they all pair deliciously together. This cake is a dream!
If you love chocolate and coffee, make sure not to miss out on this one! Sure, it’s a project and there are a lot of different recipes and steps, but it’s sooo worth it!
To make things a bit easier, stick to the following schedule:
- Day 1: bake the cake layers and make the dark chocolate crémeux.
- Day 2: make the coffee buttercream and the coffee soak. Assemble the cake. Make the glaze. Finish the cake.
And then EAT the cake.
Or keep it in the fridge overnight to allow the flavors to meld together. Just make sure to serve it at room temperature. To experience the lusciousness of the fillings (buttercream and crémeux) the cake should be taken out of the fridge at least 5 hours before you want to serve it.
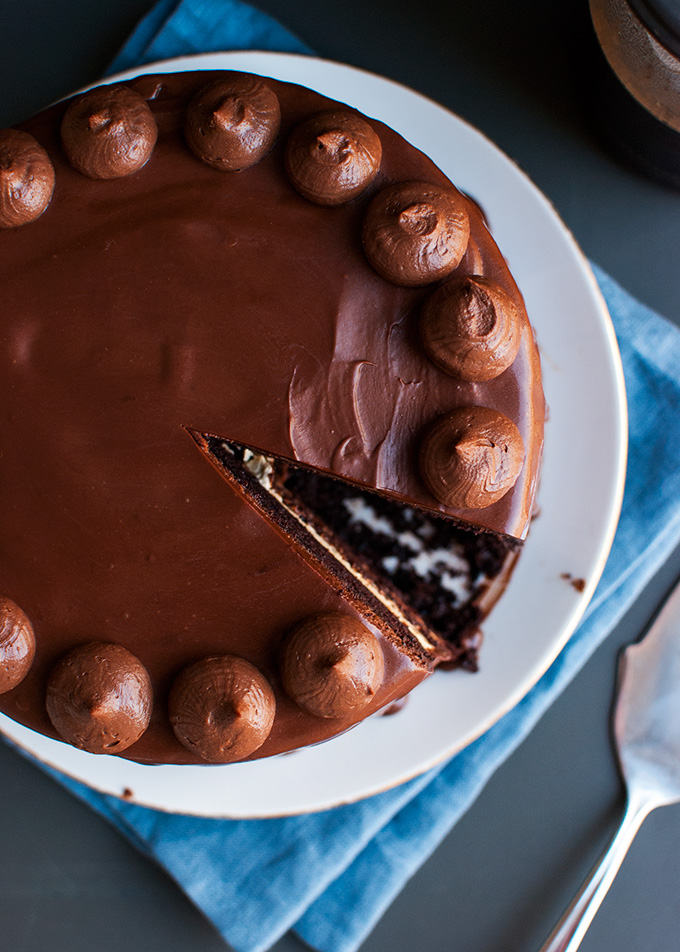
And just LOOK at those fillings…
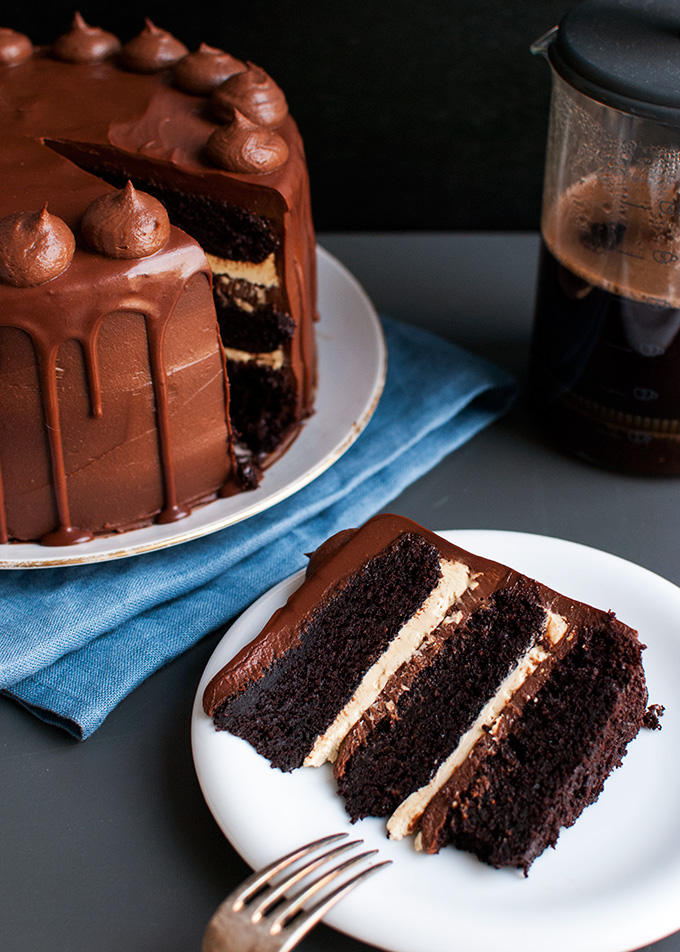
I wish I had a piece of this cake in front of me right NOW ????
If you like this recipe, click here to sign up to my mailing list, share it with your cake-loving friends using one of the buttons on the side, or scroll down for a nice pin to save this recipe for later.
Talk soon!
- 255g (or 1 cup + 1 tablespoon) freshly brewed (hot!) coffee
- 200g (or 1½ cup + 5 teaspoons) all-purpose flour
- 150g (or 1¼ cup + 1½ teaspoon) Dutch-processed cocoa powder
- 1½ teaspoons baking soda
- ⅜ teaspoon baking powder
- pinch of table salt
- 1½ large eggs (about 84g or 3 ounces)
- 110g (or 125ml, or ½ cup + 1 teaspoon) sunflower oil
- 470g (or 2⅓ cup + 1 teaspoon) granulated sugar
- 255g (or 1 cup + 1 tablespoon) buttermilk
- ⅜ teaspoon vanilla extract
- 325g (or 11.5 ounces) dark chocolate, 58% cocoa solids
- 24g (or 5 teaspoons) unsalted butter
- 230g (or 1 cup – 2 teaspoons) whole milk
- 350g (or 1½ cup – 2 teaspoons) whipping cream
- 9 large egg yolks (about 162g, or ½ cup + 2 tablespoons + 2½ teaspoons)
- 75g (or ⅓ cup + 2 teaspoons) granulated sugar
- 2¼ teaspoons cornstarch
- 3 large egg yolks (about 54g, or 3 tablespoons + 1 teaspoon)
- 75g (or ⅓ cup + 2 teaspoons) granulated sugar
- ¼ teaspoon vanilla extract
- ¾ teaspoon instant coffee granules
- 170g (or ¾ cup) unsalted butter, cubed and softened at room temperature
- 80g (or ⅓ cup) freshly-brewed coffee
- 3 teaspoons granulated sugar
- 65g (or 2.3 ounces) dark chocolate, 63% cocoa solids
- 75g (or ¼ cup + 1 tablespoon) whipping cream
- 20g (or 1 tablespoon) honey
- 25g (about 5 teaspoons) cold unsalted butter
- Preheat oven to 175°C/350°F (standard oven setting). Line the bottom of three 18-cm (7-inch) springform pans with baking parchment, butter the sides, and dust the sides with cocoa powder.
- Set aside the hot coffee, you’ll need it in a few moments and you want it to still be hot, but not scalding. In a large bowl, stir together flour, cocoa powder, baking soda, baking powder and salt. Set aside.
- In a large mixing bowl, mix together eggs, oil, and sugar until combined, 1 minute on high speed. Drizzle in the hot coffee, mixing as you go. The hot coffee will help dissolve the sugar, but you don’t want it scrambling the eggs. Once combined, add the buttermilk and vanilla and mix until combined, about 1 minute.
- Add the dry ingredients to the egg mixture. Using a rubber spatula, stir until mostly incorporated, then mix for about 30 seconds until the batter looks smooth (albeit grainy from the sugar).
- Divide the batter evenly over the prepared pans, then bake the cakes on a rack in the middle of the oven for 35-37 minutes, or until a tester inserted into the center of one of the cakes comes out with just a few moist crumbs attached. Remove the cakes from the oven and allow to cool to room temperature. Wrap tightly in plastic wrap and place in the fridge to chill overnight.
- Finely chop the chocolate and place in a large bowl with the butter. Set a strainer over the bowl and set aside.
- Combine milk and cream in a large, heavy-bottomed saucepan.
- In another large bowl, whisk together sugar and cornstarch. Add a splash of the milk mixture (about 5 tablespoons) and whisk until smooth. Add the egg yolks and whisk until foamy.
- Place the milk mixture (in the pan) over low heat, stirring with a spatula, and allow to just come to a simmer. Slowly drizzle the hot milk mixture into the egg mixture, whisking constantly to prevent the eggs from scrambling. Once all of the milk mixture has been added, pour the egg mixture back into the saucepan.
- Cook over low heat, stirring constantly with a spatula, until the mixture thickens and the bubbles disappear, and a thermometer inserted registers 82°C/180°F. Immediately remove from heat and pour into the strainer over the chocolate and butter in the bowl. Discard any curdled bits left in the strainer.
- Allow to sit for a minute, then stir the custard into the chocolate until the chocolate and butter have melted and the crémeux is an even color.
- Cover the surface of the crémeux with plastic wrap, pressing the plastic directly onto the surface of the crémeux with your hand, and refrigerate for one day to give the crémeux time to set up.
- Place the yolks in a medium-sized, heatproof bowl. Add the sugar and immediately whisk until foamy. Add the vanilla and coffee granules and whisk until combined. The coffee granules will dissolve later.
- Place the bowl over a pan of barely simmering water (making sure the water doesn't touch the bowl) and heat, stirring constantly with a rubber spatula, and scraping the sides and bottom of the bowl as you go, until the sugar has dissolved. You can check whether the sugar has dissolved by rubbing a bit of the mixture between your fingers.
- If you want to pasteurize the yolks and make the buttercream salmonella safe (I recommend doing this if you're planning on serving the buttercream to kids under the age of five, the elderly, pregnant women or people with ill health), gently heat the mixture to a temperature of 71°C/160°F. Use a digital sugar thermometer to monitor the temperature of the mixture. Once the mixture is hot enough, proceed with the recipe.
- Remove the bowl from the heat and mix (using a mixer fitted with the whisk attachment) until the mixture thickens and drops in ribbons when you lift the beaters, and has cooled completely to room temperature. Fun fact: you have now made pâte à bombe! Aren’t you fancy 😉
- Transfer the pâte à bombe to another bowl and add the butter to the mixing bowl of your mixer. Using the paddle attachment, beat the butter until light and fluffy, about 5 minutes on high speed, scraping the sides and bottom of the bowl with a rubber spatula when necessary.
- Once the butter is fluffy, add the pâte à bombe one tablespoonful at a time, mixing well after each addition. Once you’ve added all the pâte à bombe, mix for another 2 minutes until the buttercream is smooth and fluffy.
- Buttercream can be stored, covered tightly with plastic wrap, in the fridge for up to 1 week, but I personally think it’s easiest to just use it fresh. To use buttercream that has been chilled, allow it to come to room temperature first, then mix until soft and spreadable again. If the buttercream separates, just keep mixing. Mix long enough and it WILL come together!
- Combine hot coffee and sugar in a mug. Stir to combine and allow the soak to cool to room temperature.
- Use half of the soak to moisten one 18-cm/7-inch cake layer. Top the cake layer with a filling of choice, and place another cake layer on top, pressing down gently.
- Use the remaining soak to moisten this second cake layer. Again, fill with your favorite filling, and top with a third cake layer. Frost the cake with a frosting of choice and decorate.
- The soak is best made right before you need it.
- Place first cake layer onto a serving plate. Drizzle with 2 tablespoons of coffee soak. Top with 180g (¾ cup) of dark chocolate crémeux, spreading it evenly over the cake layer using an offset spatula. Top with 130g of the coffee buttercream (another ¾ cup, or half the batch). Gently spread the buttercream evenly over the layer of crémeux.
- Top with second cake layer, pressing it down lightly to make sure it sticks. Drizzle with another 3 tablespoons of the coffee soak, then frost with 180g (¾ cup) of chocolate crémeux and 130g (¾ cup, or the remaining half of the batch) of coffee buttercream. Top with the final cake layer.
- Reserve about half a cup of the chocolate crémeux, then frost the entire cake with a thick layer of the remaining crémeux. Use a bench scraper to smooth the top and sides of the cake. Place the cake in the fridge to chill thoroughly for at least 1 hour.
- Finely chop the chocolate and place it in a medium-sized, heatproof bowl set over a pan of simmering water to melt.
- Once the chocolate is almost completely melted, combine cream and honey in a small saucepan and heat gently, stirring occasionally, until it has reached scalding point. Slowly pour the hot cream mixture into the melted chocolate, stirring with a rubber spatula until smooth. Remove from heat.
- Add the cubes of cold butter and stir until completely melted and the chocolate glaze looks smooth and shiny. If necessary, allow to cool to dripping consistency (thickness of melted chocolate) or, if the glaze has cooled too fast, place bowl back over the pan of simmering water and heat it to dripping consistency (thickness of melted chocolate).
- Remove the cake from the fridge and use a teaspoon to pour small amounts of glaze near the edges of the cake so that it drips down the sides of the cake. Pour some glaze on top of the cake and spread evenly using an offset spatula or the back of a spoon. You might have some leftover glaze. Place the cake in the fridge to allow the glaze to set.
- Fit a piping bag with a large open tip and fill with the reserved crémeux. Pipe simple dollops of crémeux around the edge of the cake.
- Cake keeps for a couple of days, stored in an airtight container in the fridge. Allow to come to room temperature before serving.








This looks wonderful…and I really appreciate the instructions for using eggs safely. I have a ton of yolks leftover from making macarons, so may just have to give this a go! Thanks for another great recipe.
You’re so welcome Elizabeth! And yes, this is a great way to either use up leftover yolks, or to fill your freezer up with egg whites so you can make more macarons 😉
The outside of this cake is so pretty. I am envious of your dripping skills. The photo of the sliced cake made my heart skip a beat. It is drop dead gorgeous with those amazing layers. This is going on my next to bake list.
Yes the inside is pretty, isn’t it??? I was more impressed with the inside than the outside of this cake 😉
Hi there,
I love the look of this recipe. I was wanting to make it for my son’s birthday, but only have 20cm tins. I was planning on only making two layers, so I have calculated the amount for 2/3 of the recipe. This was before I realised you used 18cm tins. How do you think the layers would go in a 20cm tin. Would they be too thin? Thanks in advance.
Hi Sara, if your son is a coffee and chocolate lover, you HAVE to make him this cake. It’s the best cake on the blog 😉 I woulnd’t bake the cake layers in a 20-cm tin, though. Not as the recipe is right now. However, you can easily adapt my recipe (the entire recipe, so cake layers, fillings, and soak) to fit your 20-cm tin, using my Round Cake Pan Conversion Formula. I just did the math for you, and for a 3-layer 20-cm cake, you need to multiply all ingredients by 1,23.
To turn that recipe into a 2-layer cake, half the coffee buttercream recipe (you only use it between the layers), and multiply the ingredients for the other elements by 0,67 (two thirds). It’s sounds difficult, but it really isn’t. And it’s the only way to make sure the cake comes out just right 😉
Thanks for that. I am looking forward to trying it.
Great ???? Let me know what you think!
Hey! 🙂 Thanks for this recipe, I really appreciate it!
I tried it out yesterday, and everything went well., but there was a problem, my cremuex pudding was too runny. I left it in the fridge overnight, and it did set, but once I took it out, it kind of dripped down the sides, and it wouldn’t stay still. Why is it that this happened?
*I live in Malaysia, it’s pretty hot here.
Thanks in advance!
by the way, the cake is really good! I just had a slice and I love it a lot!