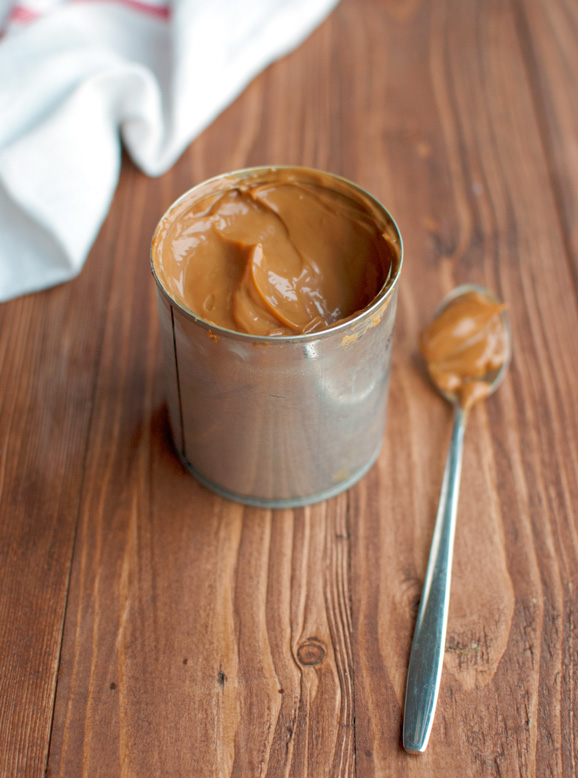
Another day, another way to make dulce de leche!
I almost typed ‘another great way to make dulce de leche’, but personally I’m not a big fan of the method under discussion today: the open can method. It’s a bit annoying. It gets on my nerves. I just can’t stand the clanking!
I know, I sound way too dramatic. Besides, this is a perfectly good way to make dulce de leche, so I got over the fact that I really, really don’t like the clanking, and made some dulce de leche this way anyway. For the sake of this series. For my trusty readers who deserve to know the truth about making dulce de leche! Just the truth and nothing but the truth!
The TRUTH!
I know, I’m being dramatic again…
Anyway, the open can method is very similar to the closed can method, except – you guessed it – the can is open instead of closed. Like submerging the closed can in water, punching a hole in the can also eliminates the danger of it exploding as it heats and pressure is build up inside it. Even when you forget about your dulce-the-leche-in-the-making – are there really people out there who forget that they’re cooking something yummy? – and allow the water in the pan to boil away, an open can cannot explode.
Like ever!
Why not? Well, in an open can, the heating – aka: expanding – content cannot create enough pressure inside the can to cause the can to explode. Instead, the expanding contents just ooze out.
Sounds logical, right?
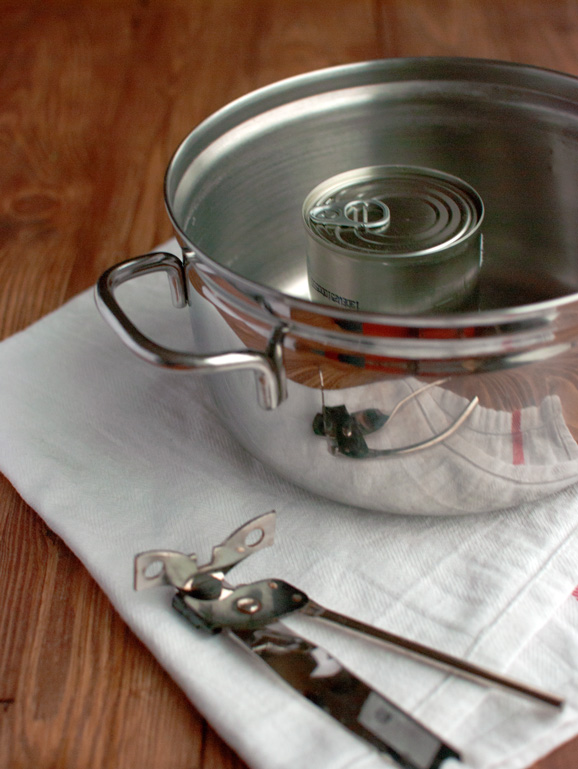
So, what do you need to end up with some gorgeous dulce de leche made in an open can? Not much. A can of sweetened, condensed milk, a large pan and a can opener. That’s it.
And no, this time the presence of a can opener didn’t scare me at all. I just needed it to make some holes in the top of the can. I didn’t even have to call in the muscles!
Once you punch the first hole in the can, the sweetened, condensed milk will start oozing out a bit. This is normal. Apparently, the pressure inside the can is a little bit higher than outside the can even when it’s at room temperature.
Anyway, place the can in a large pan and add boiling water, allowing the water level to reach three quarters of the way up to the sides of the can. Don’t add too much water, or the water will get into your dulce de leche as it boils on the stove.
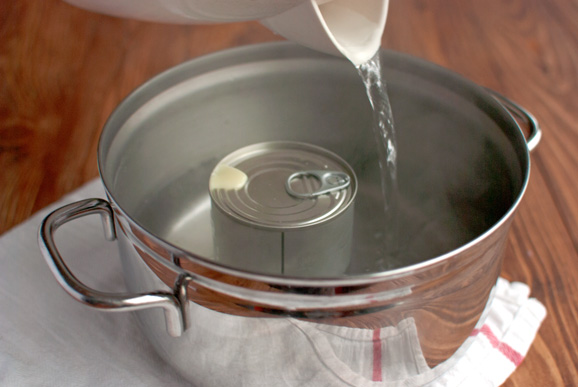
Making dulce de leche this way takes about as long as the closed can method. You need to cook the can for 3 hours to get your dulce de leche as dark as the dulce de leche in the photo’s. It tastes the same as well. The only difference is the need of a can opener.
Oh, and the clanking…
Because the can has to sit upright in the pan, it will start to bounce up and down as the water boils and bubbles form underneath it. Clank, clank, clank…
Very annoying… Plus, some of the milk just oozes out of the can and into the boiling water. I’m sure you know what that means: less dulce de leche!
Like I said: not my favorite method. I prefer cooking closed cans…
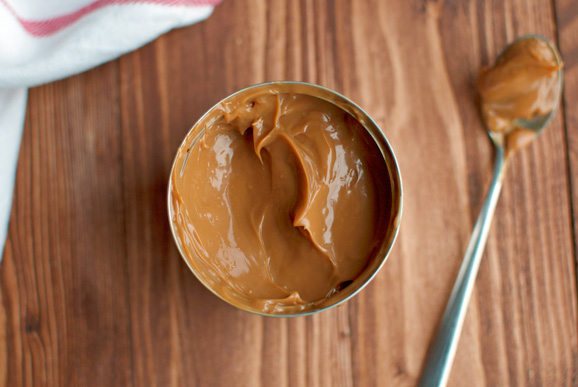
Anyway, if you can get over the clanking and the fact that you will end up with less dulce de leche, I’d say go for it! The end result is just as delicious and the method just as easy as the previous methods I told you about.
Enjoy!
Back tomorrow with cute little pies!
Oh, by the way: Lucy passed her first dog training exam today! I’m so proud! A few weeks ago, she hit puberty. Hard! Aka: she is not as focused as she used to be. In other words, I didn’t think we could pass the exam, but we did!
Yay us!
Click here to sign up to my mailing list.
Click here to follow me on Instagram.
- 1 can of sweetened, condensed milk
- Bring a large kettle of water to a boil.
- Remove the label from the can of sweetened, condensed milk and, using a can opener, make 2 tiny holes (opposite each other) in the top of the can. Place the can in a large pan and carefully pour in the boiling water, allowing the water level to reach three quarters of the way up the sides of the can.
- Place the pan over high heat to allow the water in the pan to come to a rolling boil again, then turn the heat down and simmer for 3 hours. During this time, some of the sweetened, condensed milk will come out of the can as the can cooks. This happens because, as the can heats, the milk inside it expands.
- After 3 hours, take the pan off the heat and, using a pair of thongs or a slotted spoon, pluck the (hot!) can out of the pan. Leave to cool to room temperature before opening. Stir until smooth.
- Cooled dulce de leche can be stored in the fridge in an airtight container for up to 3 weeks.
So, dulce de leche made in the can. Again…












If you have a pressure cooker at home, I do, and advise people to invest in one. With a pressure cooker one can cook anything in a pinch, including dolce de leche. Just add water above the can and about an inch and a half from the top of the cooker. No need to puncture the can. Close the cooker tight and turn the burner on high, when you hear the whistling noise ( it means the pressure has built up inside the cooker) turn the burner to medium and cook for about 25 mins. Thats it! The whole process takes approximately 30-35 mins.
Hi Carol, thanks for sharing! 😉
I actually read about this method a few days ago, but unfortunately I don’t have a pressure cooker, so I can’t make another post on cooking dulce de leche this way. I’ll make sure to post about this method in the final post of the series, though! So far, it sounds like the easiest and fastest way to make dulce de leche!
This is so nice. I like this food. Great idea.
Thanks Yead 😉
If the clanking really annoys you too much, you can put a small dish towel in the bottom of the pan before adding the water and the can.
Hi Ken, thanks for the tip! I will definitely try it out sometime! 😉
Can this be left out? Wanting to use as a filling in a cake that will be left out overnight. Thanks
Hi Shauna! I don’t think leaving it out overnight will be a problem… I do it all the time 🙂
Use a pressure cooker with one cup of water, place the closed can in and cook in pressured mode for an hour. One precaution: carefully remove the paper labels and with the help of knife scrape any glue residue, otherwise your pot will be covered with glue.
Thanks for the tip Bli!
Did this lead to thicker dulce de leche than the closed can method? It seems like closed can wouldn’t really thicken much, since moisture can’t escape.
Hi Junkped, that’s what you would think, yes, but as it turns out dulce de leche cooked in a closed can comes out just as thick as dulce de leche cooked in an open can. Weird, right? 😉
Thanks for the info!