 Hey guys! Welcome to the sixth post of my series ‘The Perfect Pie Crust’! I can’t believe I’ve already done six posts about pie crusts. In case you have no idea what I’m talking about: a few weeks ago I decided to do a series about pie crusts, in which I would compare and test different recipes to find out what ingredients and techniques make the best pie crust ever!
The first thing I wanted to test was pie fats. Because – apparently – it’s a huge deal. As some of you (or a lot of you, more likely) know: pie crust is basically made with only four ingredients. A pie fat, flour, salt and water. Obviously, you can add different interesting ingredients to your dough, such as vinegar, lime juice, cinnamon and sugar, and of course you can use buttermilk, cream, regular milk or even vodka instead of water, but basically fat, flour, salt and water is all you need. And flour tastes yucky! Have you ever tried it? As a kid, I used to lick it off my fingers every time I baked a cake, hoping it would taste just like cake batter. However, I quickly learned that cake batter tastes yummy because it has butter and sugar in it. And eggs. My point is: the flavor of the pie fat you’re using determines the flavor of the resulting crust.
Another thing I wanted to test when I first thought of doing a series about pie crust, is how the different fats most commonly used in pie-making (aka: butter, shortening, lard and a combination of those fats) affect the resulting crusts texture-wise. And what are the up- and downsides of using a particular fat?
So far, I’ve tested an all-butter crust and an all-shortening crust. The all-butter crust was delicious. Flavor-wise it reminded me of fresh croissants and the texture was flaky and tender. I also kind of liked the all-shortening-crust, because it had a milder, more tender texture. It was also a bit more crumbly. However, after some serious deliberation, I have to say that I preferred the all-butter crust, because butter is cheap and I always have some in my fridge.
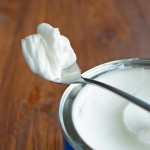
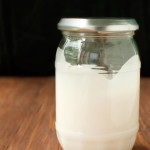
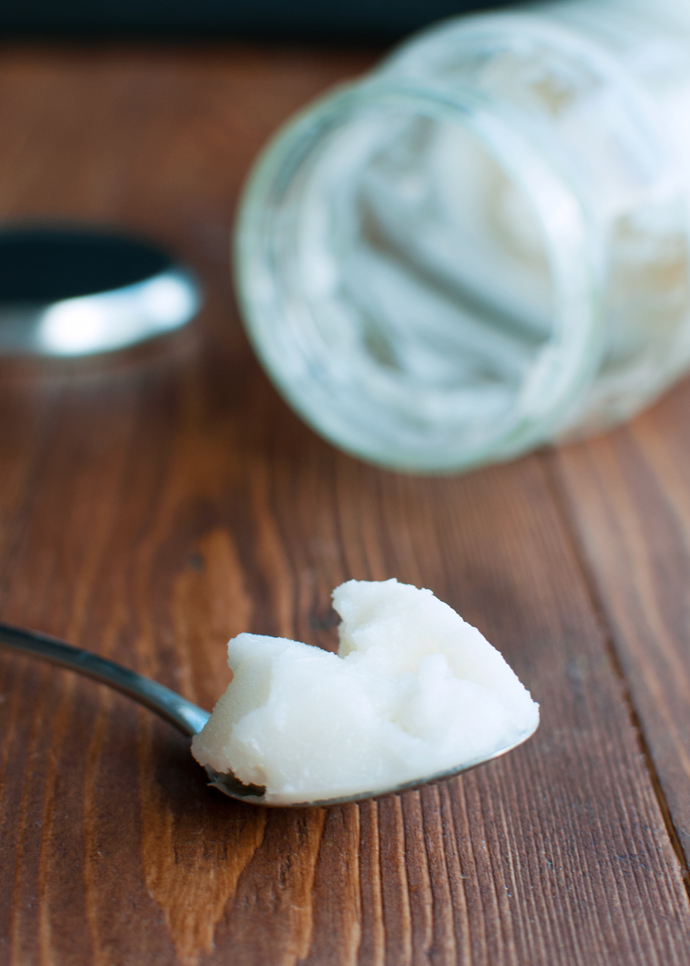
Anyway, up today: leaf lard. Homemade leaf lard. Or, um… home-rendered leaf lard.
I feel so rustic…
 Let’s start with some health considerations. Just to throw it out there: lard is actually healthy. Healthier than butter, at least. Which means a lot healthier than transfatty shortening. As I explained in my last post, lard may be an animal fat, but 60% of the fats found in lard are monounsaturated fats, which are associated with a decreased risk of heart disease. Only 40% of the fats in lard are actually saturated! In butter, 55% of the fats are saturated. So yeah, lard is better for you than butter.
Well, better for your arteries, I mean. Not for your stress level. Lard is apparently a food of love. It takes quite some patience and skill to render it correctly yourself. You don’t want to end up with a porky mess. To make matters worse, these days it’s practically impossible to come by in its pre-rendered form, so if you want a lardy pie crust, chances are that you’ll have no choice but to render it yourself.
For me, rendering lard myself meant a serious rise in my stress level. I was so afraid that I was going to mess it up and ruin an entire batch of lard! It was just too much on my nerves. Plus, it takes foreeeeever! And all I really wanted to do was watch a few episodes of Mad Men (yes, I’ve been living under a rock these past couple of years). And eat cookies. And play the guitar. And cuddle my baby niece. And the Rocking Rebel of course. And take Lucy out for a long walk in the sunshine. I so not wanted to render lard!
Just let me put it this way: you won’t catch me rendering lard again anytime soon.
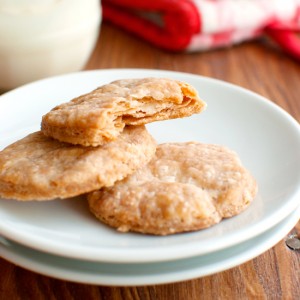
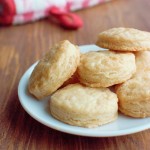
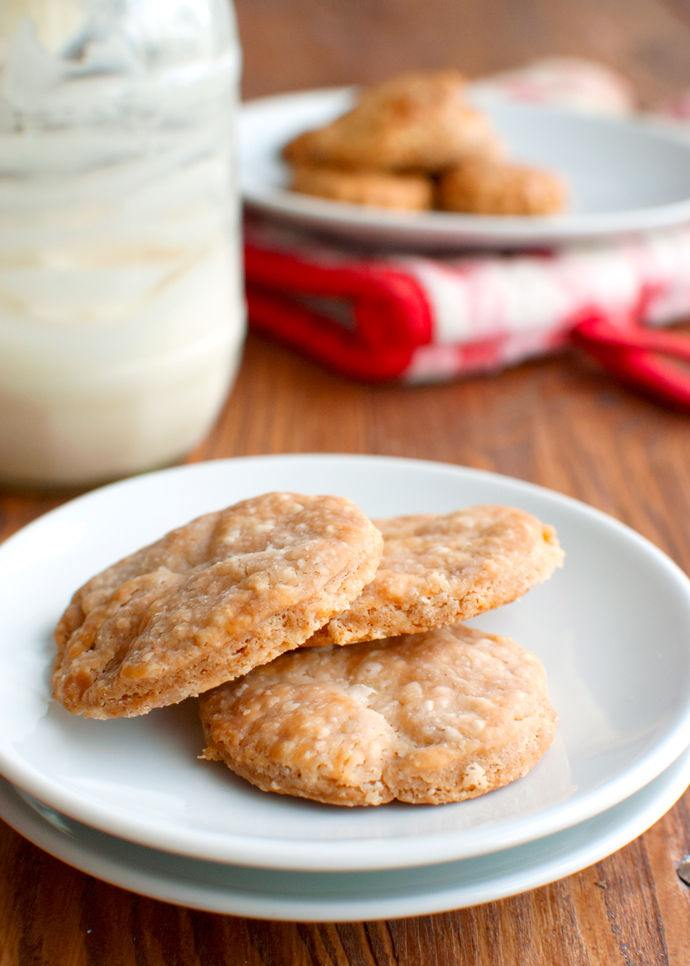
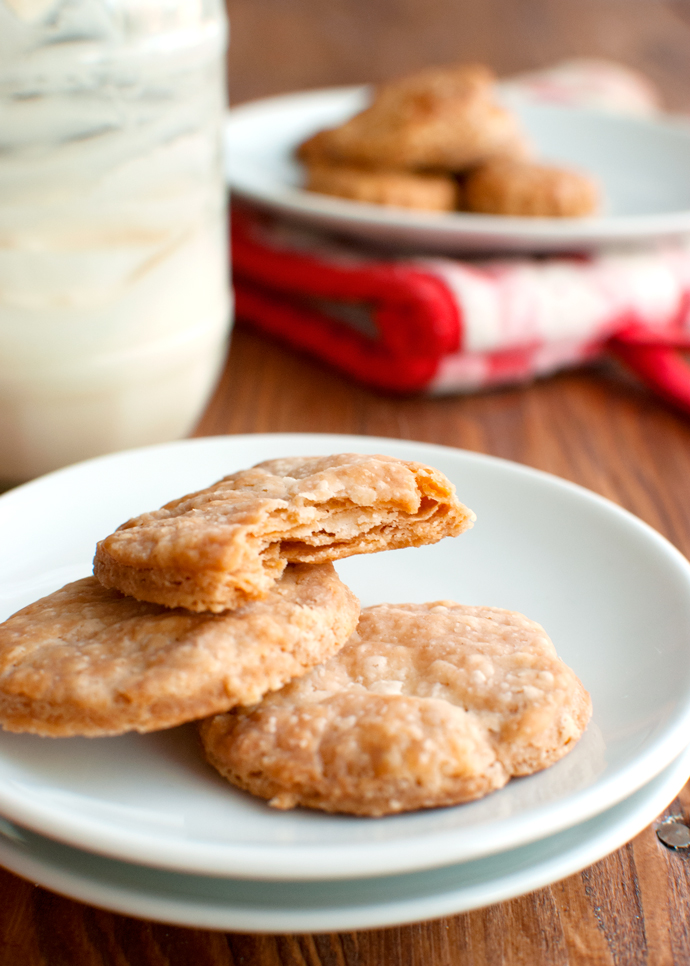 Having tested the all-lard pie crust test cookies, I’m pretty sure I’ve made the right decision.
Rendering lard just isn’t worth my time!
Let’s be honest here: rendering lard is messy, difficult, nerve-racking and inconvenient. All-lard pie crust is flaky, crumbly and not bad at all flavor-wise. That’s right: the resulting pie crust wasn’t bad. It wasn’t perfect either. And it definitely wasn’t a lot better than the other crusts I’ve tested. And truth be told, if it takes me hours to make a pie fat, I want the resulting pie crust to be spectacular!
… which it wasn’t. It was fine. It was tasty. Buuuut, it wasn’t my favorite… In fact, here’s what my fine team of taste-testers (aka: the Rocking Rebel and myself) thought of the different pie crusts:
All-Butter Crust:
- Great flavor. Delicious.
- It tasted somewhat savory compared to the other crusts. Meatier.
- Flakelicious!
- Less tender than the other crusts, with more of a bite to it.
All-Shortening Crust:
- Fine flavor. We liked it better last time we had it, but this time we noticed a weird after taste.
- A bit more delicate than the flavor of the all-butter crust; less intrusive. Easily overpowered by flavorful pie filings.
- Also very flaky, but more delicate than the all-butter crust.
- A bit more crumbly. A melts-in-your-mouth texture.
All-Lard Pie Crust:
- Pretty decent flavor. Not very special. Not unpleasant.
- Like the all-shortening crust, this crust has a milder, more delicate flavor than the all-butter crust.
- Texture-wise, this crust also resembled the all-shortening crust. It was crumbly and flaky, and more tender than the all-butter crust.
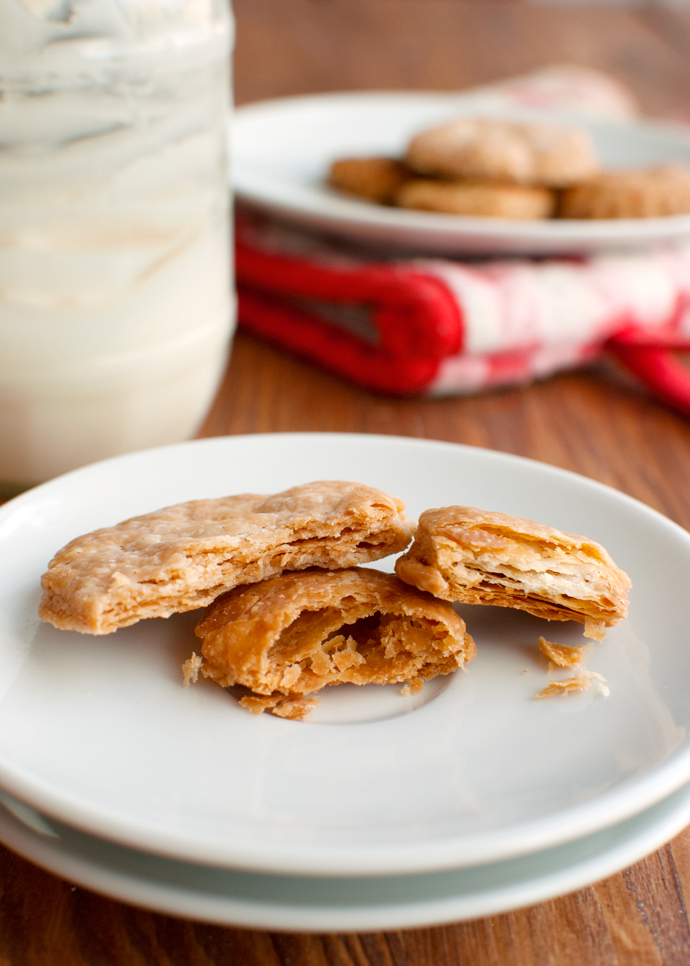 So, score-wise, where does that leave us?
Lard is healthier: 1 point.
Lard is ridiculously inconvenient: -5 points!
Seriously, I’m done with lard. I’m not a lard lover. I tried. I really did. But I’m over it now… In fact, I think I’ve found my pie fat! For me, butter it is! It makes a delicious, flaky, buttery pie crust and I don’t have to go out of my way to get my hands on some!
Go butter!
- 155g (or 1¼ cup) all-purpose flour
- ¼ teaspoon table salt
- 113g (or ½ cup) cold leaf lard
- 2-4 tablespoons of ice water
- Combine the flour and salt in a medium-sized bowl. Stir together with a fork until combined.
- Add the cold lard and use a pastry cutter to work the lard into the flour mixture. You want the lard to become somewhat incorporated but the mixture should still look crumbly, with pea-sized pieces of lard in it.
- Once the lard has been worked into the flour, add two tablespoons of water and stir with a rubber spatula. Use it to press the dough against the sides of the bowl. If the dough doesn’t clump together, add another tablespoon of water until it comes together in big clumps.
- Using your hands, quickly press the dough into a flat disc. Wrap the disc in plastic wrap and leave to chill in the fridge for one hour. In the meantime, preheat your oven to 175°C/350°F and line a cookie sheet with baking parchment.
- Once the dough has properly chilled, roll it out between two sheets of baking parchment to a thickness of about 5-mm (or one fifth of an inch).
- Use a cookie cutter to cut out cookie shapes (mine were about 5-cm/2-inches in diameter), place the cookies onto the lined cookie sheet and bake in the middle of the oven for about 15-18 minutes, or until slightly browned.
