 I’m new to pies. Wait, that’s not true. I’m definitely not new to Dutch pies. Here in the Netherlands, we all particularly like apple pie. Dutch apple pie, of course. It’s the best! It’s stuffed with apples (duh!), brown sugar, cinnamon, raisins and nuts. Sometimes, we even like to add a touch of frangipane or even pastry cream to our apple pies. Needless to say, Dutch apple pie is absolutely delicious! It’s actually the Rocking Rebel’s favorite!
But Dutch pies – be it apple, peach, cherry or whatever – are very different from American pies. Take apple pie for example, the dough we Dutchies use to make the crust is very different from the dough most American recipes call for. For starters, it’s made with a lot of sugar. In most cases, equal amounts of sugar and butter are used, whereas most American recipes I’ve seen use a fairly neutral tasting pie crust. Secondly, Dutch apple pie dough is not rolled out, but instead simply pressed into the pan. I’m sure this sounds very weird to everyone used to making apple pie the American way…
But anyway, the point I’m trying to make is: American pies are new to me! And being the adventurous foodie that I am, I thought it was about time that I learned more about the American way. You know, expand my repertoire. Go where no Dutchie has gone before!
So I came up with the idea of doing a new series. A series about pie crusts. Because from what I’ve heard/read, American pies start with a great crust. No crust, no glory! Or actually: no great crust, no glory! So in this series, I will compare and test different pie crust recipes, I will explain all about different pie crust ingredients and search for the world’s best kept pie making secrets!
Call it a quest, if you will. A quest for the perfect pie crust!
 First thing I learned about pie crusts after some initial research? Even some Americans are intimidated by them! That’s right, even people who have watched their mothers and grandmothers and maybe pie making fathers make pie after pie after pie growing up sometimes don’t know how to get over their fear of ending up with a tough crust. Pie crusts strike fear in people!
I”m shaking in my boots. Oh wait, I’m wearing sneakers. (Is shaking in your sneakers a thing?)
…
Second thing I learned: pie crusts should be flaky. And flaky doesn’t mean crumbly. Flaky means flaky.
Third thing I learned: there are a lot of things that can go wrong. You can use the wrong type of fat. You can overmix the dough. You can undermix the dough. You can allow the dough to become too warm, which causes the fat in the dough to melt, which causes your crust to be tough and hard. Your dough can stick to the counter when you’re trying to roll it out! Your dough can tear as you try to line the pie dish!! You can burn the pie in the oven!!!
Oh yeah, plenty of room for error…
 But let’s take it one step at a time. The first thing I’ll be testing in this series is different pie fats and how they affect the final pie crust. Sounds like a plan to me!
Pie crusts are usually made with only four ingredients: fat, flour, salt and water. Because flour doesn’t have a very pronounced flavor, the fat you use is really important. The most common fats used to make pie crusts are butter, leaf lard and shortening. Judging from American blogs, there are a lot of butter lovers out there. Apparently, butter gives the final pie crust the best flavor. Shortening, on the other hand, is shunned because it doesn’t taste like anything at all and lard can sometimes give the pie crust a porky flavor. However, both lard and shortening are said to give a pie crust a better, flakier texture than butter. Many home bakers therefore use a mix of butter and lard or shortening.
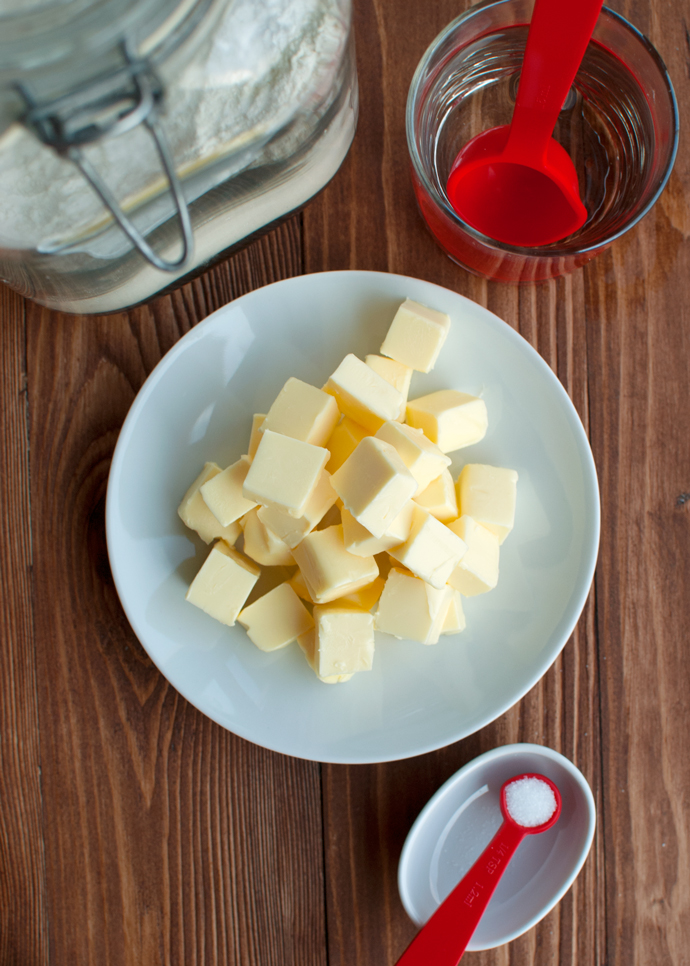
In this series, I will test each of these fats and combinations of fats, using the same basic recipe: 1¼ cup of all-purpose flour, ½ cup of fat, ¼ teaspoon of table salt and a few tablespoons of ice water. By changing only the fat in the recipe, I will be able to determine how the different fats affect the resulting pie crust, both in flavor and in texture.
 Besides using one basic recipe as my starting point, I will use the same method to make the different pie crust, again trying to be as basic as possible. So, for this series, I won’t be using my food processor. I’ve used it in the past to make pie crusts (with great success!) but not every home cook has one and because they’re not essential for making a great pie crust, I decided to go the pastry cutter route. Plus, pastry cutters are – what – ten bucks? And how much will a food processor set you back…? Exactly…
And hey, I like the pastry cutter. I actually got mine today and I love it! It’s so easy. Cleaning up is a breeze and it’s much easier to work with than a food processor. No machine to assemble and clean, just one handy little tool! It gives you so much control!
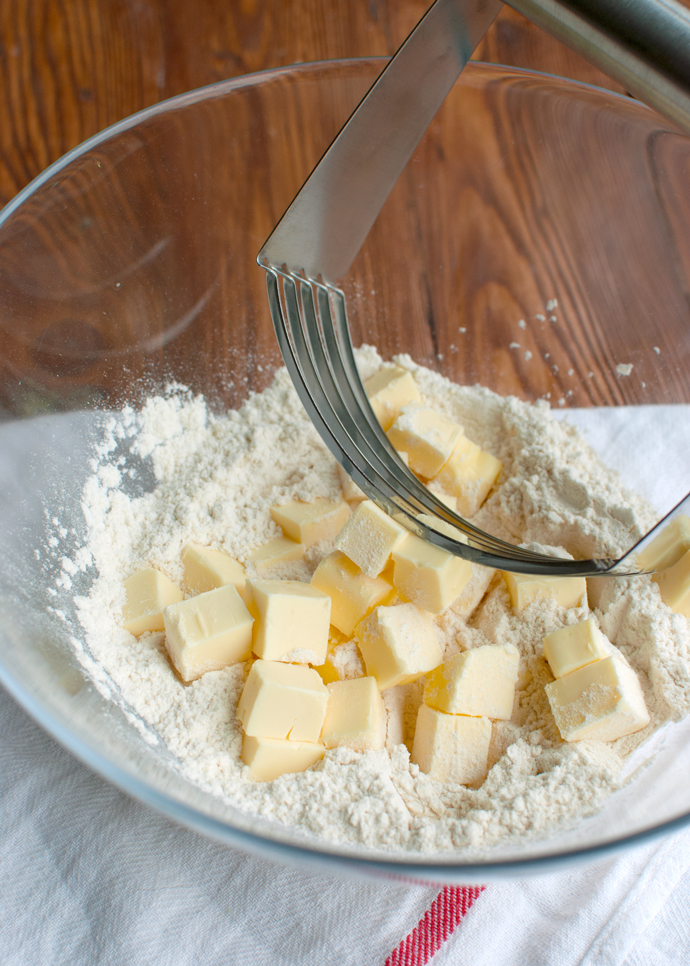
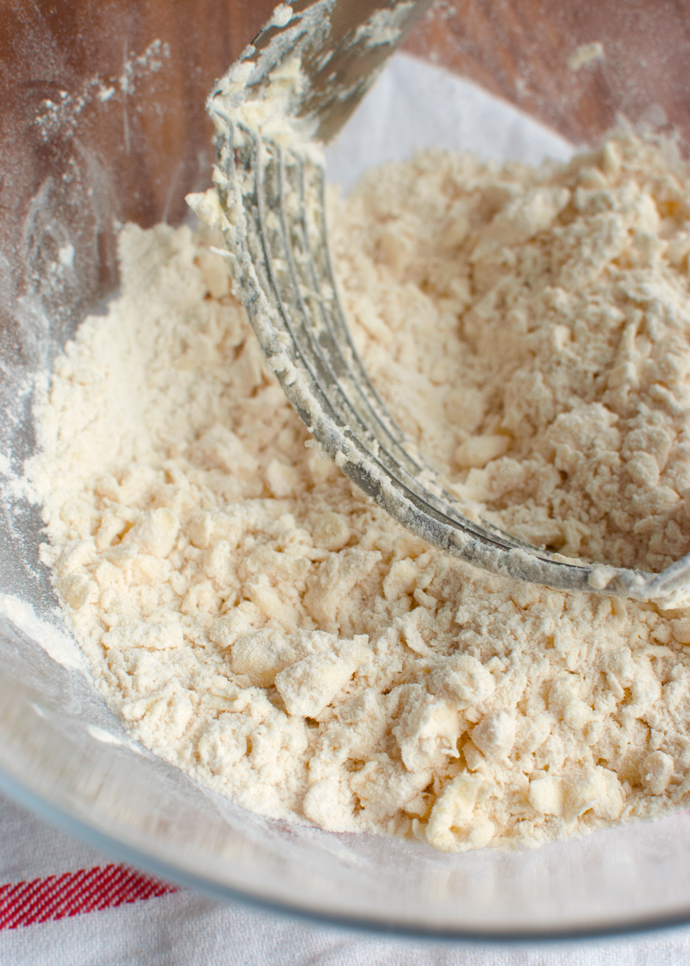
So, this is what I did: I combined salt and flour in a mixing bowl, added cold, cubed butter and worked the butter into the flour with my pastry cutter until the dough/mixture looked like the picture above. I then used a rubber spatula to stir in a few tablespoons of water, shaped the dough into a flat disc, chilled it, rolled it, cut out cookie shapes and baked them.
This is what the all-butter test cookies looked like…
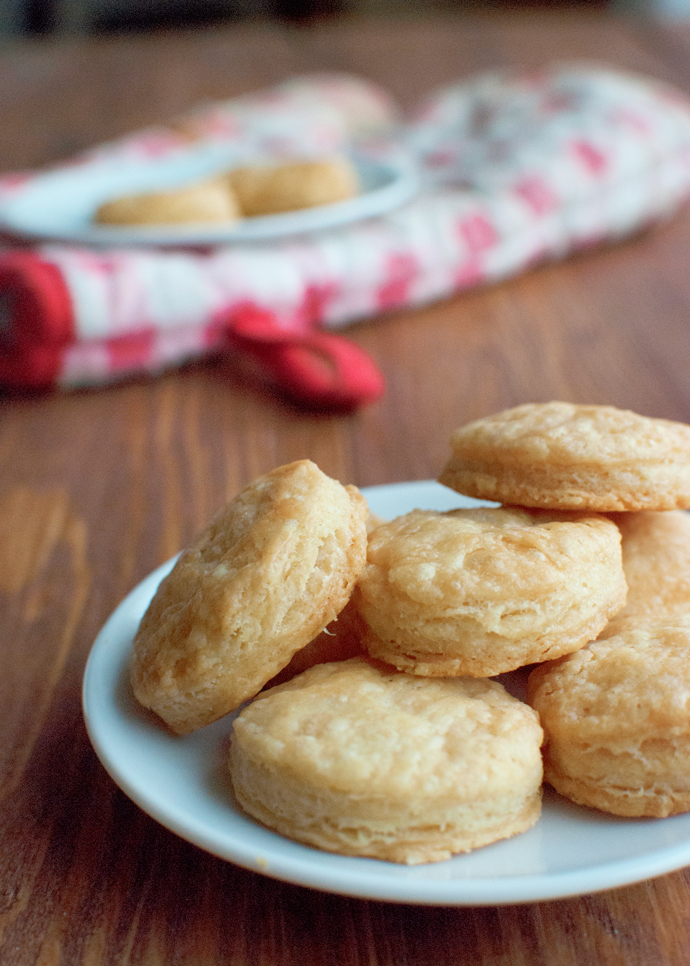 Not too shabby, right? They were delicious too! But more on that later. Let’s keep it scientific for a little longer…
So what are some reasons why you shouldn’t use butter in your pie crust. Well, to get a flaky pie crust, you want the fat in your dough to be kind of chunky. Small chunks of fat in your dough equals a flaky pie crust. As the pie bakes and the fat melts, the water in the fat will evaporate, creating steam, which causes the dough to rise. More importantly, the steam creates little air pockets, and it’s these pockets that give your pie crust a flaky texture. However, because butter has a very low melting point, it’s easy to unintentionally melt the butter into the flour when you’re making the dough. If this happens, the hot air from the oven cannot create the air pockets that ensure a flaky crust and the resulting crust will be unpleasantly tough.
Therefore, if you decide to use butter in your pie crust, it’s really important to prevent the butter from getting too warm. Using cold butter straight out of the fridge and ice water is essential. As is working as fast as you can. Also, I wouldn’t recommend working all-butter pie dough with your hands too much, because the heat of your hands can quickly ruin it. Aka: try to avoid handling it too much!
Having said that, the low melting point of butter also gives the finished pie an incredible mouth feel, because the butter will literally melt in your mouth. On top of that, the flavor of butter is said to be a lot better than the flavor of lard or shortening.
And even though I haven’t tried the other fats yet, I’m already thinking that might be true!
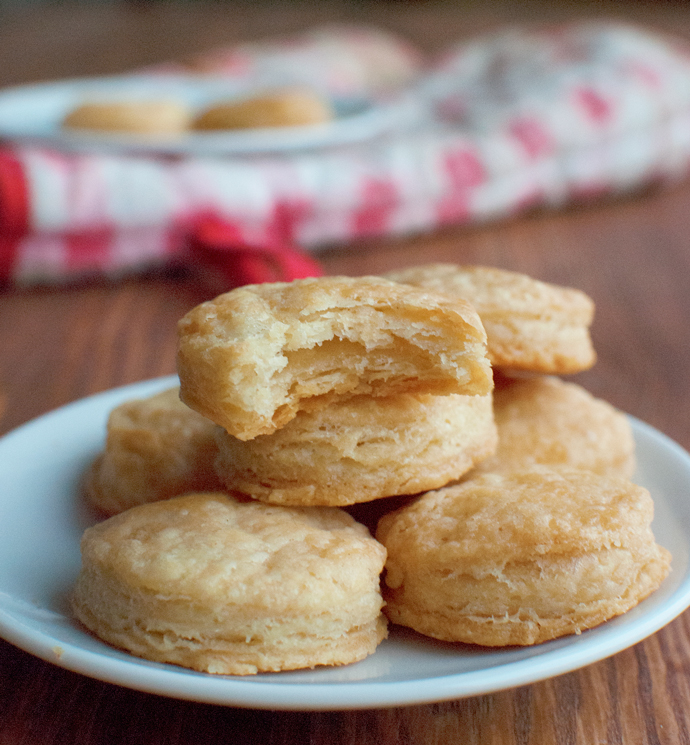 I loved this crust! The flavor was spectacular! Buttery, homey and very delicious. The flavor of these test cookies actually made me think of fresh croissants and puff pastry! Sooooo good… And the texture? The texture was amazing! Incredibly flaky! Again: it reminded me of puff pastry. Just look at the photo: you can really see the air pockets in there! Keeping the butter cold definitely worked for me and the resulting pie crust cookies were flaky and tender. Not crumbly in the least, just flaky. Perfect for a pie!
I might be biased already…
Next up: trying to find a pie plate so I can make an American apple pie!
- 155g (or 1¼ cup) all-purpose flour
- ¼ teaspoon table salt
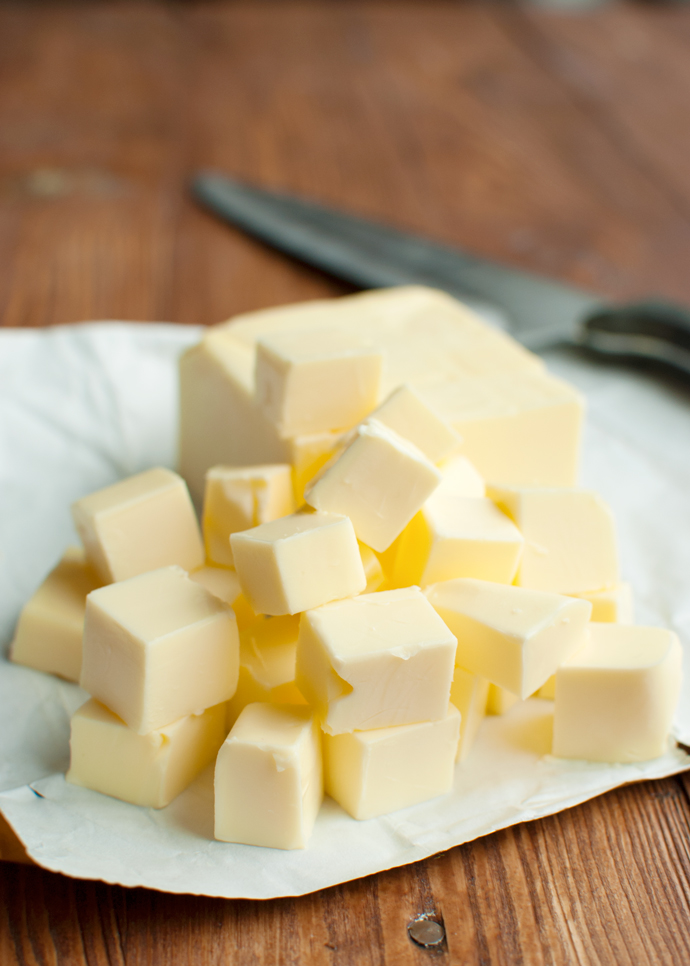
- 113g (or ½ cup) cold unsalted butter, cubed
- 2-4 tablespoons of ice water
- Combine the flour and salt in a medium-sized bowl. Stir together with a fork until combined.
- Add the cold, cubed butter. Toss with the flour, then use a pastry cutter to work the butter into the flour mixture. You want the butter to become somewhat incorporated but the mixture should still look very crumbly, with pea to hazelnut sized pieces of butter in it.
- Once the butter has been worked into the flour, add 2 tablespoons of water and stir with a rubber spatula. Use it to press the dough against the sides of the bowl. If the dough doesn't clump together, add another tablespoon of water until it comes together in big clumps.
- Using your hands, quickly press the dough into a flat disc. Wrap the disc in plastic wrap and leave to chill in the fridge for one hour. In the meantime, preheat your oven to 175°C/350°F and line a cookie sheet with baking parchment.
- Once the dough has properly chilled, roll it out between two sheets of baking parchment to a thickness of about 5-mm (or one fifth of an inch).
- Use a cookie cutter to cut out cookie shapes (mine were about 5-cm/2-inches in diameter), place the cookies onto the lined cookie sheet and bake in the middle of the oven for about 15-18 minutes, or until slightly browned.





Now I’m really curious about Dutch pies.
Don’t worry, I’ll post a recipe for Dutch Apple Pie soon 😉