 Welcome to the last post of ‘The Perfect Pie Crust‘ series! Wait, what? No, you didn’t misread that. This is the last post of the series. So far, I’ve tested an all-butter crust, an all-shortening crust and an all-lard crust. I know I said that I was also going to test crusts made with a combination of different pie fats, but frankly, I’m bored. Bored with pie crusts, pie fats and – yes – pies.
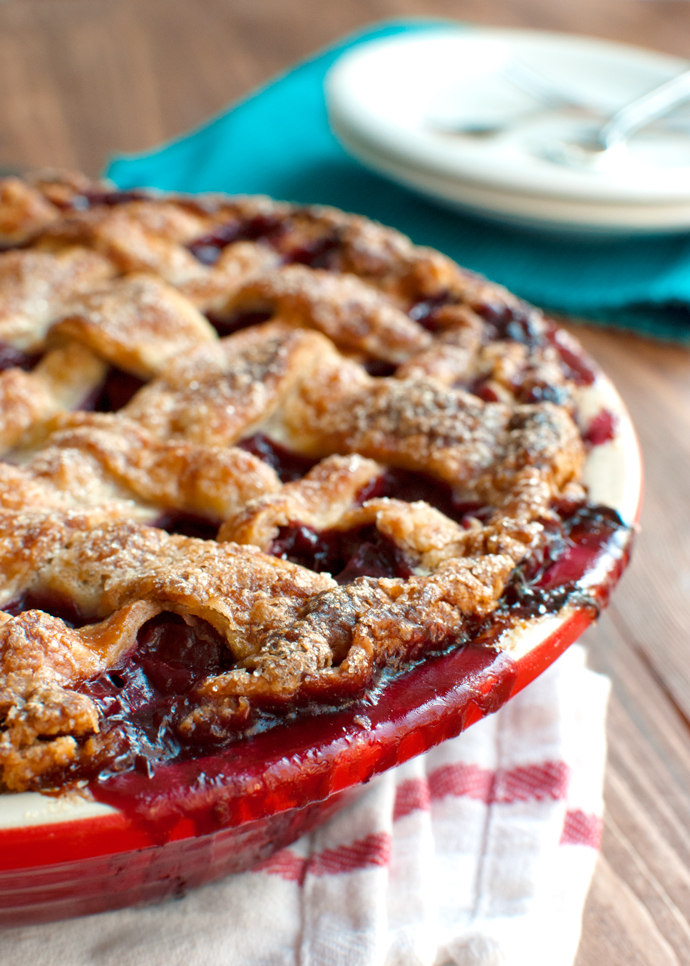
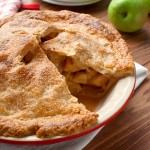
Don’t get me wrong, pies are delicious! And this cherry pie sure was good. I think it’s the perfect recipe to end this series with: it’s flaky, buttery and stuffed with juicy, tart cherries. But this is definitely the last pie recipe for now. Why you ask? When pies are so delicious and fruity and perfect for summer? The answer is simple: I’ve been dreaming of carrot cupcakes with a swirl of tangy and sweet cream cheese frosting. Of cream crowdie ice cream studded with caramelized oats and fresh raspberries. Of sweet banana muffins with chocolate chips and cinnamon…
Like I said: pie and I are done for now.
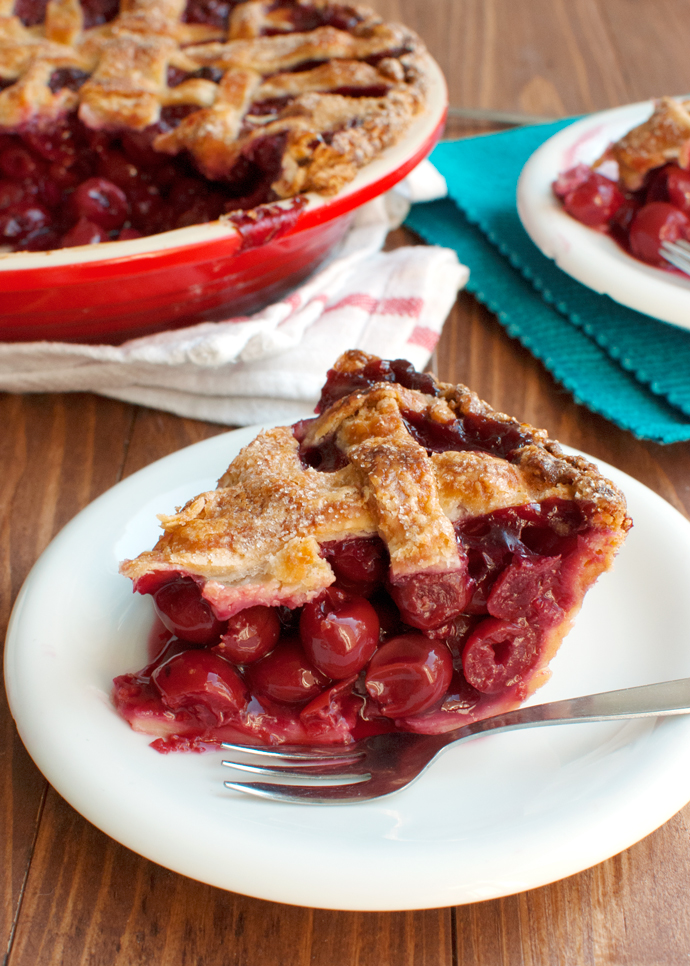
Although this photo just nearly changed my mind… Yum!
 But seriously, no more pies for me these coming weeks. I want something else…
Besides, the whole point of this series was figuring out what pie fat makes the best and flakiest pie crust. And after all the testing that I’ve done so far, I’ve already pretty much figured out which pie fat I’ll be using from now on: butter. Butter, butter beautiful butter! Not only is it the most convenient of the pie fats tested, it’s also has the best flavor. Shortening is expensive, hard to come by in the Netherlands and the most unhealthiest of pie fats. Plus, it can give your pie crust a weird aftertaste. Leaf lard is simply a pain to render properly yourself, and I want to feel zen in the kitchen. Baking should be fun… Plus, butter makes the flakiest crust if you incorporate it into the flour properly. Sure, the all-shortening crust and all-lard crust were flaky too, but not like the all-butter crust. Besides, they were also a lot crumblier. And crumbly just isn’t the same as flaky!
But how do you get a pie crust flaky?
Well, key to a gorgeously flaky pie crust is keeping the butter (’cause that’s what you should use) cold. So for a gorgeously flaky pie crust, you first need to make sure that the butter and water you’re using are really cold. Add ice cubes to the water. Keep the butter in the fridge right until you need it. You can even ‘freeze’ your mixing bowl, pastry cutter and flour before making the dough if it’s a hot day! It helps to keep the butter cold. Also try not to handle it with your hands too much. Really, making a flaky pie crust is all about keeping the butter from melting before the pie dough goes into the oven. If you do that – and make sure to not cut the butter too small with the pastry cutter – your dough should bake up flaky and beautiful!
Check out my post on all-butter pie crust for some photos of what your butter-flour mixture should look like if you’re unsure about making pie crusts.
 Oh and just a little tip: if you’re a big fan of crimped edges, you may want to throw a little shortening in your buttery pie dough as well. You see, the thing with using butter in a pie crust, is that crimped edges just completely bake into an edge of rustic rusticness in the oven. If you don’t like this, replace part of the butter (say, 25%) with shortening.
I haven’t tried this myself (because I don’t care much for perfect cut-outs and gorgeous edges), but apparently Gesine Bullock-Prado does this whenever she feels like making a pretty pie. You know Gesine? I love her! She’s funny, she’s smart and – wait, did I tell you she’s funny? Plus, she’s practical. Like me. That’s why I’m sticking with butter. I’m not really planning on spending free Saturday afternoons rendering lard. Like, duh! I’m also not fooling myself into thinking that I’m going to visit that one little store in my area that carries shortening every time I crave a piece of pie.
For me, butter it is. It’s practical. Like me.
 And although I didn’t use any shortening in this particular pie crust, I think it looked really good!
By the way, I used bottled cherries in this pie, because I don’t have a cherry pitter and don’t like pitting cherries by hand. Like I said: I’m practical. And this pie was delicious!
Enjoy!
- 900g (or 4 cups) drained, bottled cherries
- 480 (or 2 cups) cherry syrup from the bottled cherries
- big pinch of table salt
- 5 teaspoons corn starch
- ½ teaspoon vanilla extract
- 1 teaspoon kirsch or raspberry eau de vie (optional)
- 250g (or 2 cups) all-purpose flour
- ¼ teaspoon salt
- 1 tablespoon granulated sugar
- 180g (or ¾ cup + 2 teaspoons) unsalted butter
- 6-8 tablespoons of buttermilk
- 1 egg, beaten with 1 tablespoon of water
- coarse granulated sugar for sprinkling
- Place the cherries in a heatproof bowl. Combine the cherry syrup and salt in a medium-sized pan. Place the pan over medium-high heat and allow the syrup to come to a simmer, stirring occasionally to dissolve the salt.
- In the meantime, combine the cornstarch with a few tablespoons of the syrup (from the pan) in a small bowl. Stir until smooth.
- Once the syrup is simmering, add the cornstarch paste, whisking continuously to prevent lumps. Keep whisking while you allow the syrup to thicken and come to a boil again. Once the syrup has thickened, remove the pan from the heat and allow to cool slightly.
- Stir the vanilla and kirsch or eau de vie into the syrup, then pour the syrup over the cherries in the bowl. Allow to cool to room temperature.
- In a large bowl, stir together the flour, salt and sugar. Add the cubed butter and use a pastry cutter to work the butter into the flour. What you want is a crumbly mixture with pea-sized pieces of butter in it. It’s okay if there are a few bigger or smaller pieces of butter, as long as majority of the butter chunks is pea-sized.
- Add the buttermilk and stir with a wooden spoon or with a rubber spatula until the dough comes together. Using your hands, divide the dough into three equal chunks. Quickly press two of the chunks together in a flat disc. Wrap with plastic wrap and place in the fridge to cool. Shape the other dough chunk into a flat rectangular shape, wrap with plastic wrap too and place in the fridge to chill. Allow the dough to chill for at least one hour.
- preheat your oven to 175°C/350°C (standard oven setting) and place an oven rack in the bottom third of the oven. My oven has four rack positions, so I placed the rack on the second shelf from the bottom.
- Take the dough disc out of the fridge and roll it out between two lightly floured pieces of baking parchment until it’s about 30-cm/12-inches in diameter. By rolling it between two sheets of baking parchment, the dough is less likely to stick.
- Gently peel the top sheet of parchment off of the dough, then lightly flour the dough and place the parchment back on. Flip the dough (including the two pieces of parchment), peel the other piece of parchment off the dough and lightly flour this side of the dough too.
- Carefully transfer the floured dough to a 9-inch pie dish, allowing it to ‘fall’ into the dish, instead of pushing the center of the dough down. With a sharp knife, cut away any overhanging dough. Place the pie dish in the fridge to chill.
- Take the rectangular piece of dough out of the fridge. Roll it out between two new sheets of lightly floured baking parchment until it’s about 26-cm (or 10½-inches) long and 18-cm (or 8-inches) wide. Using a sharp knife, cut six 1-cm or ½-inch strips and four 2-cm (or 1-inch strips).
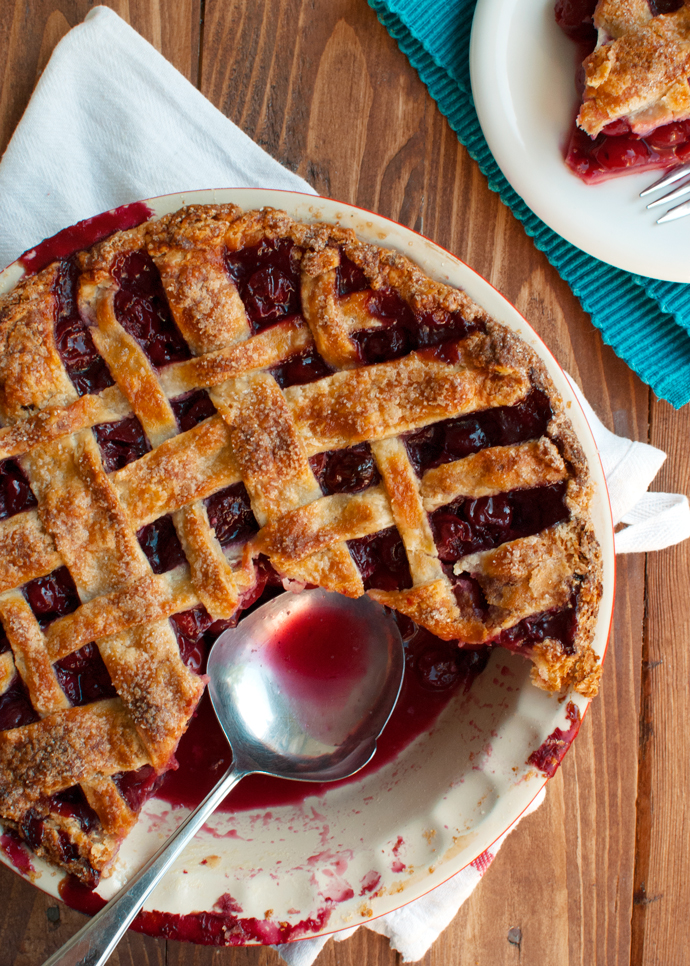
- Remove the pie dish from the fridge and fill it with the cooled cherry filling. Lay three thin and two thick dough strips over the filling then weave the remaining dough strips through in an under-and-over pattern to create the lattice top.
- Roll the edges of the pie inwards, slightly over the dough strips, to create a nice edge. Brush the lattice top and the edges of the pie with the egg wash, then sprinkle generously with granulated sugar.
- Bake for 75 minutes, or until the juices are bubbly and the lattice top has turned a gorgeous golden brown. Once the cake is done, remove from the oven and allow to cool completely before cutting into it. Enjoy!


what a beautiful pie. i’d love a slice a la mode!
Me too! But I didn’t have any ice cream 🙁
Oh! I have always wanted to make a cherry pie and now I want to even more! Thanks for the tips!
Thanks Jess! Let me know how it turned out 🙂
just wow! love your cherry pie and your pictures!! so gorgeous!
Thanks Erika! I loved the crust on this pie 😉