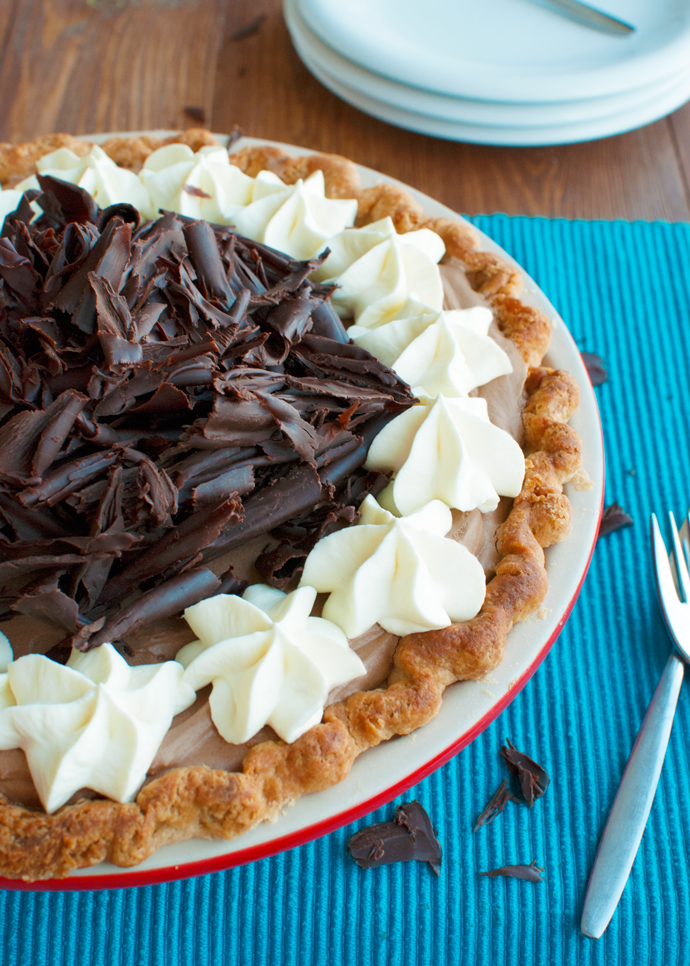
 I have been wanting to make this pie for ages! Ever since I first read about it on the Pioneer Woman’s blog. I fell in love with it the moment I laid eyes on it. It looked so silky and luxurious. So tempting in a French way. I couldn’t wait to sink m teeth in it and I almost licked my computer screen!
Yet it took me – say – a good five years before I finally whipped it up.
I know what you’re thinking right now: why on Earth did it take me so long to make it? I honestly don’t have a clue. Though it might have something to do with the thousands of recipes that are still on my to-bake list. Or maybe it’s because, up until a few weeks ago, I had never made pie in my life. Or maybe it’s because I was busy. And I’m easily distracted. And quite forgetful. And a bit of an airhead sometimes.
But maybe me forgetting to bake this fabulous pie for so long was only for the best. After all, I’m doing a series about pie right now. And what better time to make a chocolatey French Silk Pie than when you’re doing a series about pies?
So here it is!
French Silk Pie: silky, smooth, chocolatey and covered with homemade chocolate curls. Are you hungry yet?
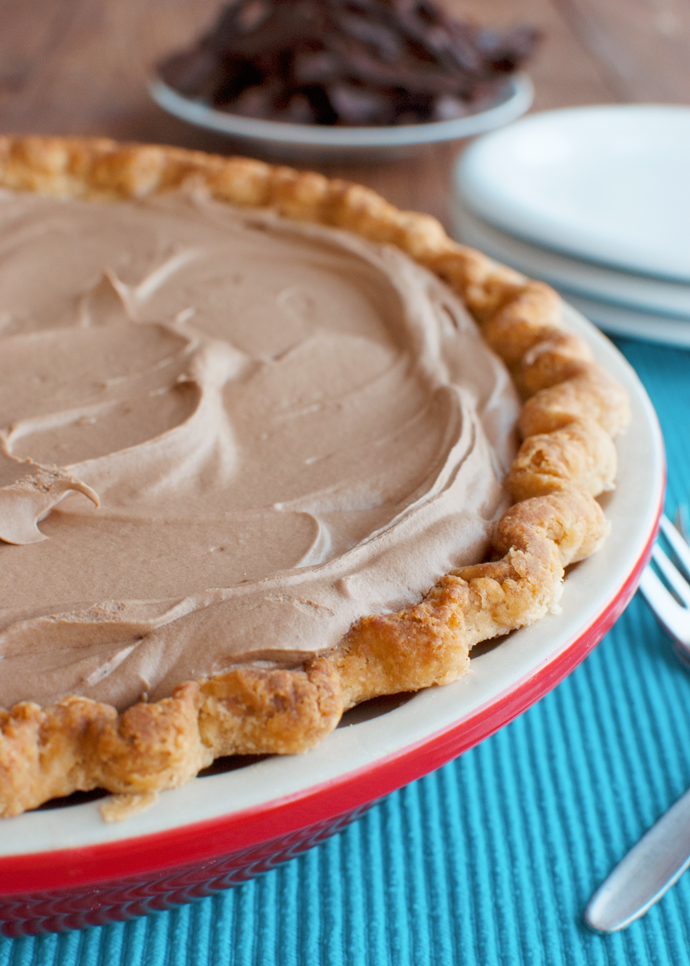 And see that crust? It’s an all-shortening pie crust. Because my last post was about all-shortening crusts remember? I thought it was appropriate. It’s not the same crust I tested in my last post though. It’s actually the Pioneer Woman’s recipe. Besides the obligatory shortening, flour, salt and water, her “Perfect Pie Crust“ (as she calls it) also contains a little vinegar and an egg.
Eggs are often added to pastry to make it more tender. They also affect the color of the final product because they promote the browning of the crust. Vinegar, because of its acidity, also helps for tenderness. Here’s how that works: for most sweet pastries, you don’t want a gluten structure to form. That’s why cookie dough, for example, is never kneaded and bread dough is. By kneading, a gluten structure is formed, which makes the dough elastic. Pie dough should not be kneaded for this reason; you don’t want it to become elastic and tough. Instead, you want it to flake. Acids – like lemon juice and vinegar – prevent a gluten structure from forming, therefore ensuring that the final pastry is tender.
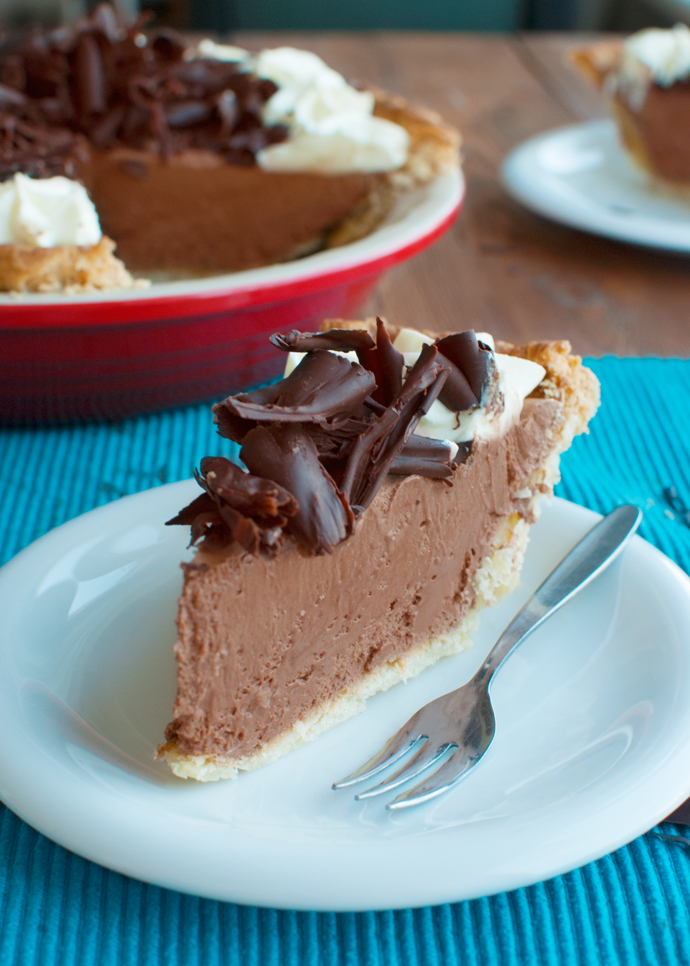 So what did I think of the crust?
Well, I have to admit that I didn’t taste the crust on its own. I only tasted it paired with the chocolate filling. Yet I noticed that this crust was less crumbly than the pie crust I tested in my last post. However, this can also be due to the fact that PW’s recipe has a higher fat-to-flour ratio than my recipe.
Flavorwise, don’t be afraid that the crust will have a sour taste because of the vinegar. You can’t taste the vinegar in the final product. I think this is actually a pretty good crust!
Buuuuuuuut….
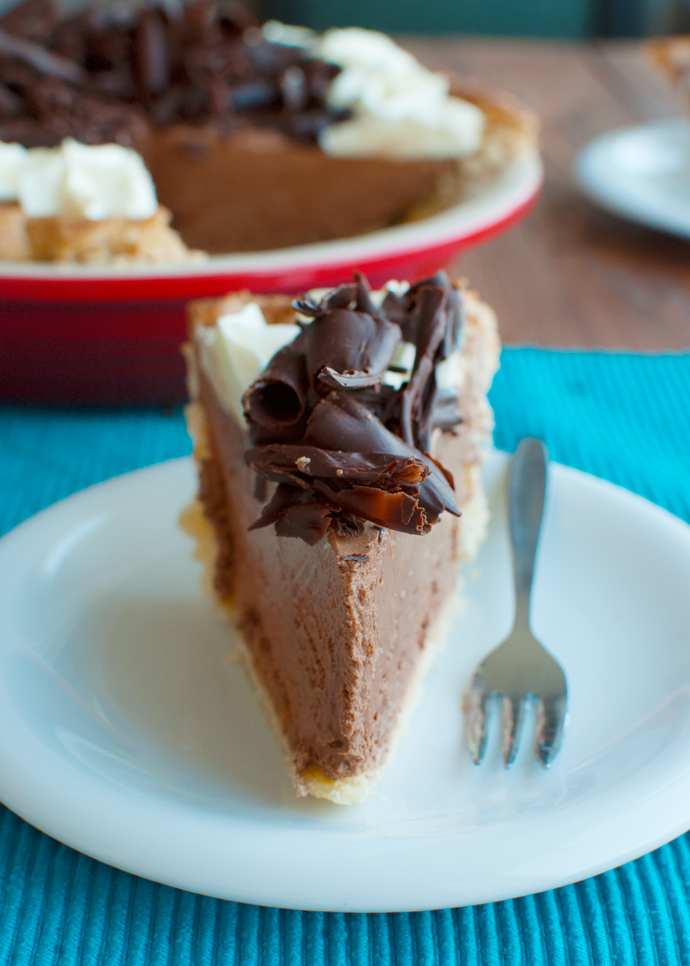 … let’s talk about the filling.
First note that this filling isn’t for everybody. Aka: not for old people, sick people, little kiddies and people with compromised immune systems. Or people with an irrational fear of salmonella. Yes, this pie contains raw eggs…
But let’s not talk about the raw eggyness of the filling, let’s talk about the deliciousness of the filling instead. The filling is truly the best part of this pie. By far! Wait, that wasn’t dramatic enough… By FAAAAAAAR!!! I liked the crust and all, but in the end, I found myself going back for a second piece – okay, a third piece! – because of the filling. And when I ate that third – okay, fourth! – piece, I found myself scraping the filling from the crust, leaving the crust on the plate.
Again, the crust was great: it was flaky, tender and a breeze to whip up. But the filling was glorious. Smooth. Perfect. It totally, completely overshadowed the crust. TOTALLY!
Just look at it…
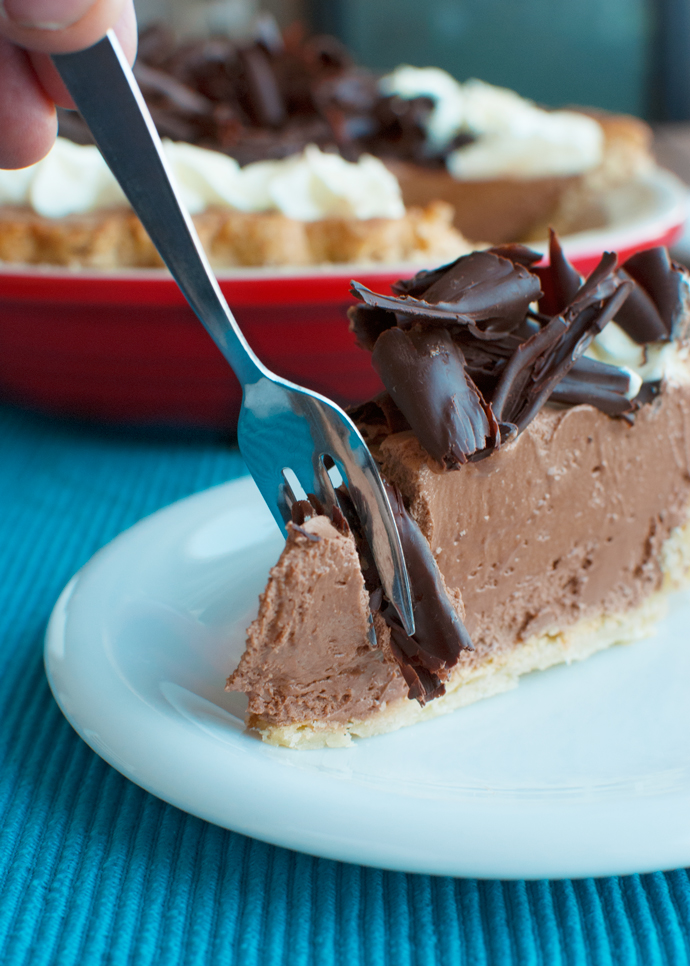 Chocolatey goodness…
Enjoy!
- 375g (or 3 cups) all-purpose flour
- ½ teaspoon table salt
- 300g (or 1½ cups) vegetable shortening
- 5 tablespoons cold water
- 1 large egg
- 1 tablespoon white vinegar
- 1000g (or 2 pounds) dry, uncooked rice (or baking beans)
- 120g (or 4 ounces) dark chocolate
- 226g (or 1 cup) salted butter, at room temperature
- 300g (or 1½ cups) granulated sugar
- 1 teaspoon vanilla extract
- 4 large eggs
- 90g (or 3 ounces) dark chocolate
- 1 tablespoon vegetable shortening
- 180ml (or ¾ cup) whipping cream
- 2 tablespoons granulated sugar
- Combine flour and salt in a large bowl. Stir together to combine. Using a pastry cutter, work the shortening into the flour until there are pea- to hazelnut-sized pieces of shortening visible in the dough.
- Add the water, egg and vinegar and, using a wooden spoon, stir until the dough comes together.
- Divide the dough in two equal chunks, shape the chunks into flat discs and wrap each disc in plastic wrap. Place in the fridge to chill for about one hour.
- In the meantime, preheat the oven to 200°C/400°F (standard oven setting) and place an oven rack in the bottom third of the oven. My oven has four rack positions, so I placed the rack on the second shelf from the bottom.
- Once the dough has chilled, roll it out between two lightly floured pieces of baking parchment until it’s about 30-cm/12-inches in diameter. By rolling it between two sheets of baking parchment, the dough is less likely to stick.
- Gently peel the top sheet of parchment off of the dough, then lightly flour the dough and place the parchment back on. Flip the dough (including the two pieces of parchment), peel the other piece of parchment off the dough and lightly flour this side of the dough too.
- Carefully transfer the floured dough to a 9-inch pie dish, allowing it to ‘fall’ into the dish, instead of pushing the center of the dough down. Fold the overhanging dough underneath the dough to form the pie crust. Crimp the edge to make the crust look pretty. If you don’t know how, check out some youtube video’s.
- Crumble up a large piece of baking parchment. Smooth the parchment out again and use it to line the pie crust. Snug the lining right up against the edges and sides of the crust. Fill the parchment with the uncooked rice or pie weights. Make sure the rice covers the bottom and presses against the sides of the crust. This will ensure that the bottom of the crust won’t rise and the sides won’t collapse.
- Bake the crust for about 15-20 minutes, or until the edges are light golden.
- Remove the pie crust from the oven and remove the pie weights (the rice) by lifting the parchment out of the pie dish by its four corners. Transfer the rice to a plate to cool.
- Place the crust back in the oven for another 5-7 minutes, or until the bottom of the crust has turned a golden brown.
- Once baked, remove the crust from the oven and allow to cool to room temperature.
- In the bowl of a double boiler, melt the chocolate until stirrable. You can also melt the chocolate in the microwave (it’s actually easier) but I don’t have a microwave. Allow the chocolate to cool to body temperature.
- In the meantime, combine the butter and sugar in a large bowl. Mix together until fluffy. This should take about two minutes. Add the cooled (but slightly warm) chocolate and the vanilla and mix again for two minutes.
- Add the first egg and mix for exactly five minutes with your mixer set to medium-speed. After the five minutes, add the second egg and mix for another five minutes. Once the egg is properly mixed in, so after the five minutes, mix in the third egg, mixing for another five minutes. Finally, add the fourth egg and, again, mix for five minutes until the mixture is fluffy, smooth and cloudy. When you rub some of the mousse between your fingers, you should no longer feel any sugar crystals.
- Plop the mousse into the cooled pie crust, smooth the it out and place the pie in the fridge for at least two hours. I actually left mine in the fridge overnight.
- In the bowl of a double boiler, combine the chocolate and shortening. Heat until the shortening and chocolate have melted. Stir together.
- Pour the melted mixture onto a flipped metal cookie sheet or baking sheet (so you’re pouring it onto the bottom). Spread the chocolate in a thin layer with a spatula and place the cookie sheet in the fridge until the chocolate mixture has set, about 15 minutes.
- To test whether the chocolate is ready, do the fingerprint test. When you press your finger onto the chocolate, it should leave a slight mark, but not an actual depression.
- Using a sharp-edged spatula, scrape the chocolate from the bottom of the pan. If the chocolate is too cold, it will crumble. In that case, allow it to warm up a little by leaving it for two minutes. If the chocolate is too warm, it will get too soft to curl. In that case, place it back in the fridge for a couple of minutes.
- Scrape along the bottom of the pan until you have a plate full of curls. Place the curls in the fridge until use.
- When you’re ready to serve, whip up the cream with the sugar. Pipe little cream roses along the edge of the pie and pile the chocolate curls into the center. Enjoy!







i’d like a piece right now!
Me too 🙂
The filling in that pie looks bloody good
Thanks 🙂 I soooo agree!
Mmm it looks so yummy I want to make (or just eat) one right now! 😉