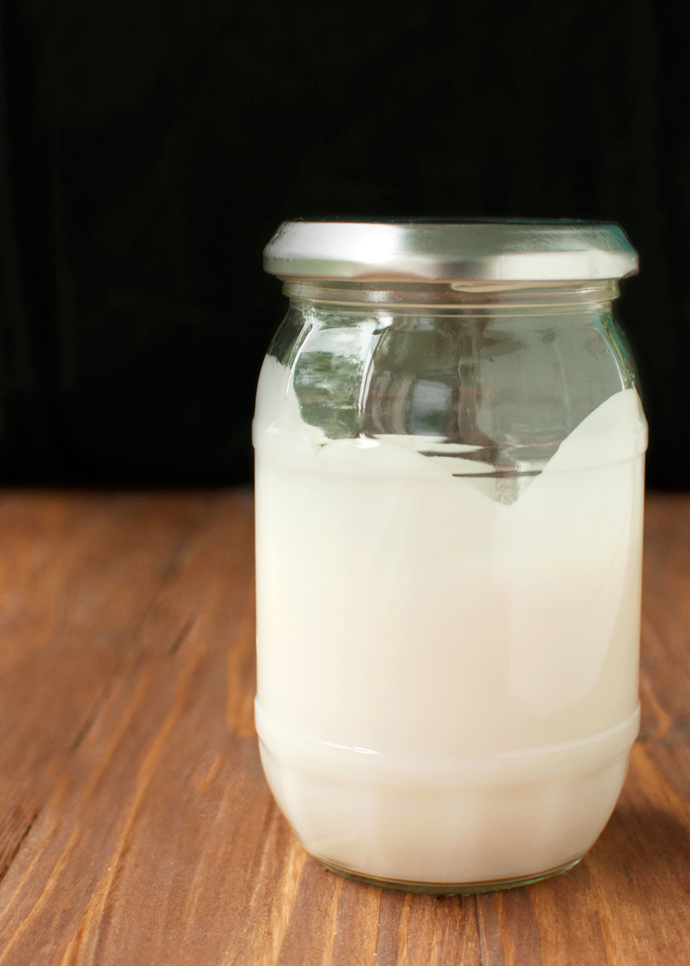
 Just a heads up: the photos in this post are nothing like the other photos on this blog. No pretty cakes, no cookies with melting chocolate chunks and no delicious scoops of ice cream. Unfortunately, there’s nothing particularly yummy about today’s photos.Well, Lucy might disagree with me on that… But if you’re not a member of the canine family, these pictures probably won’t whet your appetite. And if you’re squeamish, you may even find some of the photos in this post a bit yucky! Why? Because we’re rendering leaf lard today! For pie crust!
Leaf lard is basically the fat found around a pig’s kidneys. Sounds yummy, right? Um, NOT! Still, it’s the best lard you can get, especially if you want to use it for baking. You see, leaf lard, as opposed to other types of lard, doesn’t taste very porky or meaty. In fact, when rendered right, it should be completely odorless and flavorless.
But like I said, that’s when rendered right…
Render it wrong, and it will most-definitely-believe-you-me taste porky!
But let’s not get ahead of myself…
 As the title of this post suggests, me rendering lard has everything to do with my series about finding The Perfect Pie Crust. And yes, those four capitals are totally appropriate here. After all, The Perfect Pie Crust is the holy grail of home baking and some home bakers swear by lard when it comes to pie crusts. Leaf lard, that is. It’s said to make pie crusts super flaky and moist and perfect.
And perfection is what I’m after.
The only problem with using lard in pie crusts, is that it can be hard to find these days. First of all, I couldn’t get my hands on any pre-rendered lard. It would have been so easy to just order a big tub of pre-rendered, ready-to-use lard and be done with it, but unfortunately I couldn’t even get it online. Well, I could have, but ordering online would mean that my little tub of ready-made lard wouldn’t be delivered for another three weeks. And patience is not one of my – nevertheless many – virtues…
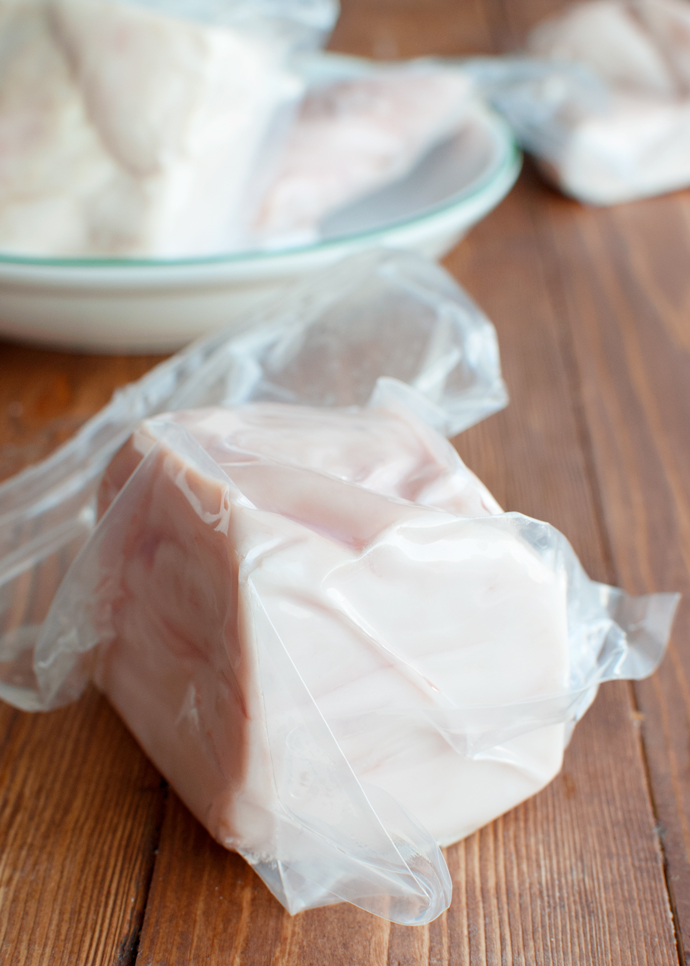
So rendering my own it was! Which meant that I had to get myself some unrendered lard. Which was just as tricky to get as the rendered stuff. None of the butchers in my area had it in stock when I asked them. Luckily, however, one of those butchers offered to order it for me. One week later, I brought home three pounds of vacuum-packed, frozen leaf lard. Well, actually the Rocking Rebel – aka: my perfect boyfriend – did…
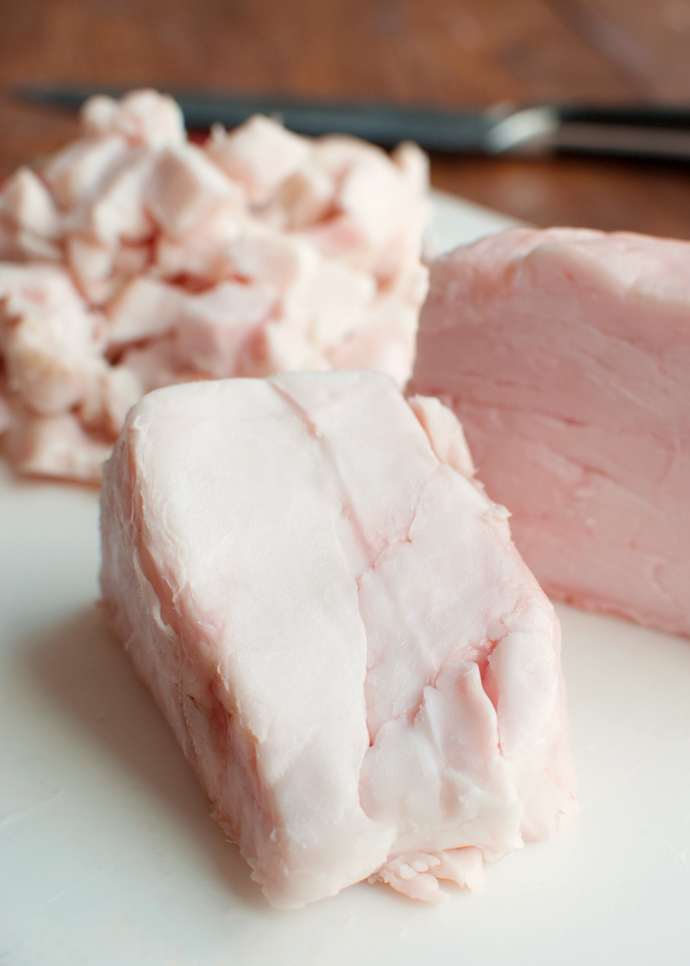 Leaf lard straight out of the pig is whitish, with just a hint of pink. It’s firm to the touch and when you cut into it you’ll see that it’s not a big solid block, but that it is sectioned. I don’t know why this is. I’m not a butcher. Or anyone who knows much about the anatomy of pigs for that matter.
What I do know is that the lard in its unrendered form consists of meaty bits and fat.
And while we’re at it, let’s talk about that fat a little. I talked about saturated and unsaturated fats in my post on All-Shortening Pie Crust. Because lard is an animal fat, most people are under the impression that it’s saturated, aka: bad for your health. However, lard actually contains high levels of unsaturated fat. In fact, according to the Toronto Star 60% of the fats found in lard are monounsaturated fats, and monounsaturated fats are associated with a decreased risk of heart disease. Only 40% of the fats found in lard are saturated. Butter is only 45% monounsaturated fat, so I guess you can say that lard is healthier than butter!
Who would have thought?!
 Anyway, rendering the lard means getting rid of the meaty bits and melting out all of the fat. And melting means heating.
Leaf lard melts at a temperature of about 45°C/115°F. This means that it doesn’t melt as easily as butter and that it won’t melt in your hands. Which makes sense, otherwise all those cute little piggies would walk around with molten fat inside their bellies all the time.
There are a few different ways to render lard. You can render it in a pan on the stove top, in the oven or in a crock pot. I tried rendering in the oven and on the stove top, in a cast-iron pot.
Apparently, a crock pot is particularly perfect for rendering lard. You see, when you’re rendering lard, you don’t want it to burn. In fact, you don’t even want your meaty bits to brown as the fat melts. If this happens, the browning meaty bits will give the melting fat a porky flavor. If you’re just planning on frying things with the rendered lard, that’s fine. It might even taste great! But if you want to use your rendered lard for baking, you want your lard to be pure and odorless.
Key to keeping your lard odorless and perfect is melting it at a very low temperature. I bet a crock pot would be great for this, but I don’t have one. If you do have a crock pot, use it! I’ve seen great step-by-step instructions on rendering lard in a crock pot online!
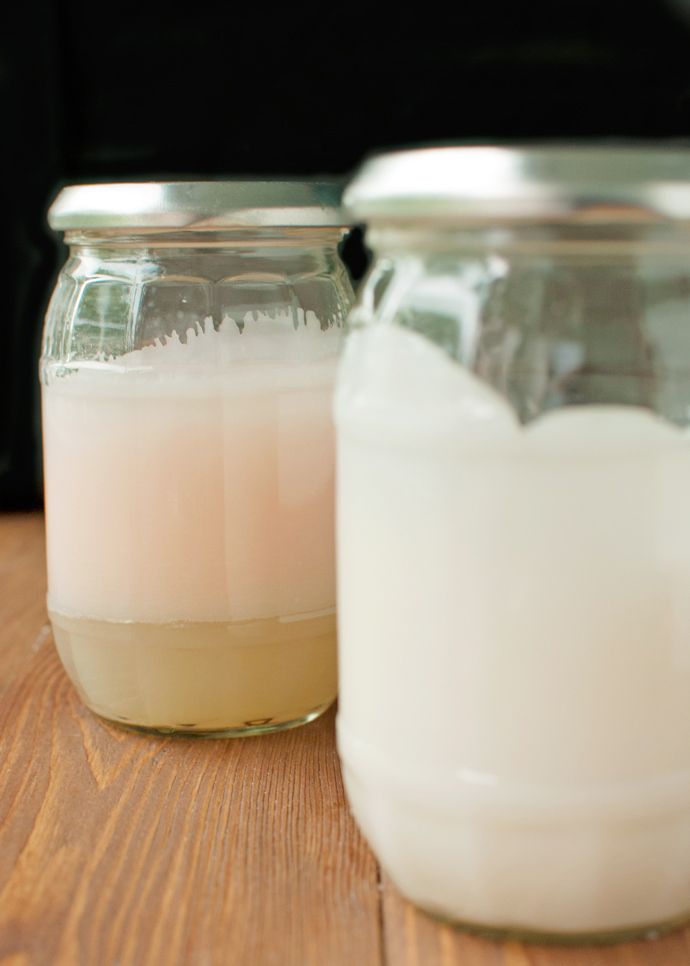
By the way, the left jar in this photo contains badly rendered lard. It was pink and porky. And that mysterious layer at the bottom of the jar? Probably water that didn’t evaporate.
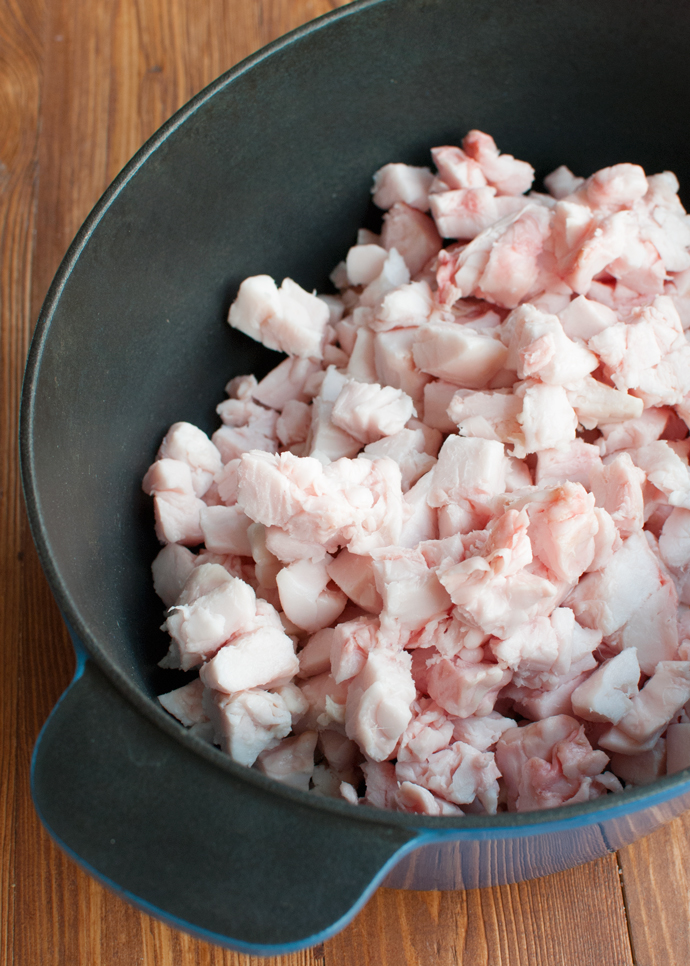
 Whatever method you decide to go with, first chop the lard into small chunks. As small as you can bear chopping them. If you have a grinder, use it! It makes life so much easier! Since I don’t have a food grinder, I just chopped the lard into 1-cm/½-inch cubes and threw them in a Dutch oven, ready for the stove top.
But…
I won’t go over the process of rendering the lard with you. I’m not an expert. Besides, I thought it was tedious, time-consuming, confusing and difficult. And smelly. And it’s definitely one of those things that take practice. Like tempering chocolate and parallel parking.
When I rendered the lard on the stove top, I had no idea whether I should allow the fat to bubble (boil?) or not. I was terrified of burning it. At some point I was so sure I ruined the entire batch that I just strained off the liquid fat and hoped for the best. I didn’t even fry any of the meaty bits, which are supposed to be delicious!
But hey, that batch did turn out beautiful! Guess I was wrong about the burning. After it had cooled, it was gorgeously white, odorless and perfect.
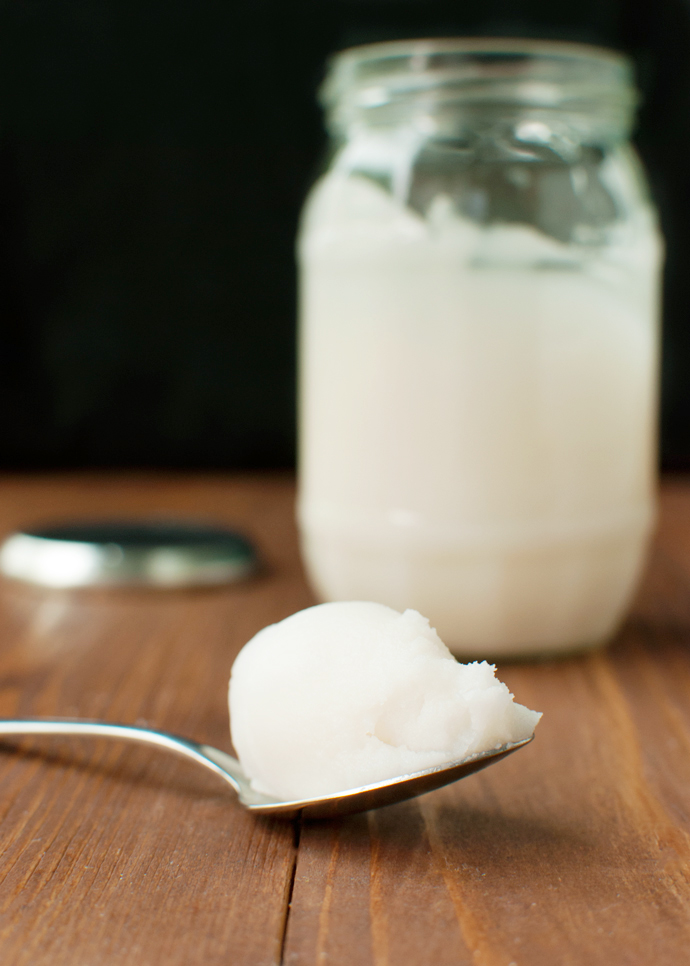 The lard that I rendered in the oven is a completely different story, though…
To keep it from burning, I added some water to the pot of lard, after which I placed the pot in a 75°C/170°F oven. The fat definitely rendered, but the water never evaporated. Plus, it took ages and ages and ages! And worst yet, the rendered lard turned out all pink and porky, with a visible layer of water underneath. Not ideal… Definitely not what I would want to use in a pie.
Oh, how I love how I can just go to a supermarket and get as much butter as I want…
So, my words of wisdom for you: don’t try to render your own lard. If you render lard all the time and know how to do it, go for it. But it’s too much of a hassle for me. I’m not going to render my own lard every time I want to make pie. Call me lazy. Call me an idiot. Call me a genius.
If you’re interested in how others do it, I thought these posts were extremely helpful:
- Sonia from The Healthy Foodie renders back fat on the stove top, but you can use leaf lard for baking.
- Diana from My Humble Kitchen has a great crock pot method.
Enjoy guys. Next post: all-lard pie crust! Because I may not like rendering lard myself, I still can’t wait to try an all-lard pie crust!
