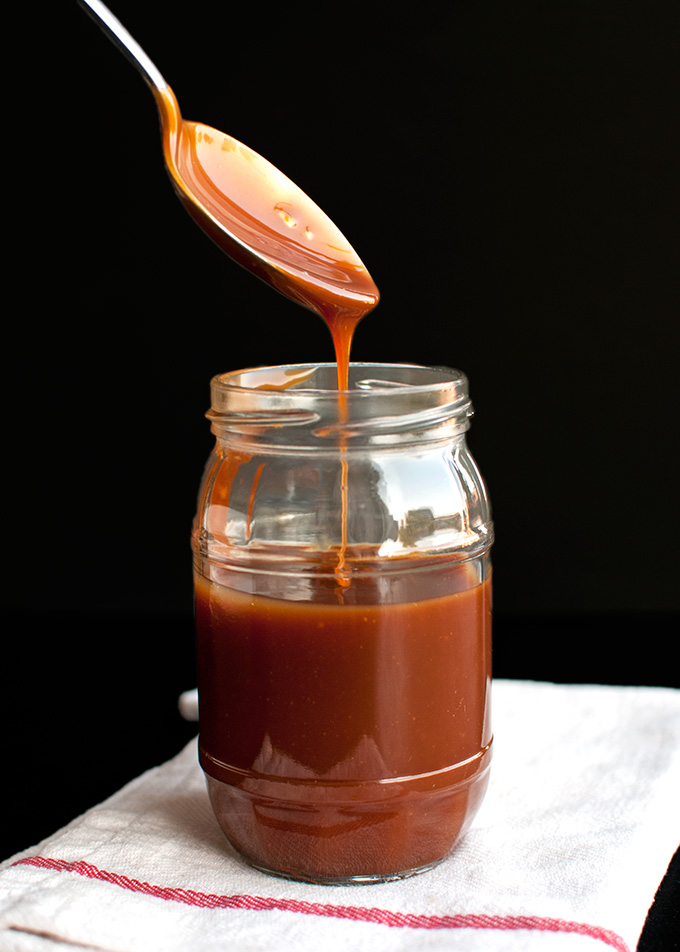
 All right. How to make a wet caramel. In my last post, I explained all about the difference between wet and dry caramel. Just to recap: dry caramel is made with just sugar. This makes dry caramel more difficult to make because it burns quite easily and the sugar crystals can clump together, resulting in grainy caramel. Wet caramel is made by first dissolving the sugar in a little water and then allowing it to caramelize. Not only is this method about a million times easier because the sugar caramelizes very evenly (meaning it’s less likely to burn!), there’s also zero chance of grainy caramel because all the sugar crystals dissolve. Oh, AND wet caramel tastes better apparently, because the caramelization process takes a bit longer.
I guess you can tell: I’m in the wet caramel camp 😉
But. There is still one thing about the wet method that you should be aware about. When you make caramel this way, the sugar syrup can crystallize. In all honesty, this has only happened to me ONCE, and I’ve made about a hundred batches of caramel this way. So I don’t think you should worry about crystallization that much.
That said, let’s get down to business. How to make wet caramel.
First of all, you need some tools. For starters, a light-colored saucepan. I prefer to use a saucepan for wet caramel, but you can certainly use a skillet. Do make sure that whatever pan you use has a light color, because this makes monitoring the color of the caramel (aka: its doneness) as it cooks soooo much easier. Also, make sure it doesn’t have a non-stick coating, because these can release toxins when exposed to high heat. But wait, you guys know this. You read through the ‘Tools’ section of my last post, right? If you missed that post, go read it now, because it contains crucial (yes, crucial!) information about the science that is caramel making!
I’ll just hang back here a bit…
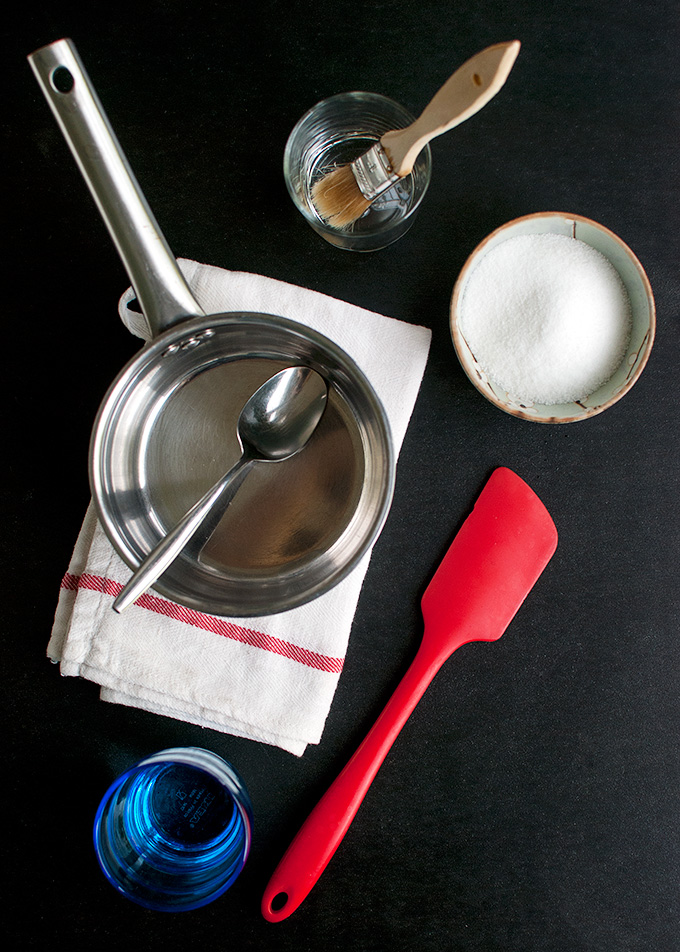 Right. Tools. For wet caramel, you need a pan (obviously), but you also need a stirring utensil to help dissolve the sugar into the water. Some people prefer a wooden spoon, but I always use an ordinary metal tablespoon.
As I explained in my last post, wet caramel can crystallize. By dissolving the sugar in water, you create a sugar syrup. As you cook the syrup, the water evaporates and the syrup becomes super-saturated, which means that the water in it holds more sugar molecules than it can normally hold. Because of this, the sugar molecules want to re-crystallize.
In my last post, I’ve explained about the pros and cons of stirring when it comes to crystallization, and the use of wooden spoons vs. metal spoons. Bottomline, I stir. With a metal spoon. It works. (And I only ended up with a crystallized mess once, remember?)
Another thing I always use when making a wet caramel: a wet heatproof pastry brush to wash down the sides of the pan. I can’t remember where I first learned about this tip, but I think it’s great! Some caramel-makers think washing the sides of the pan down with a wet pastry brush prevents crystallization, as stray sugar crystals that can potentially re-crystallize the entire batch are washed down into the syrup (apparently, undissolved sugar crystals can encourage sugar molecules to re-crystallize).
However, I like to wash the sides of the pan down with a wet pastry brush because those stray sugar crystals that may have caught on the sides of the pan burn quite easily. And who likes the smell of burned caramel? Also, I think those burned bits of caramel on the sides of the pan can quite easily give the entire batch a slightly burned flavor.
So yeah, I like to wash down the sides of the pan with a pastry brush. It’s not mandatory – there are a lot of bakers who don’t do this – but I think it works great!
 So let’s look at the process, step-by-step.
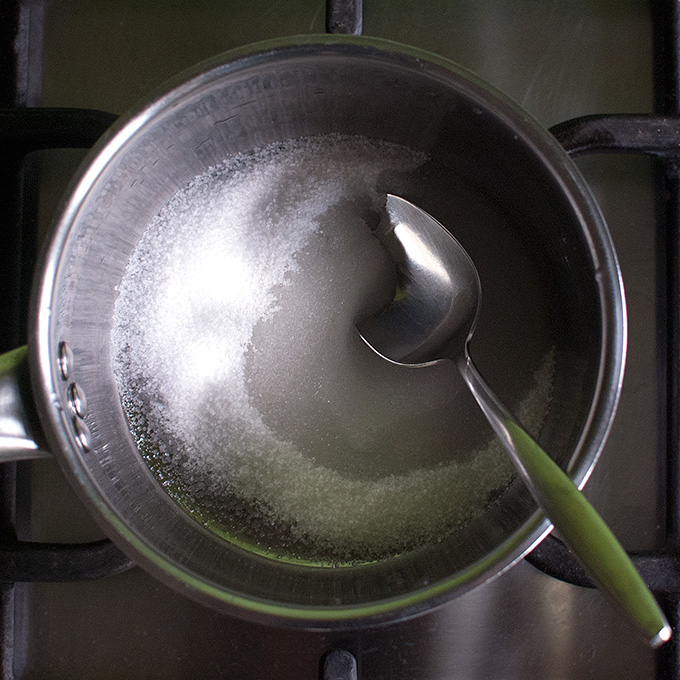
Step 1: combine sugar and water in your pan of choice. In my recipe, I use 200g (1 cup) of sugar and 60ml (¼ cup) water. This is usually enough for a home baker (to either make caramel decorations for a cake or cupcakes, or to make caramel sauce), but you can easily adapt the recipe to your needs. Just make sure to use enough water to dampen the sugar all over.
If you’re really worried about crystallization, you can also add in a little corn syrup of glucose at this point (for every cup of sugar the recipe calls for, replace a tablespoon of sugar with corn syrup/glucose) or a drop of lemon juice, as both these invert sugars and the acid of the lemon juice prevents crystallization.
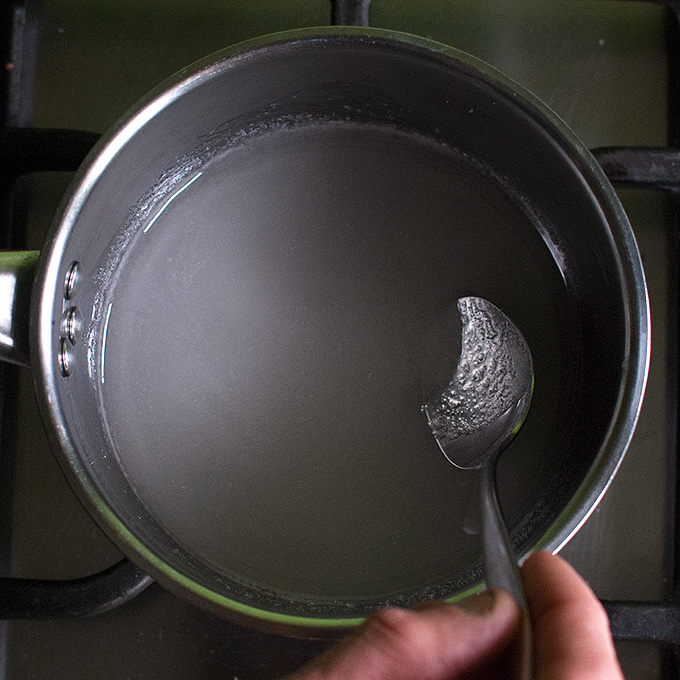 Step 2: place the pan over low heat and stir the sugar/water mixture with your spoon until the sugar has dissolved and the syrup looks completely clear (like water).
In the photo above, the Rocking Rebel (my handsome sous-chef) has been stirring the mixture for about a minute. As you can see, much of the sugar has dissolved, but the syrup still contains a lot of undissolved sugar crystals.
 Step 3: once the syrup has become clear, stop stirring, crank the heat up to medium and allow the syrup to come a boil.
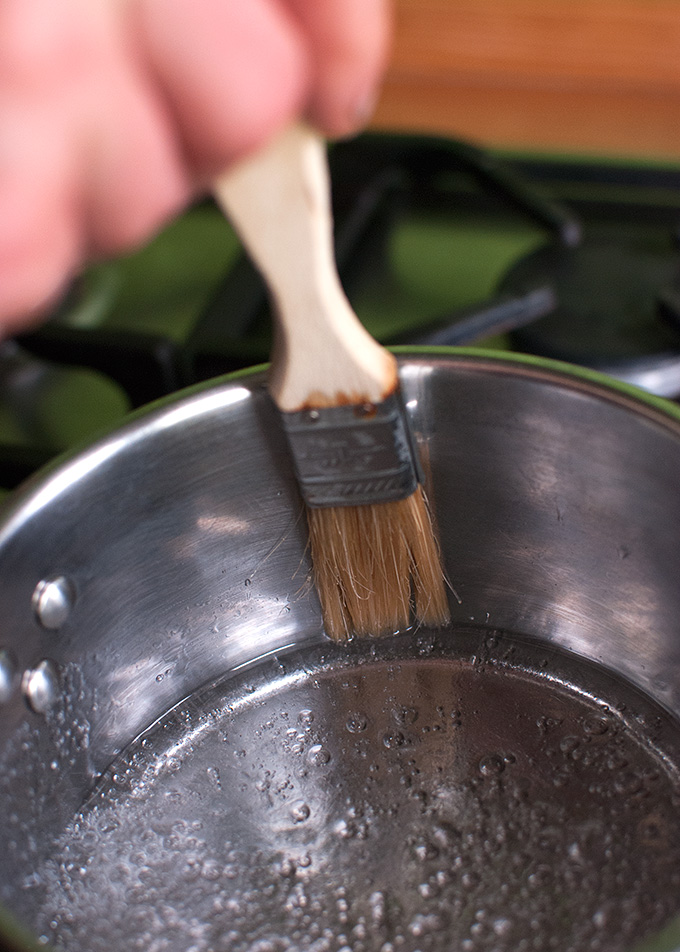
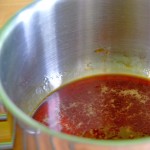
Next, dip your heatproof pastry brush in a little water and dab it around the inside of the pan, so that stray sugar crystals are washed down into the syrup. As you can see in the next photo, the sides of my pan were completely clean when the syrup started to change color. If stray sugar crystals are caramelizing on the sides of the pan, wash them down into the pan too before they have a chance to burn.
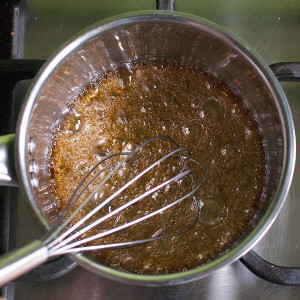
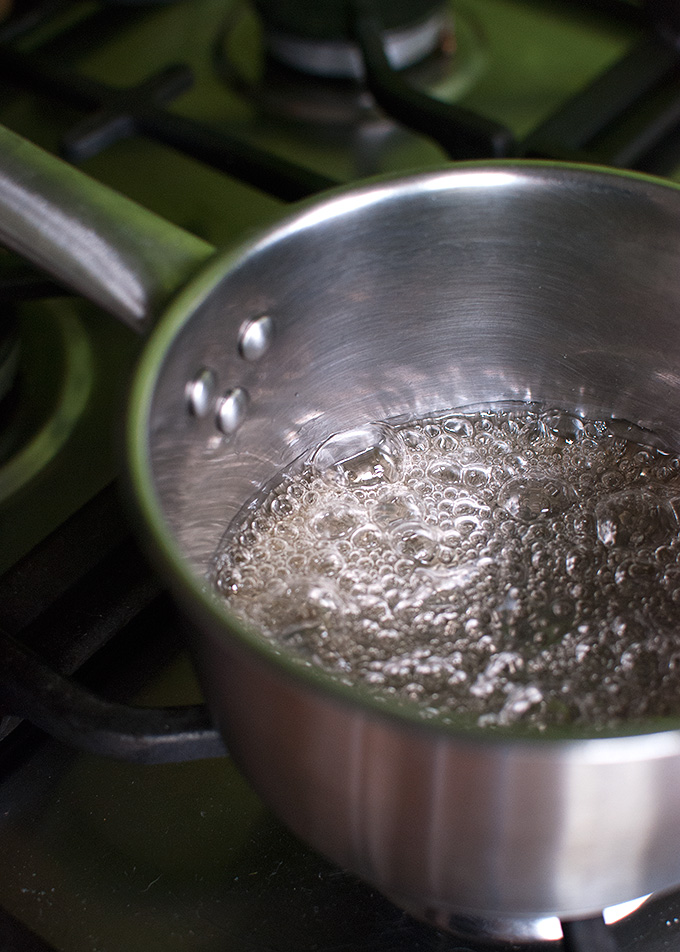 Step 4: allow the water to evaporate and pay attention to the sides of the pan. That is where the syrup will start to change color first. It may take a while for the water to evaporate, by the way. Slowly, the syrup will thicken: the bubbles become larger and take longer to burst.
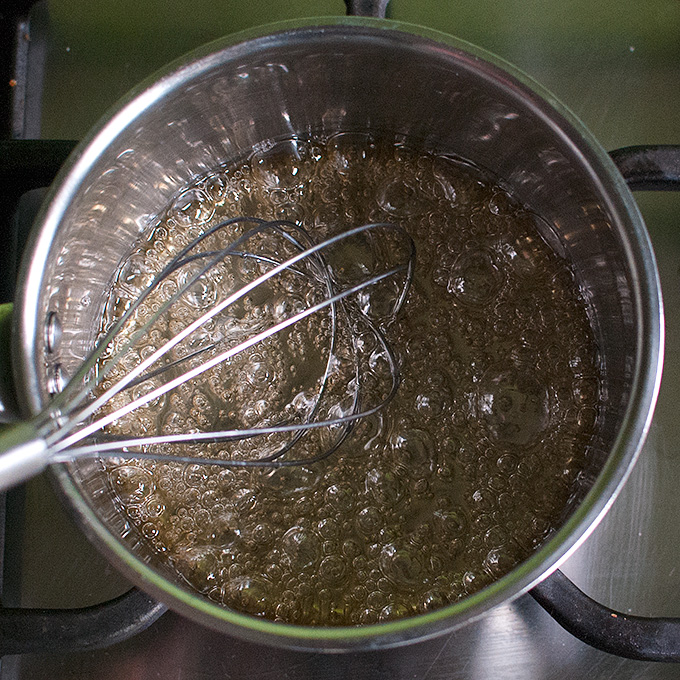 Step 4: once the syrup starts to color at the edges of the pan, I usually grab a whisk or a heatproof rubber spatula and give the caramel a stir every now and then, so that it caramelizes evenly.
And, um, yes: observant readers may have noticed that the whisk isn’t picture in the ‘things you need’ photo. I’m still suffering from post-pregnancy dementia 😉
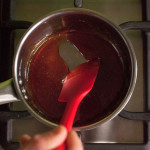
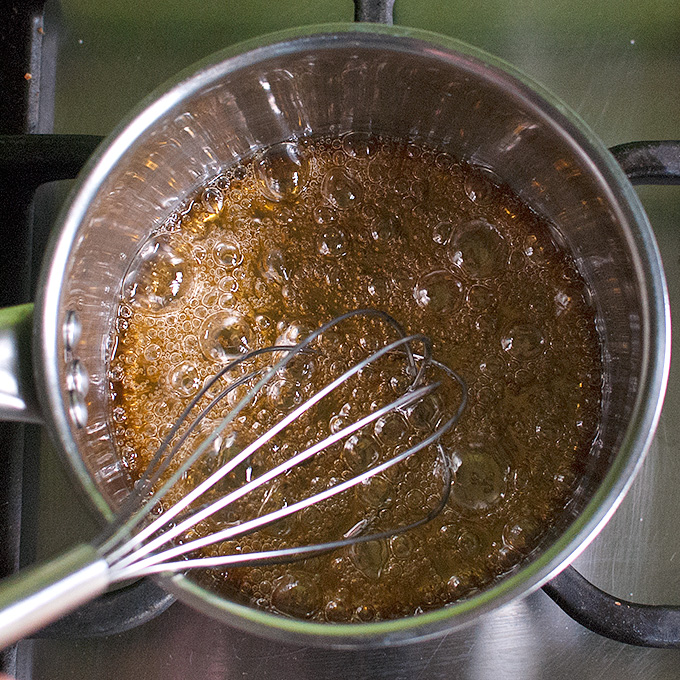 Step 5: cook the caramel until you’re happy with the color. A lighter caramel tastes sweeter, while a dark caramel has a more complex, bittersweet flavor. I like to cook my caramel to a dark amber color.
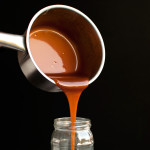
Once the caramel is done, you need to stop the caramelization process. Otherwise the caramel will continue to darken in color, become more bitter, and might even burn. You can stop the caramelization process by either dunking the bottom of the pan in a cold water bath (an inch of water in the sink) or by adding cream or butter (or something similar, like coconut cream) to the caramel.
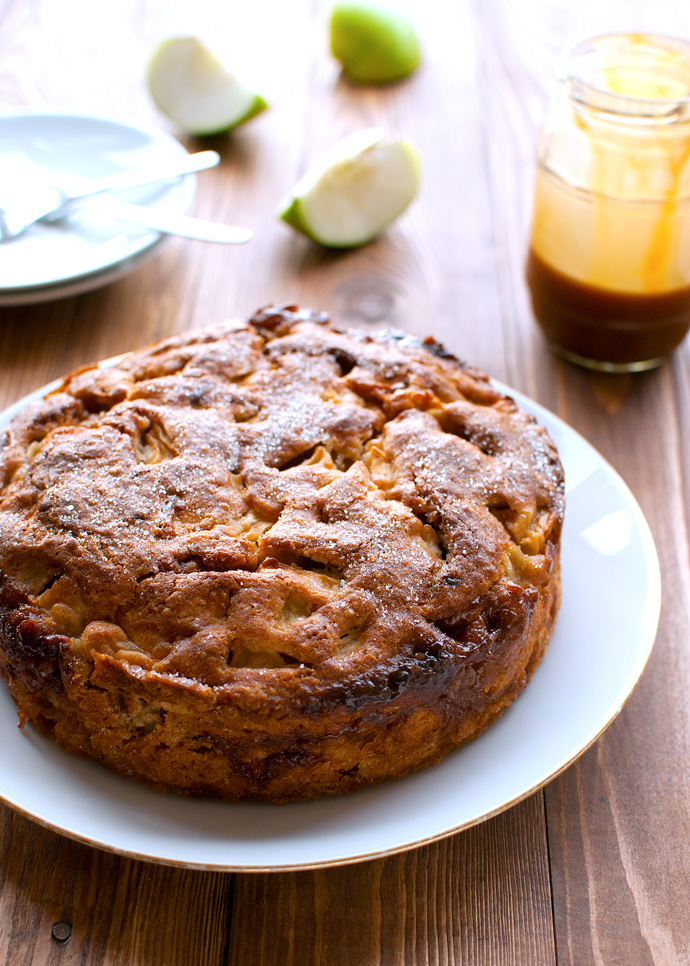
For caramel decorations, dunk the bottom of the pan in a cold water bath and use the caramel while its still hot (be careful!), because the caramel will harden in the pan as it cools. My favorite way to use pure caramel is to carefully dunk the tops of profiteroles (filled with vanilla pastry cream!) in it while its still hot, so the caramel hardens in a crisp, thin layer. So good!
You can find my favorite recipe for caramel sauce here!
That’s all there is to making a wet caramel, guys. Easy peasy! Not scary at all 🙂
If you liked this post, please share with your friends, family, and other caramel-lovers! Pinterest lovers, if you scroll down, you find a nice long image that is perfect for pinning. And if you want to make sure you never miss a recipe, click here to sign up to my mailing list!
Enjoy 😉
- 200g (or 1 cup) granulated sugar
- 60ml (or ¼ cup) water
- Fill your sink with about 2-cm/1-inch of water. Once the caramel has reached the desired color, you dunk the bottom of the pan in this 'water bath' to stop the caramelization/cooking process.
- In a spotlessly clean, light-colored saucepan (with a capacity of at least 1.5L, or 6¼ cups) combine the sugar and water. Place over low heat, stirring with a metal spoon until the sugar has dissolved and the syrup has become clear. Stop stirring.
- Crank the heat up to medium and allow the syrup to come to a boil. If you want to, you can gently wash down the sides of the pan with a wet pastry brush, to prevent stray sugar crystals from caramelizing or burning on the sides of the pan, and to keep the syrup from crystallizing.
- After 5-7 minutes of cooking, the syrup will start to color at the edges. Using a whisk, gently whisk the caramel occassionally while allowing the caramel to reach a dark amber color. Alternatively, if you don't want to stir the caramel, you can swirl the pan. Also, if you're nervous about burning the caramel, you can crank the heat down a bit once the caramel starts to caramelize at the sides of the pan.
- Once the caramel has turned a deep amber color, stop the caramelization process. Either remove from heat and gently dunk the bottom of the pan in the water bath to stop it from caramelizing any further, or, if you're making a caramel sauce, add butter or cream to stop the cooking process.
- If you're making the caramel to make caramel decorations (aka: if you didn't add butter, cream, or other liquid ingredients), use it immediately after you've stopped the cooking process, because the caramel will harden in the pan as it cools.
- To clean the pan afterwards, simply fill with warm water, place over low heat, and allow the water to come to a simmer. The caramel will melt.
- Use immediately






Good Day Madam,
May I know, if corn syrup or glucose is added to the sugar syrup to prevent crystallisation during cooking, will the final caramel still be able to harden for use as sugar decorations? (Assuming no other liquid like butter or cream is added.)
Thanks for your kind advice 🙂
Hi Jack, yes, the caramel will still harden! Happy baking 😉
Hey, do you have a tip on how much butter or cream I have to use to get a thicker caramel?
Btw your recipes are awesome!
Hi Lucy, I’m so glad you like my recipes! The thickness of the caramel depends on its temperature and, like you said, the amount of other ingredients you add to it, like butter and cream. Have you tried my salted caramel sauce? It gets pretty thick if you chill it in the fridge. I usually eat it with a spoon, actually 😉
If you want a thicker caramel sauce, try making it with just 1 1/2 tablespoons of butter and 1/3 cup + 2 teaspoons of cream! If you want it even thicker, try it with just 1 tablespoon of butter and 1/4 cup of cream. Don’t forget to use less salt, too! And please let me know how it turned out 😉