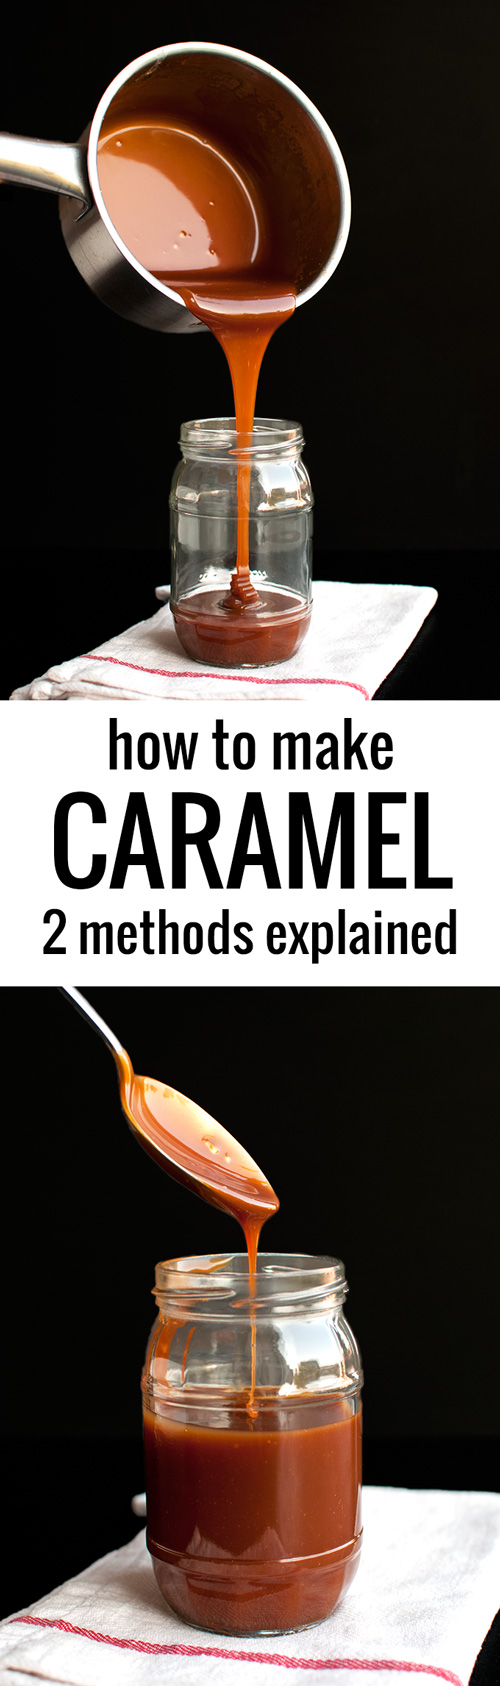
 Hey guys, today I’m talking caramel. More specifically, I’ll be talking about the two different methods to make caramel: the dry method and the wet method.
Back in 2013, when I had about 2 readers a week (my mom and mother-in-law), I already dedicated a post to this. It’s still under ‘Basics and Tips’, and in it I explain all about how to make a wet caramel. I had meant to supplement the post later once I learned how to make a dry caramel, but since I’ve never gotten around to actually doing that, I figured I’d just rewrite the whole thing. So I did. And because there is a lot to say about caramel, I decided to dedicate not 1, not 2, but 3 posts to it! To keep things nice and organized 😉
Over the next few days, I’ll post two how-to’s: one on making a dry caramel, and the other on making a wet caramel. But first, some background information! In this post, I’ll be discussing:
- the difference between wet and dry caramel and which method is best,
- some caramel safety tips,
- tools you need to make it,
- how to tell when caramel is done,
- why it’s fine to stir caramel,
- and how to wash up afterwards.
So here goes!
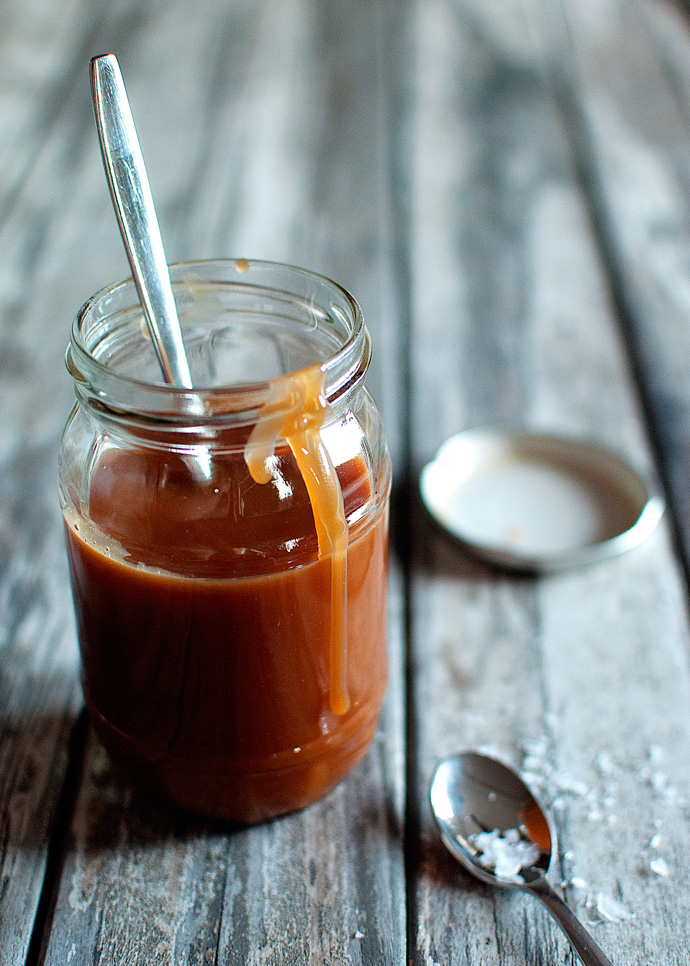
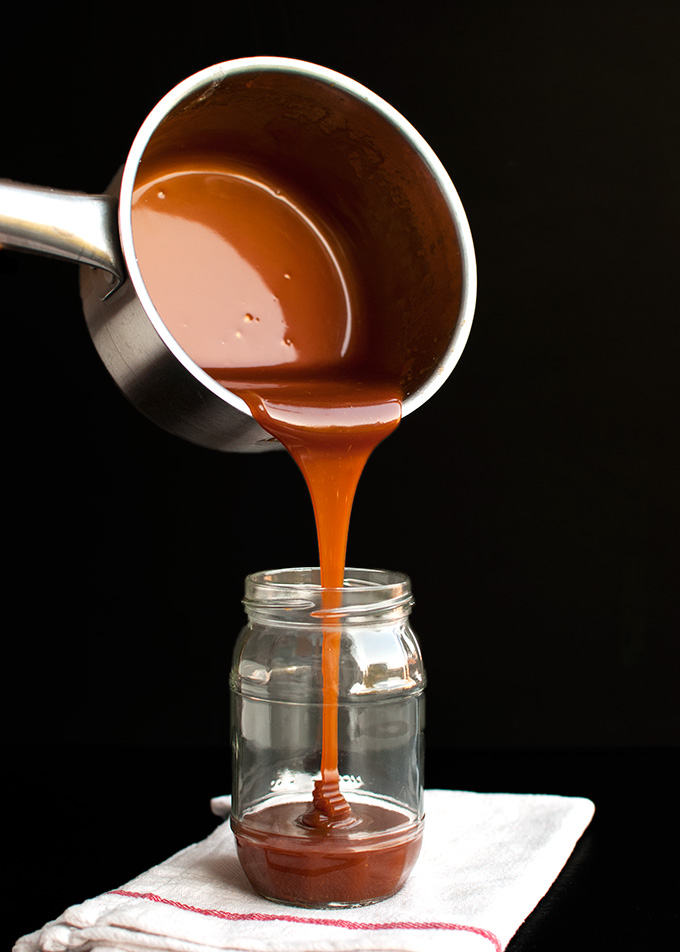
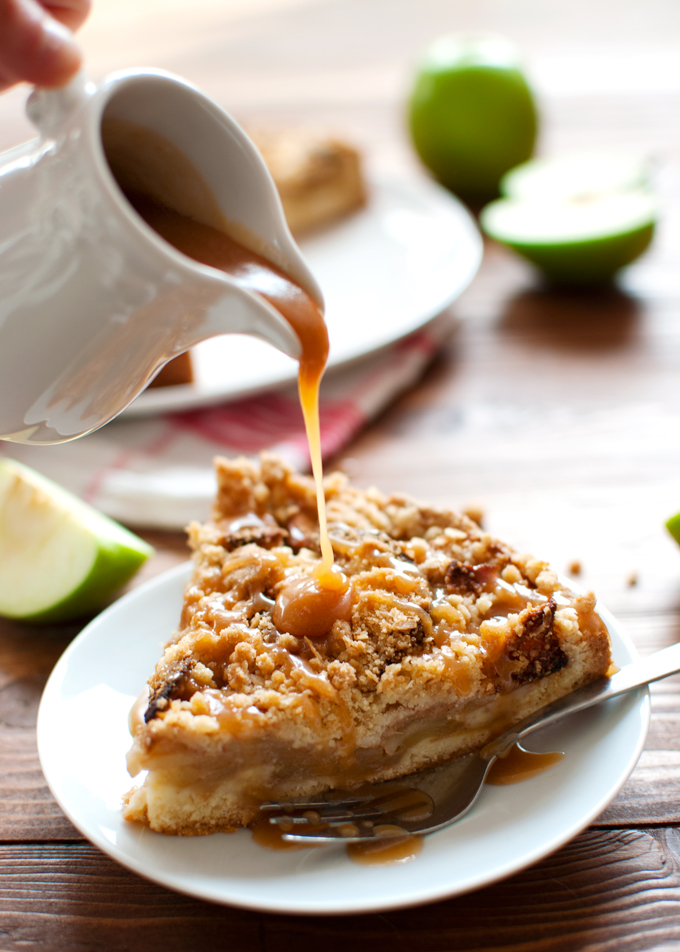
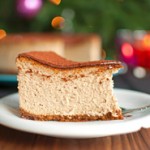
Salted Caramel Sauce – Click on the photo for the recipe
SAFETY FIRST
First of all, let’s be safe. Caramel is hot, hot, hot. And not the good kind of hot (think: Chris Hemsworth). Nu-uh, the kind of hot that leaves burns. So take a few precautions when you make it:
- keep kids, pets and generally clumsy grown-ups out of the way
- have oven mitts at the ready for when you need to handle hot pots or when you need to stir other ingredients into the caramel (for example: cream or butter)
- consider wearing a long sleeved top, to prevent caramel splatters from landing on your skin
- fill the sink with about an inch of cold water, to dunk the pan should it get too hot
- have a bowl of cold water nearby, so you can plunge your hand into it if caramel splatters onto your hand
Really guys, it’s better to be safe than sorry. Making caramel is not scary, but you should be careful.
THE SCIENCE OF MAKING CARAMEL
So let’s see. Caramel. Usually, white refined sugar is used to make caramel. The sugar is heated until the sugar molecules break down. The molecule fragments recombine to form a variety of different molecules, which give the caramel both flavor and color. This process is called caramelization.
THE DIFFERENCE BETWEEN WET AND DRY CARAMEL
There are two methods to caramelize sugar to make caramel: the wet and dry method. I’m first going to point out the obvious here: wet caramel isn’t actually wet. It’s called ‘wet’ caramel, because it’s made with water, as opposed to ‘dry’ caramel, for which you need only sugar.
In other words, to make a dry caramel you heat sugar in a pan until it first liquefies (because sugar does this) and then caramelizes. To make a wet caramel, you combine sugar with water in a pot. You then first dissolve the sugar into the water over low heat, creating a sugar syrup. This syrup is further heated until all of the water evaporates. What’s left is pure, liquefied sugar, which is heated until it caramelizes.
Because the water boils off, it’s easy to conclude that wet caramel and dry caramel are thus exactly the same. And yes, they are both caramelized sugar. But, because the sugar molecules in wet caramel are exposed to high heat over a longer period of time (because the water needs time to evaporate), the caramelization process has more time to proceed and the caramel actually develops a stronger flavor.
So while wet and dry caramel are indeed basically the same stuff (caramelized sugar) they have different flavor profiles.
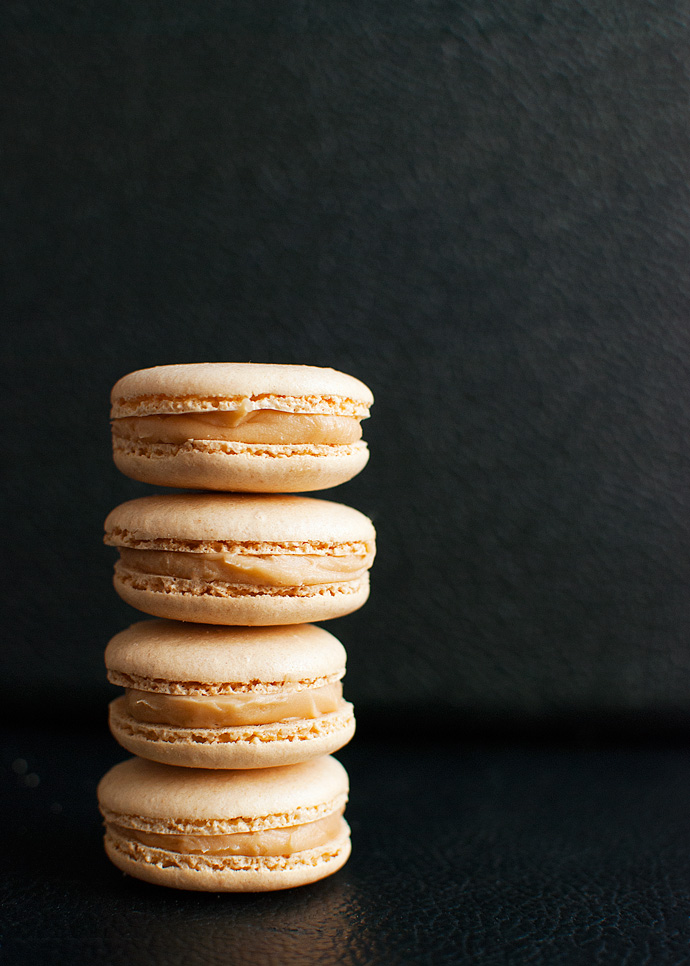
Macarons with Salted Caramel Filling – Click on the photo for the recipe
DRY CARAMEL VS. WET CARAMEL
So, now that you know the difference between wet and dry caramel, which one should you make? Well, it’s completely up to you! If you feel more comfortable with the wet method, go with that one. If you prefer the dry method, use that. It doesn’t matter, not even for most recipes, as the end product (the caramel) is basically the same. So yeah, if a recipe for caramel sauce uses the dry method, you can switch to the wet method if you want, just add enough water to moisten the sugar (or don’t add water if you’re switching to the dry method).
And on deciding which method you like to go with, just keep the following in mind:
Wet caramel
- is easier to make, because it’s less likely to burn
- is prone to crystallization
- has a stronger flavor, because of its preparation method
Dry caramel
- is harder to make, because it burns and clumps easily
- doesn’t crystallizes
- has a less complex flavor, because of its preparation method
Personally, whenever I need to make caramel, I use the wet method. It’s just so much easier. And, as it turns out, tastier! In fact, now that I know that wet caramel has a more pronounced flavor, I don’t think I’ll ever make a dry caramel again.
Well, maybe when the tap runs dry…
 CARAMEL AND CRYSTALLIZATION
So, what’s this about crystallization? Well, when you make a wet caramel, you first make a sugar syrup, aka: sugar dissolved in water. As the water evaporates as you continue to heat the syrup to make caramel, the syrup becomes super-saturated, which means that it holds more sugar molecules than the water can normally hold. Because of this, the sugar wants to re-crystallize. If this happens, you end up with a pan full of clear rock candy.
Now, how can you prevent this from happening? First of all, make sure your pan is spotlessly clean. Sugar molecules have jagged edges and can easily hook onto each other or impurities from the pan, such as leftover spices. Which brings me to stirring. Not only do you need a tool to stir caramel, which can carry more impurities that may lead to crystallization, some people also claim that stirring in itself (after the sugar has dissolved) causes the sugar syrup to crystallize, because stirring encourages the sugar molecules to clump together. Instead, these people ‘swirl’ the pan.
Another thing you can do, is adding a little corn syrup or glucose to the mix (for every cup of sugar the recipe calls for, replace a tablespoon of sugar with corn syrup/glucose), or a drop of lemon juice. Both the invert sugars (corn syrup/glucose) and the acid of the lemon juice prevents crystallization.
When the syrup, despite your best efforts, does crystallize, simply add water and allow the sugar to dissolve again over low heat. Toss the mixture, scrub the pan, and try again. Lucky for us, a few cups of sugar come pretty cheap these days.
TOOLS YOU NEED TO MAKE CARAMEL
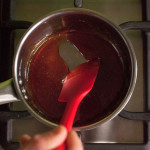
To make caramel, be it wet or dry, you need a good pan. I usually use a metal-colored saucepan from IKEA, but you can also use a skillet.
Just make sure the pan you use isn’t super thin and doesn’t have a non-stick coating. Thin pans may have hot spots, which may cause the caramel to burn in some places, while non-stick coatings can release toxins when exposed to high heat. If you use a light-colored pan, you can easily monitor the color of the caramel as it cooks, which is very difficult when using a darker colored pan.
If the recipe you’re making calls to add butter, cream, or another ingredient to the caramel, make sure to use a much larger pan than you think the recipe needs, because the hot caramel will bubble up violently (!) when you add the other ingredients!
If you like to stir caramel (which I do, but more on than later) you’ll need some sort of heatproof utensil. Most caramel makers use a heatproof rubber spatula, but you can also use wooden or metal spoons, or a whisk. While some sources claim that metal tools (spoons and whisk) may cause the sugar syrup to crystallize by conducting heat away from the syrup, others claim that wooden utensils may contaminate the syrup with small traces of fat or other food particles, and thus cause crystallization. In other words, all stirring utensils may lead to crystallization of the sugar syrup. So if you’re going to stir, just pick one and move on.
Other things that may come in handy: oven mitts. You DON’T need a sugar thermometer to make caramel.
TO STIR OR NOT TO STIR
I stir caramel. Both wet and dry caramels. Because I can.
While stirring wet caramel, or the sugar syrup that eventually turns into caramel, may cause it to crystallize, and stirring a dry caramel causes it to clump into large sugar lumps, I still prefer stirring over not stirring.
In my experience, not stirring a dry caramel leads to caramel that has burned in places while in other places the sugar hasn’t even melted yet. And despite the fact that I always stir wet caramel, it has never crystallized. So there, I’m going to keep stirring. Swirling the pan just doesn’t work for me…
WHEN IS CARAMEL DONE?
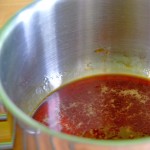
The longer the caramel is cooked, the more acidic, bitter and darker it gets. Some people like their caramel very bitter and cook it until it just starts to smoke, while others may prefer a sweeter, mellower caramel and cook it for a shorter period of time.
In other words: it’s completely up to you. I always cook caramel to a dark amber color (darker than maple syrup).
Once the caramel reaches the color that you like (light for a sweet caramel, dark for a bittersweet caramel), stop the caramelization process by adding cream or butter, or dunking the bottom of the pan into cold water (I usually fill the sink with about an inch of water). If you don’t stop the caramelization process, the residual heat from the pan might cause the caramel to become darker than you’d like, or even to burn.
HOW TO CLEAN A CARAMEL PAN
If the caramel has hardened in the pan, fill the pan with hot water, place it over high heat and allow it to come to a simmer. The caramel will melt, and you end up with a perfectly clean pan again. You’re welcome!
But that’s all the background info, guys! Stay tuned for part 2 and part 3! And don’t forget to pin 😉
Oh, and if you want to make sure you never miss a post… click here to sign up to my mailing list.
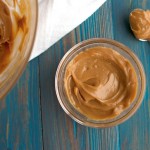
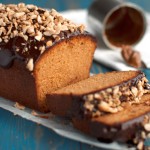
Apple Cookie Crumb Cake – Click on the photo for the recipe
Sources:
- Christensen, Emma. ‘Candy-Making Basics: Do You Use Wood or Metal Spoons?‘ thekitchn.com
- Hornby, Jane. ‘How to Make Great Caramel‘. theguardian.com
- Lebovitz, David. ‘How to Make the Perfect Caramel‘. davidlebovitz.com
- McGee, Harold. On Food and Cooking: the Science and Lore of the Kitchen. New York: Scribner, 2004.
- The Environmental Working Group. ‘Healthy Home Tips: Tip 6 – Skip the Non-Stick to Avoid the Dangers of Teflon‘. ewg.org
- Wikibooks. ‘Cookbook: Caramel‘. Wikipedia.


Very interesting. One thing, though. It’s “you’re welcome” not “your welcome.” (Yeah…I’m one of THOSE people. 🙂 )
Haha, thanks 😉
Fascinating article. Looking forward to trying out the recipes when you share them. Oh, and I love your photos – especially the one of the macarons.
Thank so much Jen! Glad you liked the post ????
Making crunchy caramel today for the first time and I poured it onto non stick paper. BIG MISTAKE! It stuck to it, so to get it off I wet the paper with cold water and it pealed off. But now I’m waiting for it to dry hopefully but it is super sticky. Should I remake and start again or will this dry? I’ll probably find out before I get a reply but thought this interesting for others. Cheers
Hi Tanya, caramel is very sensitive to humidity even, and once it’s lost its crunchiness, it won’t become so again. So I can image that your caramel won’t become crunchy again either 🙁