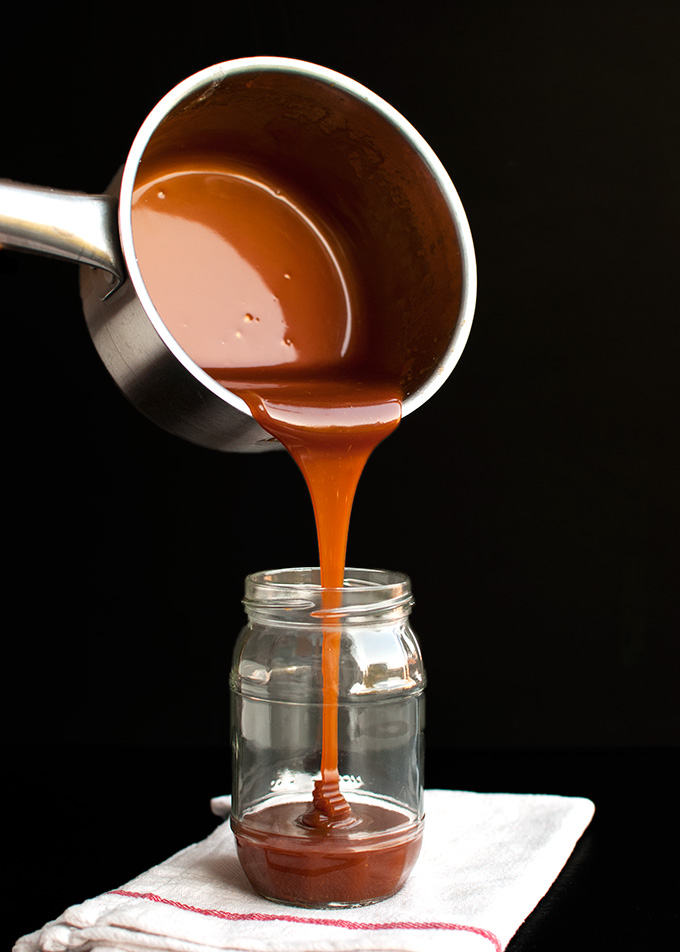
 It’s here! It took me a while, but it’s finally here: my post on how to make a dry caramel, with step-by-step photos! Phew… Clearly, I have NOT been on top of things this past week. Life, you know… It gets ahead of me sometimes 🙂
But back to caramel. How to make dry caramel, this time. It’s a lot harder than making a wet caramel, I’ll tell you that. If you missed my post on how to make wet caramel, you can check it out here. And if you missed my post on the difference between wet and dry caramel, make sure to read it before reading on, because it contains important (very important!) insights into caramel-making.
In short, dry caramel is made by caramelizing sugar in a pan, while wet caramel is made by first dissolving the sugar in a little water and then allowing it to caramelize. Personally, I’m a big fan of the wet caramel method. Like I said, it’s just easier: the caramel is a less likely to burn. And apparently wet caramel is also a bit more delicious, because as the sugar is cooked a little longer, it develops a more complex caramel flavor.
But then again, wet caramel can crystallize. Dry caramel can’t. So if you’re scared of your caramel crystallizing, this is the recipe for you!
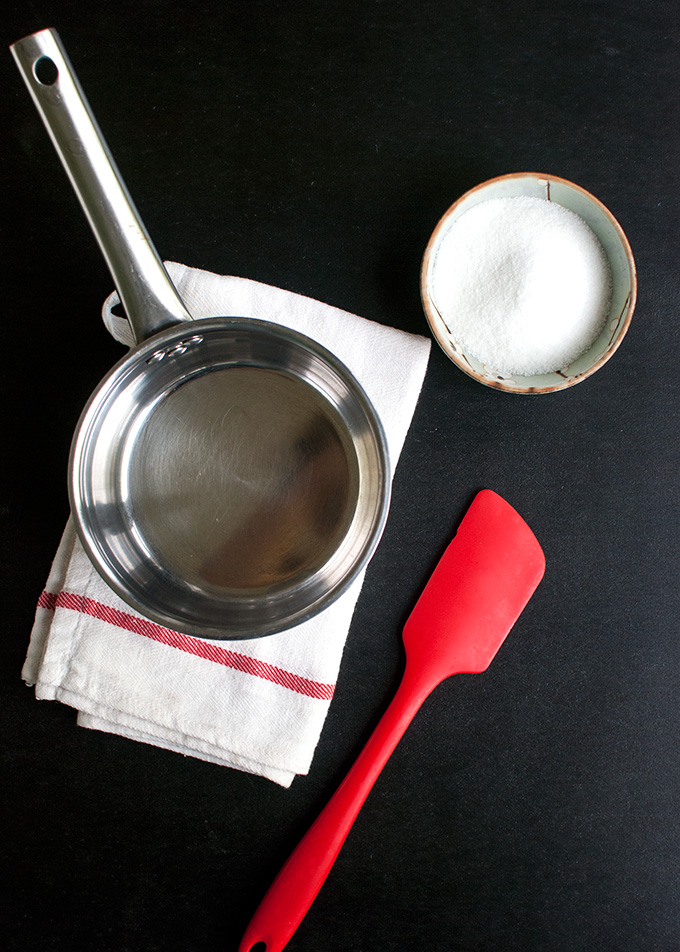 So. Things you need to make a dry caramel. First of all, a pan. A saucepan or a skillet. Preferably without a non-stick coating.
Next, a rubber spatula. Make sure it’s heatproof. One of my readers once ended up with a burned rubber spatula. It was pretty old and had been in the family for decades, so that may be why it burned. But still, make sure it’s heatproof!
And, last but not least, sugar. Just ordinary granulated sugar.
Now let’s have a look at the process, step by step.
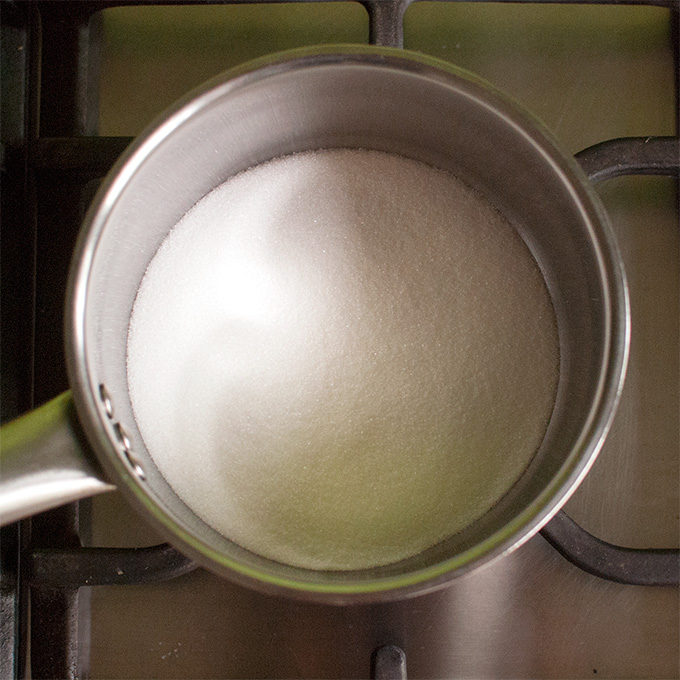 Step 1: add sugar to a light-colored saucepan or skillet. My recipe calls for 200g (or 1 cup) of granulated sugar. This is usually enough for a home baker (to either make caramel sauce, or caramel decorations), but if you need more caramel, you can just use more sugar.
Give the pan a shake to spread the sugar in an even layer. If you use a lot of sugar, use a bigger pan, so that the layer of sugar in the bottom of the pan doesn’t get too thick. Otherwise the sugar won’t heat evenly.
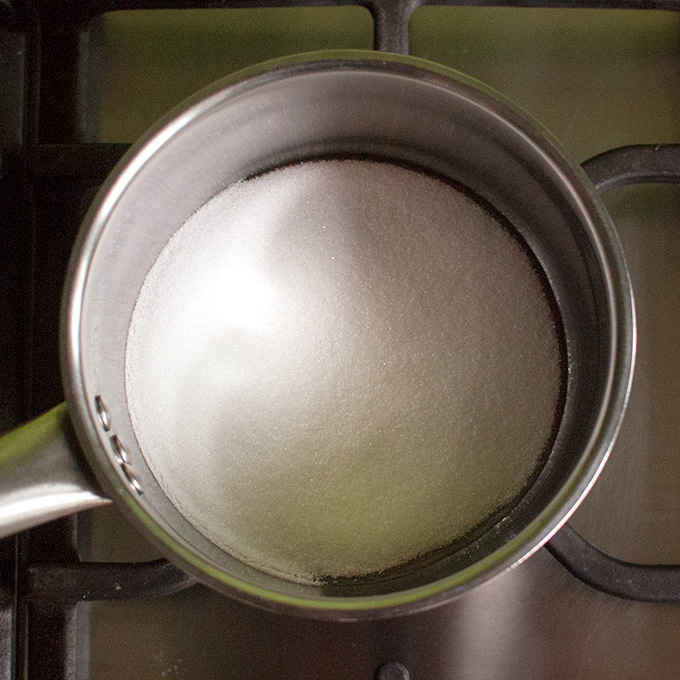 Step 2: place the pan over low to medium heat and wait for the sugar to caramelize (no stirring at this point!). The sugar will starts to melt and caramelize at the edges first.
It may take a while before the sugar starts to melt, but don’t be tempted to crank the heat up to high, as the sugar can burn quite easily.
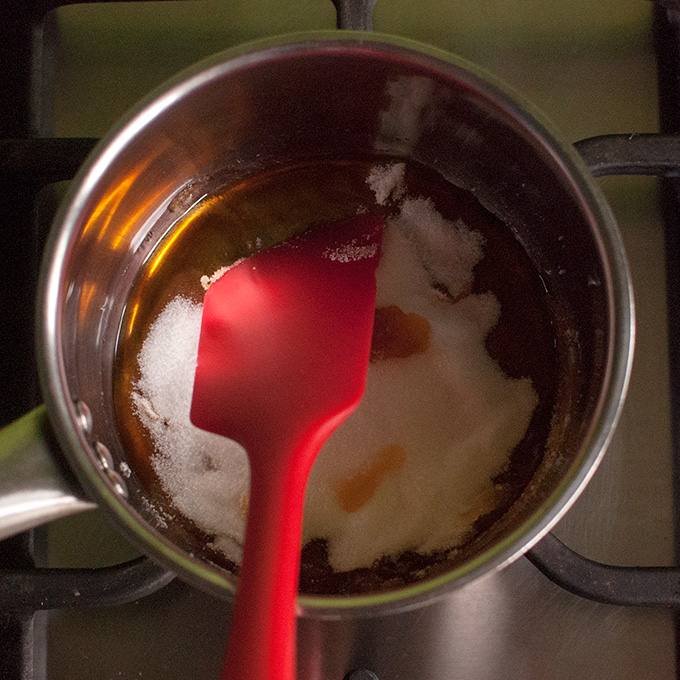 Step 3: once the sugar has started to caramelize around the edges, grab your heatproof rubber spatula and bring the caramel and melted sugar into the middle of the pan.
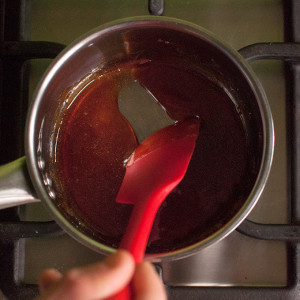
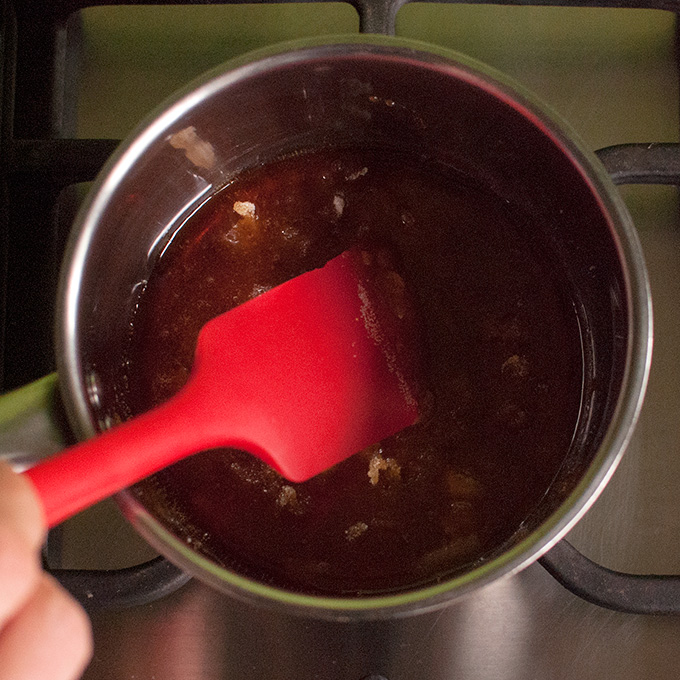 Step 4: as more of the sugar melts and caramelizes, the color of the caramel will change from a light gold to a light amber. Keep gently stirring the caramel to make sure al the sugar lumps are dissolving. It may help to squash stubborn sugar lumps against the sides of the pan with your spatula.
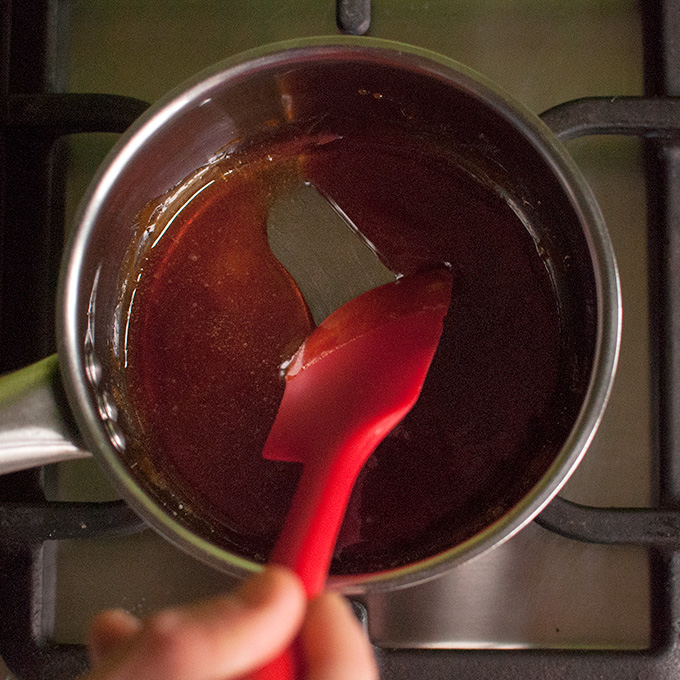 Step 5: once the caramel is completely smooth and all the sugar has caramelized, cook the caramel until you’re happy with the color. Remember: a lighter caramel tastes sweeter, while a dark caramel has a more complex, bittersweet flavor. I usually cook mine until it turns a gorgeous, dark amber color.
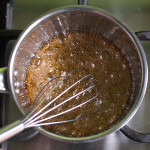
There’s no real need to stir it at this point, but I always keep stirring away, because it keeps my hands busy and ensures that I keep paying attention to the color of the caramel. You know, so I don’t let it BURN 😉
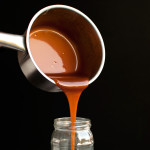
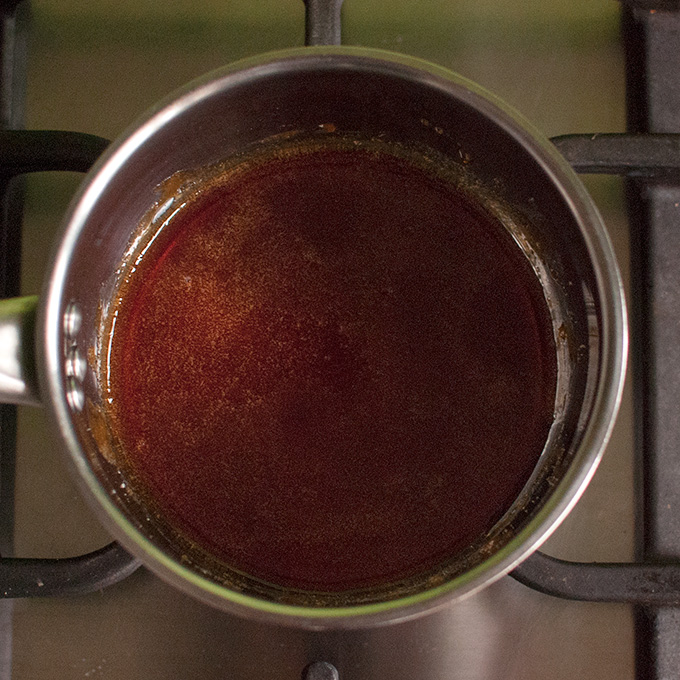 Step 6: once you’re happy with the color of the caramel, you need to stop the caramelization process. Otherwise the caramel will continue to darken in color, become more bitter, and might even burn. You can stop the caramelization process by either dunking the bottom of the pan in a cold water bath (an inch of water in the sink) or by adding cream or butter (or something similar, like coconut cream) to the caramel.
For caramel decorations, dunk the bottom of the pan in a cold water bath and use the caramel while its still hot (be careful!), because the caramel hardens in the pan as it cools.
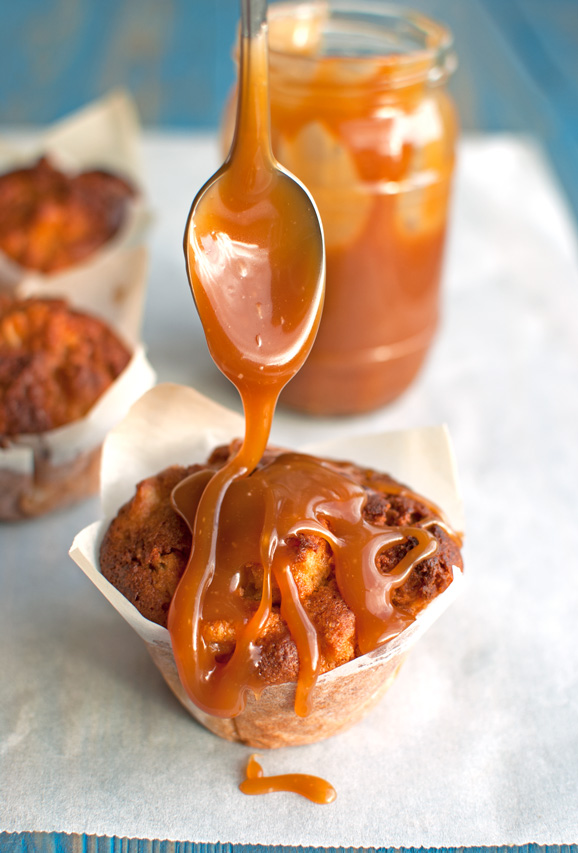
To make a delicious salted caramel sauce, use this recipe! It’s really good!
If you liked this post, please share with your friends, family and other caramel lovers! Fellow Pinners, if you scroll down, you find a nice long image that is perfect for pinning. And if you want to make sure you never miss a recipe, click here to sign up to my mailing list!
Now go make some caramel! 😉
- 200g (or 1 cup) granulated sugar
- Add the sugar to a light-colored, medium-sized saucepan (without a non-stick coating). Give the pan a shake to spread the sugar in an even layer, then place over low to medium heat and allow the sugar to melt.
- The sugar will start to melt and caramelize at the edges of the pan first. Once the edges of the sugar are caramelizing, grab a heatproof rubber spatula and start bringing the caramelized parts into the middle of the pan, to where the sugar hasn't melted or caramelized yet.
- Keep stirring with the rubber spatula until all the sugar has melted and caramelized. Squash stubborn sugar lumps against the sides of the pan with the spatula if necessary.
- Cook the caramel until it turns a dark amber color (or until you're happy with the color).
- Once the caramel has turned a deep amber color, stop the caramelization process. Either remove from heat and gently dunk the bottom of the pan in the water bath to stop it from caramelizing any further, or, if you're making a caramel sauce, add butter or cream to stop the cooking process.
- If you're making the caramel to make caramel decorations (aka: if you didn't add butter, cream, or other liquid ingredients), use it immediately after you've stopped the cooking process, because the caramel will harden in the pan as it cools.
- To clean the pan afterwards, simply fill with warm water, place over low heat, and allow the water to come to a simmer. The caramel will melt.

