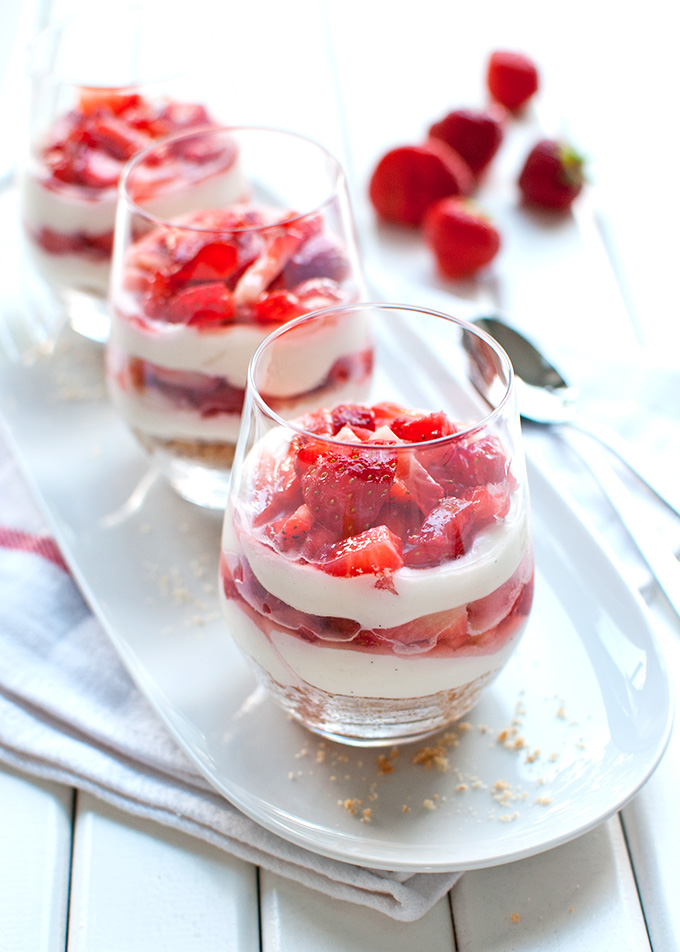
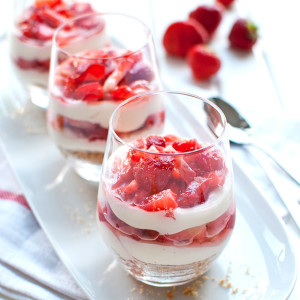
A crumbly cookie crust, sweet layers of macerated strawberries, and a super creamy cheesecake filling with a hint of vanilla. These cute, layered no-bake vanilla & strawberry cheesecakes are just perfect! I could eat three of these in one sitting…
I’ve been in pain this week. Like, seriously. In PAIN!! Capital letters and exclamation marks. See, my first wisdom tooth is coming in. Not only does that mean I have to endure a lot of hilarious (!) comments from my dear Rocking Rebel about how I already seem a bit wiser, but also that the left side of my jaw feels like its been hit with a baseball bat. Ouch.
What’s worse, I haven’t been able to eat cookies, granola and other types of crunchy food for an entire week. And I just so happen to be the kind of person who likes to curl up into a ball in front of Netflix with a chocolate chip cookie or two (or three) when I’m in pain. Sigh…
And the worst of the worst? I have a dentist appointment at noon tomorrow. He’s going to see whether my wisdom teeth needs to be removed. Shudder… ????
Anyway, there’s also good news. For one, Baby Boy can belly crawl! I’m so proud ???? Also, the fact that I’ve been hardly able to chew inspired me to come up with this recipe for no-bake vanilla & strawberry cheesecakes! Aren’t they cute? With the layers and the little specks of vanilla? Love them!
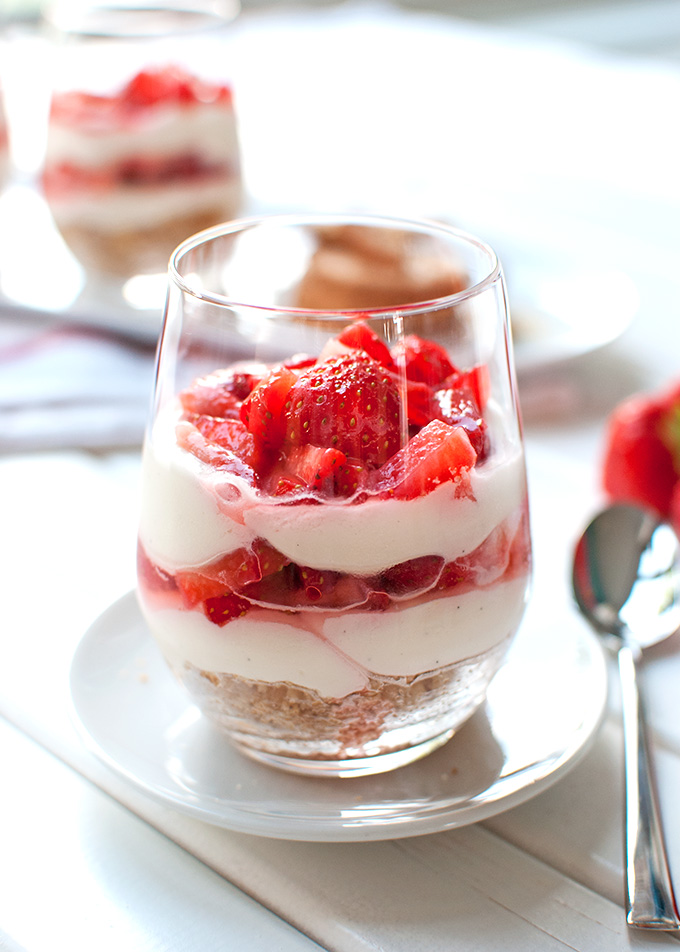
I love making no-bake cheesecakes. They are so ridiculously simple. Just crumble up some of your favorite cookies, add a little butter, and ta-daa: you’ve got yourself a cheesecake crust. Next, beat together cream cheese, a little sugar and some flavoring, fold in whipped cream and that’s the cheesecake filling done. Add a little fruit for kicks or some nuts or whatever and you’ve got yourself a delicious, and pretty impressive, dessert. So easy! Have you guys tried my no-bake chocolate and Nutella cheesecakes yet? Deliciously creamy and Nutella-y and chocolatey and delicious!
For these mini vanilla strawberry cheesecakes I adapted my recipe for no-bake lemon cheesecakes a little. I just left out the lemon juice and used vanilla bean paste instead. Have you ever used vanilla bean paste? I love it, especially in desserts and buttercream and whipped cream and such, when you can still make out the little specks of vanilla. Of course, if you don’t have vanilla bean paste, you can just use vanilla extract instead. Or maybe use the seeds from a vanilla bean.
I macerated the strawberries in a little sugar to make them juicy and a bit sweeter, too. Of course, I could have used plain strawberries, but the macerated strawberries really complemented the sweet, but still slightly tangy cheesecake filling.
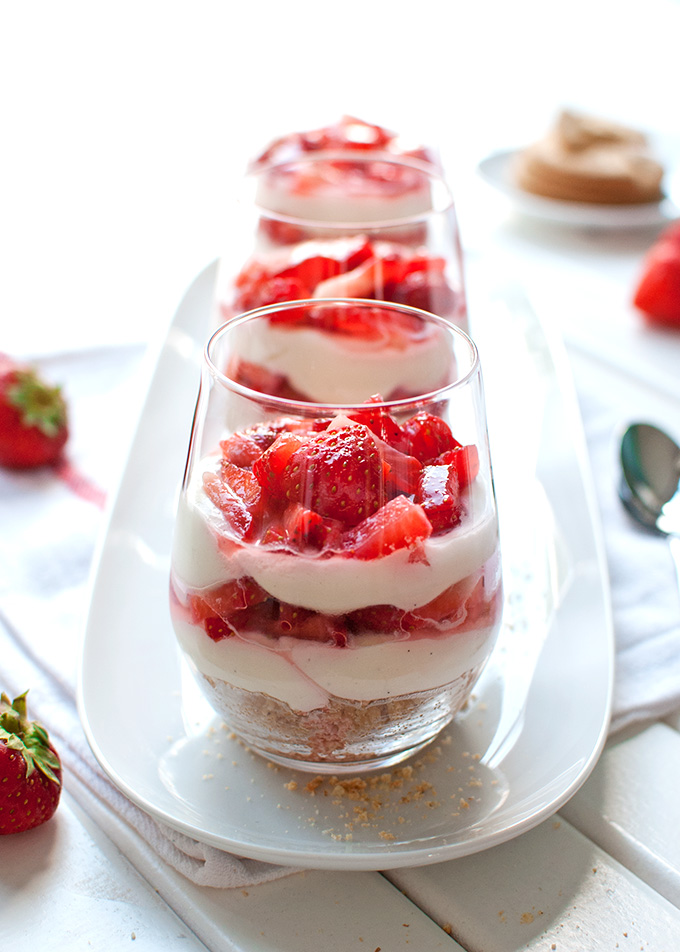 So, cheesecake filling, strawberries, cookie crust… this recipe is really easy. And if it wasn’t for the layering you’d have these babies sitting in the fridge in about twenty minutes. The layering takes a little time, though. I used a piping bag to pipe the cheesecake filling into the serving glasses (because I always find that spooning filling into glasses is a bit messy), and the piping bag definitely saved me some time! ← tip of the day
Still, the layers may have taken some time, they are not difficult to make. A five-year-old could do it. And they look super pretty, so I’m happy!
But next time, when I don’t have to photograph these for the blog and make them just for myself and the Rocking Rebel? I guess I’ll just take the lazy route and make one thick cheesecake layer with macerated strawberries on top. That’s still layered, right? ????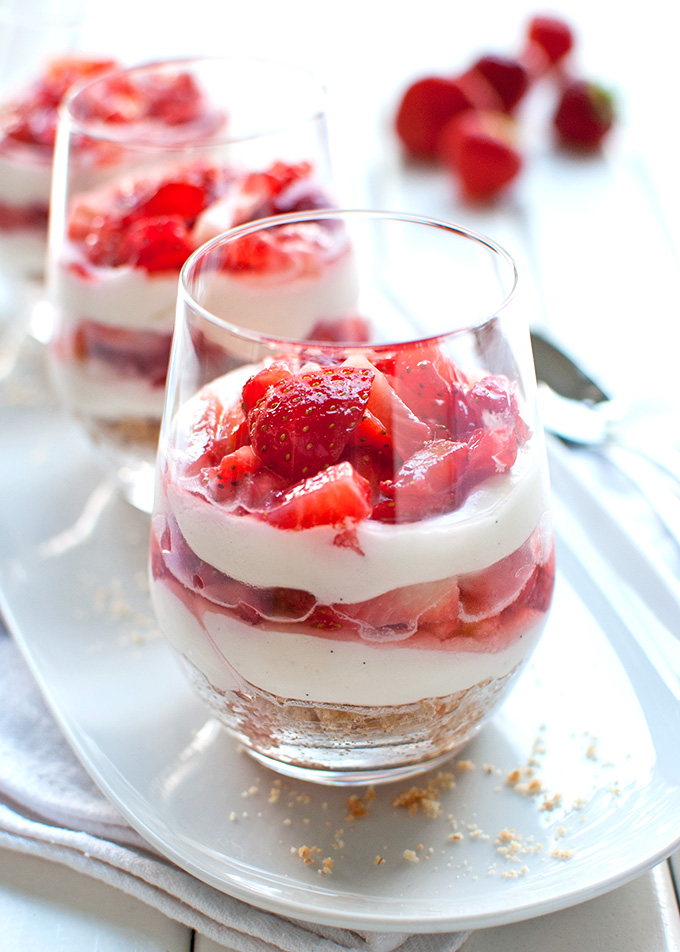 That’s it guys. I’m off to eat some more cheesecake while I stil have all my teeth. All you pinners, scroll down for a nice pinnable image to save this recipe for later, or, if you want more recipes like this delivered straight into your inbox, click here to sign up to my mailing list.
And um, if you like this post, please hop on over to saveur.com and nominate my blog for the 2016 Saveur Blog Awards. I’d really appreciate it!
Enjoy!
- 120g (or 4 to 4.5 ounces) buttery, crumbly cookies of choice, or graham crackers
- 42g (or 3 tablespoons) unsalted butter
- 400g (about 14 ounces) fresh strawberries, washed and hulled
- 3 teaspoons granulated sugar
- 200ml (or ¾ cup + 4 teaspoons) heavy whipping cream
- 300g (or 10.5 ounces) cream cheese, softened at room temperature
- 120g (or ½ cup + 5 teaspoons) granulated sugar
- ¾ teaspoon vanilla bean paste or extract
- In a small saucepan over low heat, melt the butter. Place the cookies in a large zip-lock bag, squeeze out the excess air and gently smash the cookies with a rolling pin until you have fine crumbs. Add the crumbs to the butter and stir with a spoon until well combined.
- Divide the crust mixture evenly over 4 to 8 serving glasses, using a small spoon or your (clean) fingers to level the crumbs and firmly press them into the bottom of the glasses.
- Place in the fridge to set for about 10 minutes.
- Thinly slice and cube the strawberries using a sharp knife. Toss with the sugar in a small bowl and set aside for 10 minutes to allow the strawberries to release juice.
- In a small bowl, using an electric mixer fitted with the whisk attachment, beat cream until it holds stiff peaks. Set aside.
- In a medium-sized bowl, using the same electric mixer fitted with the whisk attachment (no need to clean it first!), mix together cream cheese, sugar and vanilla bean paste (or extract) until fluffy and well combined, about 2 minutes. Scrape the sides and bottom of the bowl with a rubber spatula and mix for another 30 seconds.
- Using a rubber spatula, gently fold one third of the whipped cream into the cream cheese mixture. Add the remaining cream and gently fold until combined.
- Spoon or pipe one third of the cheesecake mixture on to the prepared crusts. I used a piping bag. Spoon a layer of strawberries (and juice) on top, and top with another layer of cheesecake mixture. Add more macerated berries, cover the glasses with plastic wrap and place the cheesecakes in the fridge to set for at least 3 hours (overnight is best).
- These no-bake cheesecakes can be made up to three days ahead. Keep them in the fridge until ready to serve, tightly covered with plastic wrap.




Dat ziet er weer lekker uit .En de foto,s zijn ook mooi.
Groetjes Hennie
Thanks Hen! 😀