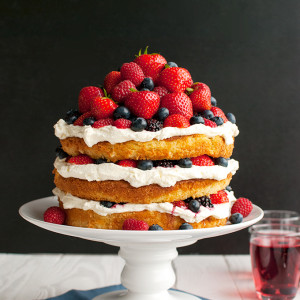
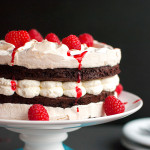
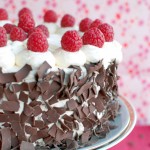
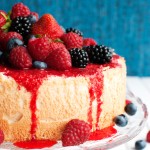
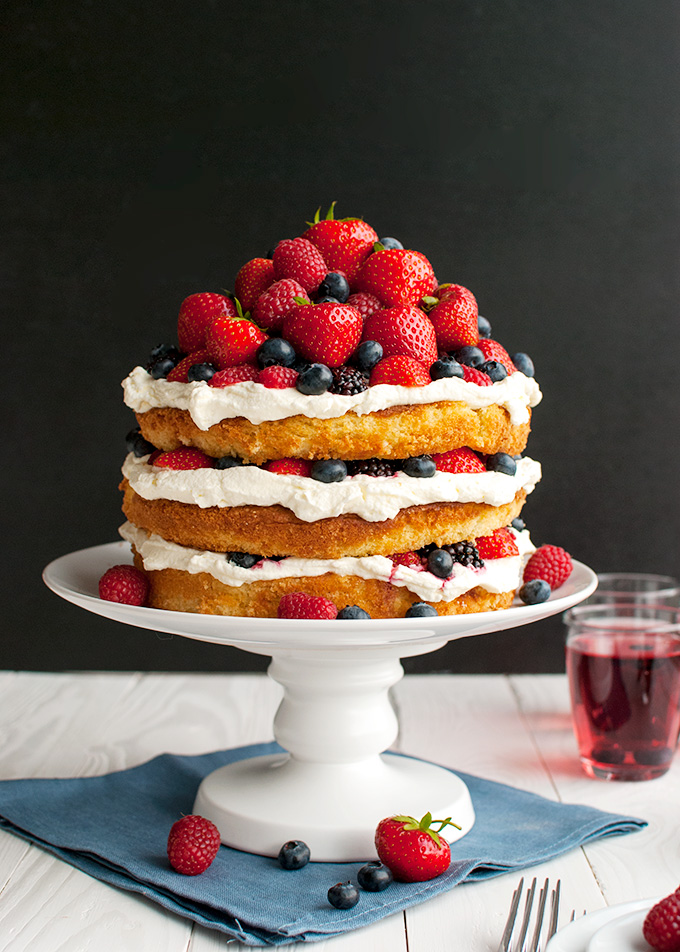
Forest Fruit Cake: fluffy layers of vanilla cake soaked in raspberry syrup (with a little booze in it) and filled with a stable whipped cream frosting and fresh summer berries. Loving summer so far!
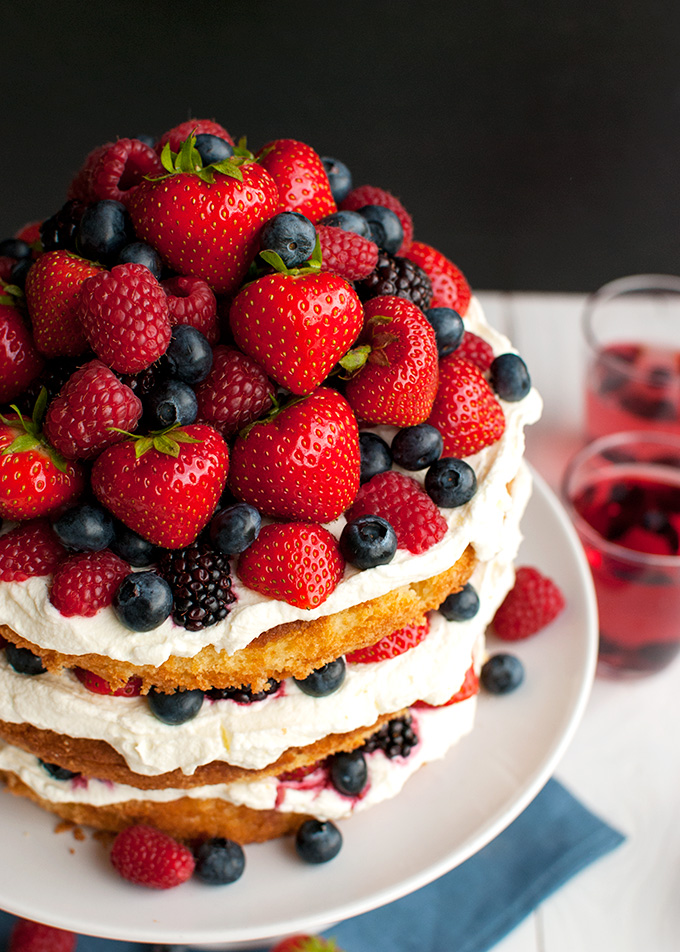
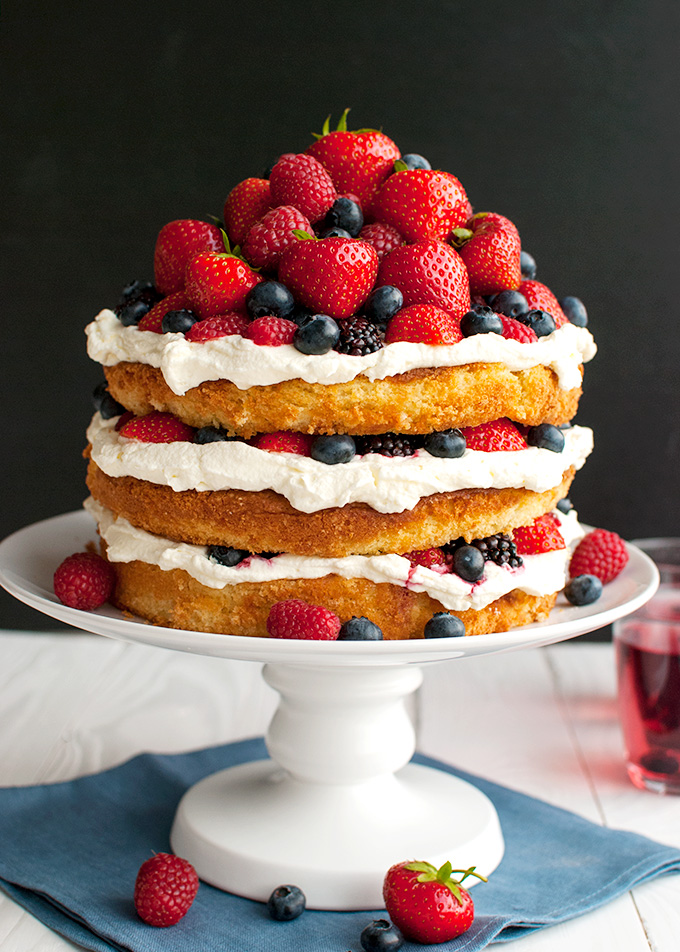 Hey guys, this cake sure was something. Delicious. Fruity. Summery. And messy. Really, really messy.
But first: some good news. My wisdom tooth can stay! Thank God… I was so scared it had to be extracted. Seeing as how it still hasn’t completely come in yet. And as I’m still nursing my little Baby Boy, I wouldn’t have been able to take all those nice painkillers you get after the whole extraction thing. So: phew, it can stay ????
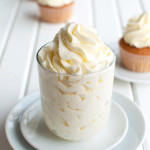
Back to the cake. And the whipped cream frosting. It was delicious. And completely stable! Which is awesome. You see, I love whipped cream. It’s so fluffy and light and dreamy and subtly sweet and perfect. On cakes, however, it usually collapses the minute you plop it on. Which sucks. Especially if you want to make the cake a day ahead and still want it looking reasonably presentable.
Enter: whipped cream frosting!
 Stabilized whipped cream frosting has kind of a bad reputation. The problem is that it never turns out as delicious as JUST whipped cream. Still, if you’re into cake making and if you want to make a cake that either needs to be transported or has to be made the day ahead, stabilized whipped cream is really your only option if whipped cream is your frosting of choice.
There are a few different ways to stabilize whipped cream. You can buy packaged whipped cream stabilizers, which are basically a mixture of sugar (usually dextrose), some sort of starch, and an anticaking agent. Fine to use, but the flavor and texture are not always awesome. Then there’s gelatin (or agar agar), but working with gelatin can be pretty finicky. And if you’re not careful you can end up with strings of gelatin in your whipped cream, which is yuck. Another option is adding just cornstarch to the whipped cream, which can cause it to separate and, again, become yucky and grainy.
And yucky is just not an option when it comes to cake.
 Luckily, I found a great little trick to stabilize whipped cream on the Food 52 website. You probably heard about Food 52, right? I mean, we don’t all live under a rock. Just me, right?
…
Anyway, Food 52 is this great foodie website with recipes and tricks and contest and a lot of other stuff. It’s pretty great. One post is about making a creamy pudding with a little cornstarch, powdered sugar, and cream, and beat it into whipped cream. Kind of like making flour buttercream, also known as the most awesome buttercream on the face of the Earth, but with cream instead of butter. Now, why didn’t I think of it? Am I the queen of buttercream or what? Well, exactly… self-appointed queen of buttercream. Not whipped cream.
But anyway, I liked this little pudding trick so much that I decided to dedicate an entire post to it. Next post, that is. For now, let’s talk a bit more about how messy this cake was.
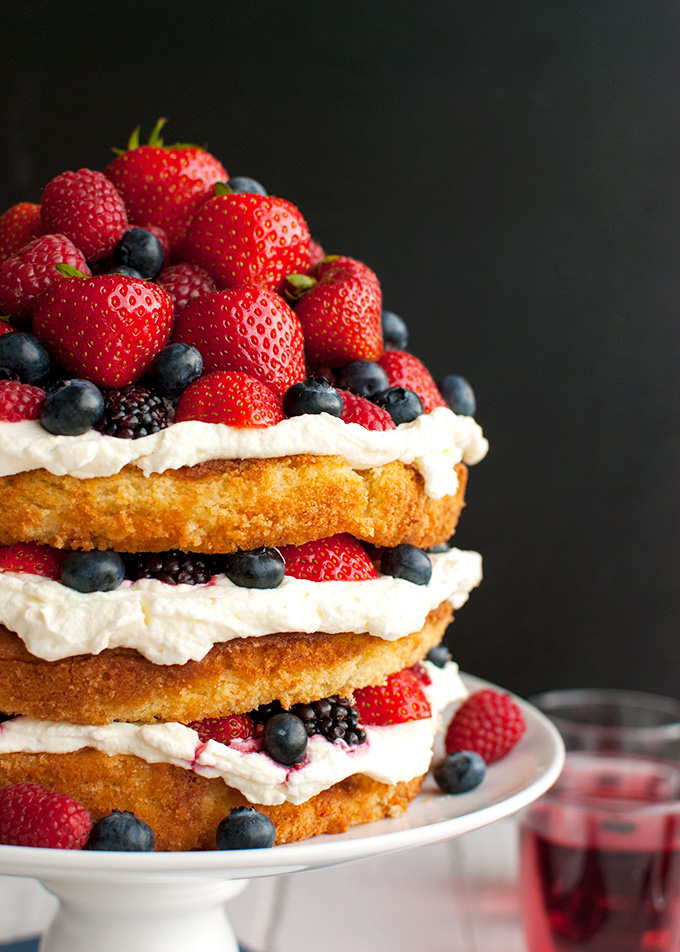 You’d think that stabilizing the whipped cream would make it less messy as a frosting, but apparently it doesn’t work like that. This whipped cream frosting is just as deliciously messy as regular whipped cream. Which is kind of a good thing, maybe, right? There’s nothing wrong with messy, after all.
Just one little tip: don’t bring this cake to a fancy tea party with snooty people who don’t like getting their hands dirty. Bring biscuits. This cake is for casual family gatherings and messy birthdays. Don’t even try to cut this cake into neat slices, because it’s just not going to happen.
Just embrace the messiness and take pictures of your friends and family covered in whipped cream and cake crumbs. This cake is soooo worth it 😉
 That’s it for now guys!
If you like this recipe and want more recipes like this delivered straight into your inbox, click here to sign up to my mailing list. Also, the 2016 Saveur Blog Awards are happening soon, so if you like my blog, please hop on over to saveur.com and nominate me!
Back soon with more details on whipped cream frosting for the Building Blocks section!
- 35g (or 3 tablespoons) granulated sugar
- 3¼ teaspoon cornstarch
- 600ml (or 2½ cups) heavy whipping cream, divided
- 225g (or 1 cup) unsalted butter
- 255g (or 1¼ cup + 1 teaspoon) granulated sugar
- 3 large eggs
- 245g (or 1¾ cup + 3 tablespoons + 1 teaspoon) all-purpose flour
- 3 teaspoons baking powder
- pinch of salt
- 45ml (or 3 tablespoons) buttermilk
- 1 teaspoon vanilla extract
- 100g (or ½ cup) granulated sugar
- 120ml (or ½ cup) water
- 2 teaspoons raspberry eau-de-vie, optional*
- In a small saucepan and using a whisk, stir together sugar and cornstarch until well combined. Add 150ml (or ½ cup + 2 tablespoons) of the cream, stirring constantly.
- Heat the mixture over low heat, stirring with a whisk, until the bubbles disappear and the mixture thickens considerably. Remove from the heat, transfer to a plate and cover immediately with plastic wrap, pressing the plastic directly against the pudding to prevent a skin from forming. Allow the pudding to cool to room temperature, then place it in the fridge to chill thoroughly.
- Preheat the oven to 175°C/350°F (standard oven setting). Lightly butter three 18-cm/7-inch cake pans and line the bottom with baking parchment.
- In a stand mixer fitted with the paddle attachment, beat the butter and sugar until creamy and light, about 5 minutes on high speed. Using a rubber spatula, scrape the sides and bottom of the bowl every now and then to make sure all the ingredients get incorporated. Add the eggs one at a time, mixing well after each addition (doing the scrape thing again), until the mixture looks fluffy and pale (like buttercream).
- In a small bowl, stir together the flour, baking powder and salt. In a glass, combine the buttermilk and vanilla. Add the dry ingredients and wet ingredients to the butter mixture and mix on low speed until the batter looks smooth.
- Divide the batter over the prepared pans and bake on a rack in the middle of the oven until the tops of the cakes are golden brown and spring back when pressed with a finger, and a toothpick inserted into the center of the cakes comes out clean, 20-25 minutes.
- Once the cakes are done, remove from the oven and allow to cool to room temperature in the pans.
- In a small saucepan, combine sugar and water. Heat over low heat, stirring with a metal spoon until the sugar has dissolved and the syrup looks completely clear (like water). Transfer the syrup to a clean, heatproof container (a mug) and allow to cool to room temperature. Once it’s cool, measure 120 cup of the syrup and stir in the raspberry eau-de-vie. Discard the remaining syrup.
- In the bowl of a stand mixer fitted with the whisk attachment, beat the remaining 450ml of cream until it holds soft peaks. Beat in the chilled pudding one spoonful at a time, then keep beating until the cream holds stiff peaks.
- Place cake on a serving plate. Prick the top of the cake all over with a fork, then spoon two tablespoons of the raspberry syrup over the top. Plop almost a third of the cream frosting in the center of the cake layer.
- Using an offset spatula or a spoon, spread the frosting towards the edges of the cake. Top the whipped cream frosting layer with fruit (I cut the blackberries, strawberries and raspberries in half first) then add a little more cream on top of the fruit (just in the center of the cake) and place the second cake layer on top.
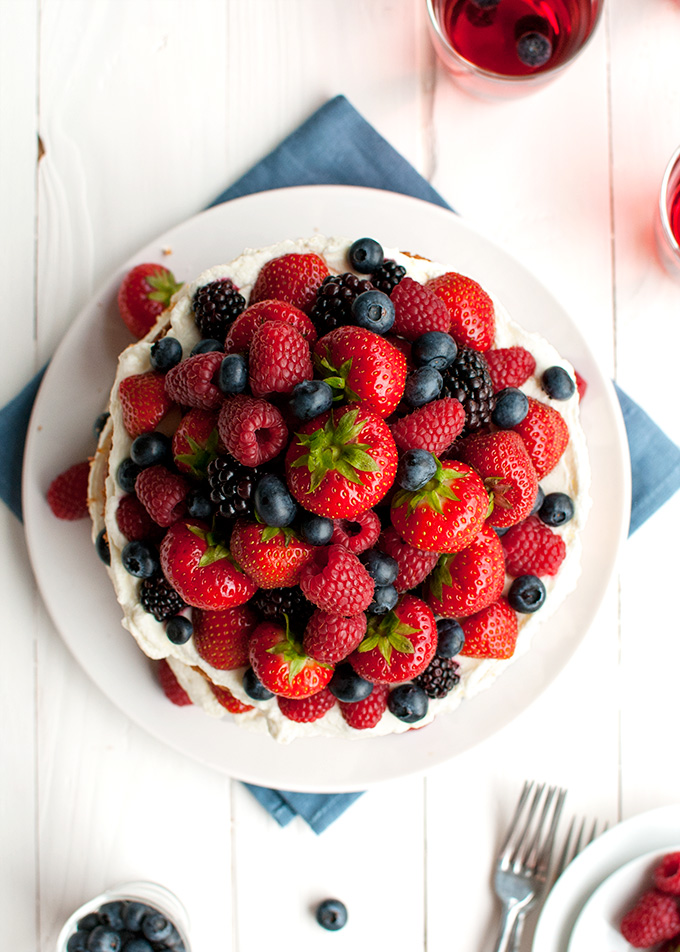
- Repeat with the second and third layer, finishing with a big pile of fruit on top of the cake. Place the cake in the fridge for at least three hours to allow the flavors to meld, then serve! Cake can be made two days ahead and stored in an airtight container in the fridge.

