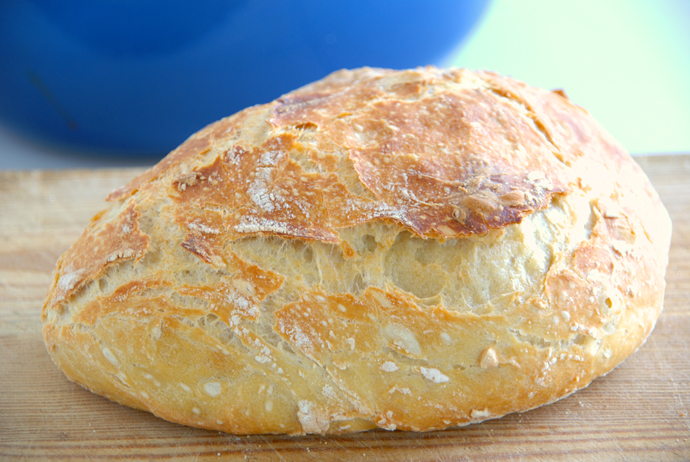
 No-Knead Bread…
It’s not everyday you come across a recipe with such a promising name. Even though it was first hyped in 2006 and there’s probably not a single food blogger out there who hasn’t posted about it, I couldn’t resist sharing this ‘old’ yet revolutionary recipe with you! Besides, due to a serious lack of proper kitchenware, I hadn’t been able to try this recipe myself until I got a Dutch oven for my birthday this year. So even though I’ve known about the existence of No-Knead Bread since 2010 (when I discovered there were such things as food blogs), actually making it myself is quite new to me.
Next to the fact that there’s no kneading involved, the fact that No-Knead Bread is baked in a Dutch oven is why this recipe is so ‘revolutionary’. Because of the preheated pot, the heat of the oven gets transferred into the dough much faster, causing the carbon dioxide and water vapor inside the dough to expand dramatically before the dough has time to cook and set, which resultx in a fluffy, light bread.
If you don’t have a Dutch oven and don’t want to buy one, go ahead and make this bread anyway. My big sis baked it without the pot, and although it came out completely different than mine, she and her family loved the taste (and crunch!) of it.
If you don’t have a Dutch oven but are interested in buying one, mine is from Ikea and I love it!
Anyway, on with the bread. Jim Lahey, the genius who created this recipe, says even a 4-year-old could make this, and while I question the validity of this statement – even if you come across a 4-year-old who can read, I doubt they could even lift the Dutch oven – this recipe is indeed ridiculously simple and extremely difficult to screw up.
Just start by combining flour, salt, yeast and water in a large bowl.
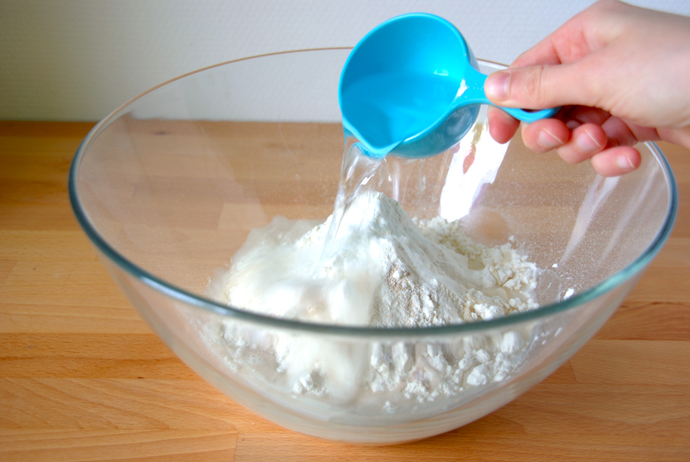 Then mix all the ingredients together.
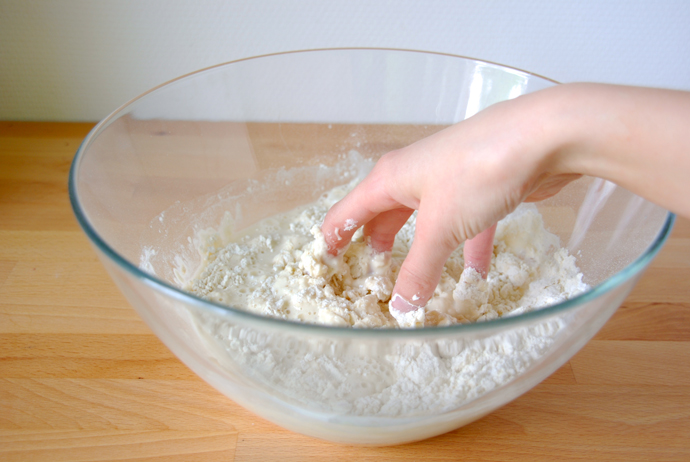 You’ll end up with a very sticky and wet dough. Obviously, this will make the dough very difficult to knead and your hand will be extremely messy, but since this is No-Knead Bread, don’t worry about it! All you need to do now is cover the bowl with plastic wrap and forget about it for the next 24 hours.
Oh, and clean your hand a bit…
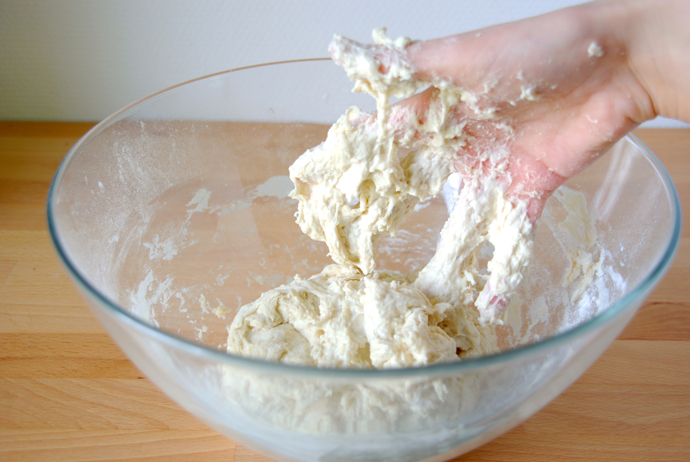 During the 24 hours resting period, the yeast in the dough will produce carbon dioxide, which in turn ‘kneads’ the dough by aligning the proteins in it, forming the gluten structure. Remember what I said about expanding carbon dioxide and water vapor? The gluten structure ‘traps’ this gas once the dough is in the oven, which will result in a light and fluffy bread.
Still with me? I know it sounds really technical for a so-called ‘simple’ recipe…
Anyway, after resting, the dough will have doubled (tripled?) in volume and has a beautifully bubbly surface.
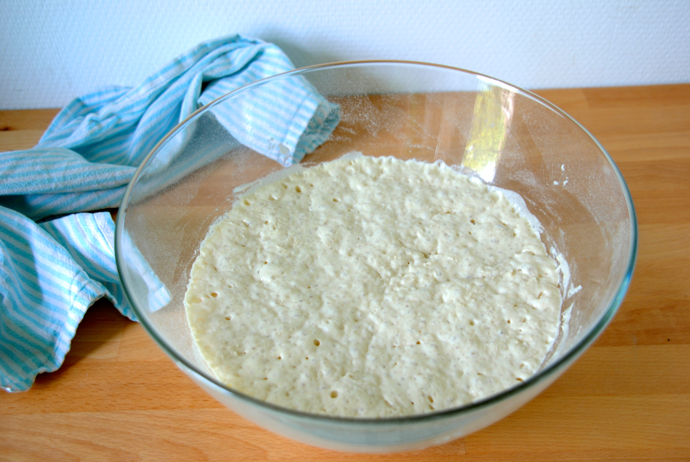 All you have to do know is dust your kitchen countertop with flour, scrape the dough out of the bowl onto the floured surface and fold it over onto itself a couple of times.
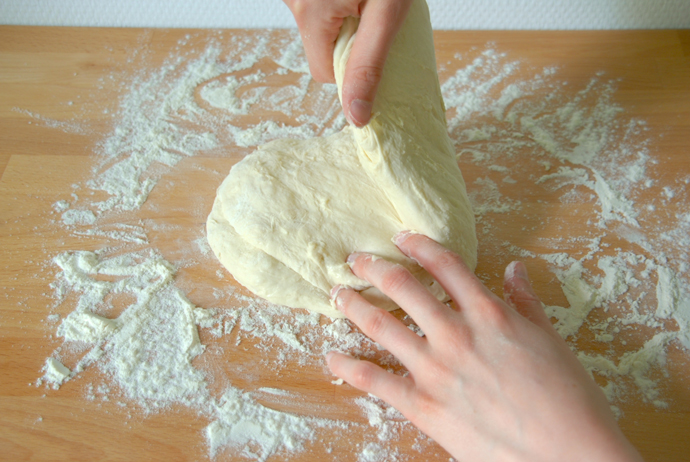 Then you shape it into a nice little ball by tucking the sides of the dough underneath.
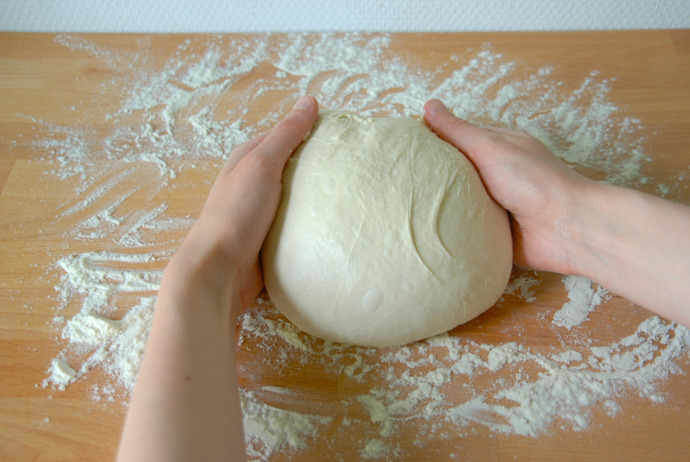 After the dough has rested a second time, you simply pop it in the oven and 45 minutes later you’ll have a beautiful, golden, crispy miracle of a bread!
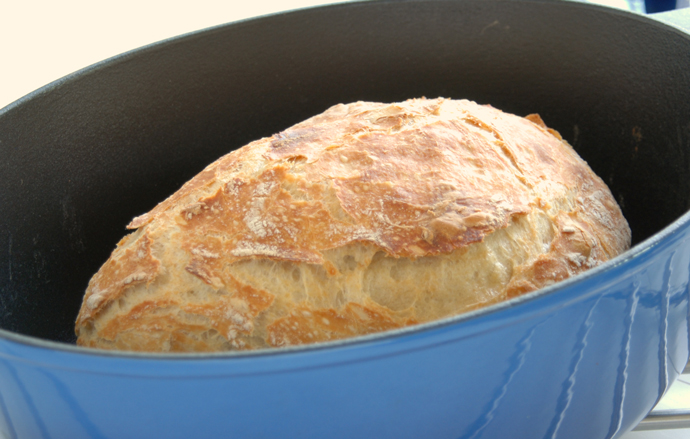
Just look at that thing. Doesn’t it look gorgeous?
You’ll have to resist cutting into it when it’s warm though… If you cut it straight out of the oven, the bread will be gummy and squishy… So you must resist! Trust me, it will be so worth it once you can finally cut into this beauty…
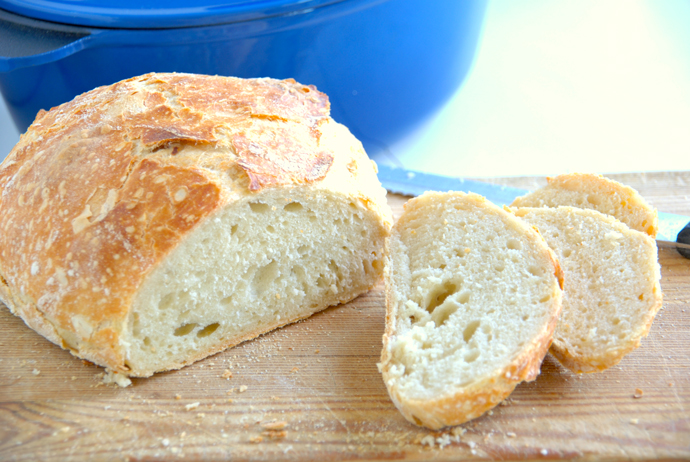
Slather with jam or Nutella, pare with a nice slice of cheese or simply tear of big chunks and wolf them down when no one’s watching…
Been there, done that…
Enjoy!
- 480g (or 3¾ cups + 4 teaspoons) all-purpose flour
- 1 teaspoon table salt
- ¼ teaspoon instant-dry yeast
- 360ml (or 2½ cups) water
- all-purpose flour for dusting
- semolina flour for dusting
- In a large bowl, mix together the flour, salt and yeast. Add the water and, using one hand, roughly mix the water into the dry ingredients. The resulting dough should be very wet and sticky, so you may want to add a little more water if the dough looks dry and crumbly or if the water hasn't fully absorbed the dry ingredients.
- Cover the bowl with plastic wrap and leave to sit on the countertop at room temperature for 18 to 24 hours. Once the dough has risen dramatically and the surface of the dough looks nice and bubbly, dust the countertop generously with all-purpose flour. 'Pour' the dough, which is very wet and glutenous, onto the floured surface, scraping the sides of the bowl with a wooden spoon. Dust the top of the dough with some more flour and gently lift and fold the dough over onto itself a couple of times.
- Dust the bowl with some more flour and form the dough into a ball shape by tucking the sides of the dough underneath. Put the dough ball back into the bowl, cover with plastic wrap again, and leave to rest for another two hours.
- NOTE: don't leave it to rest longer than two hours, or the dough will become too wet to easily lift out of the bowl once you're ready to bake it. It will still taste delicious though, so don't worry about it if you've somehow didn't manage to get it in the oven in time!
- In the meantime, preheat the oven to 230°C or 450°F (standard oven setting). Place a lidded Dutch oven or heavy cast iron pot in the oven as it heats up to get it piping hot.
- Once the dough has properly rested and the oven and the pot are hot, take the pot out of the oven, take the lid off and sprinkle some semolina flour in the pot. This will prevent the dough from sticking. Dust your hands with some all-purpose flour and carefully place the dough into the pot. Put the lid back on and place the pot back in the oven.
- After 30 minutes of baking, remove the lid and bake for another 15 minutes. Take the pot out of the oven, then take the bread out of the pot and leave to cool on a wire rack for 1 hour before cutting into it.









Nila, what can i say…
Even i can do this and that’s why it is a great recipe 🙂
Though it doesn’t seem to be too difficult, this bread tastes delicious!