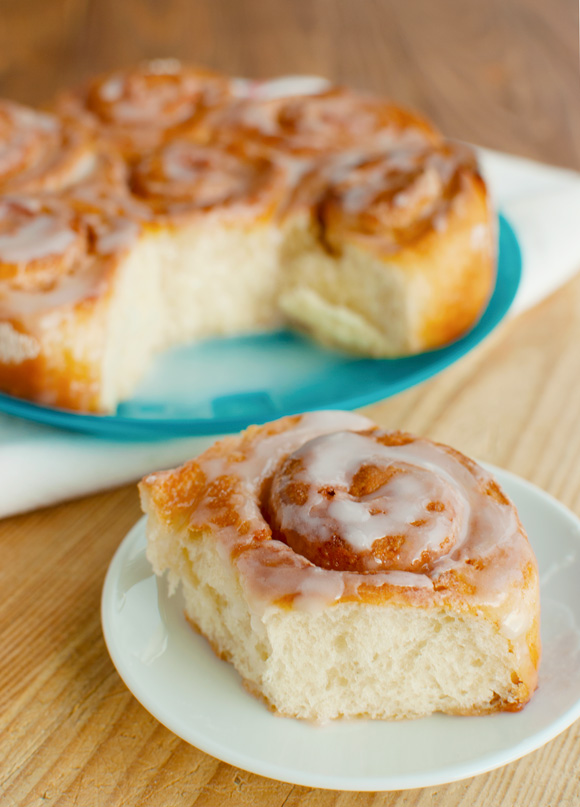
What’s the difference between a roll and a bun? As I was typing out the recipe for this post, it suddenly occurred to me that I didn’t know what to name this recipe. I’m Dutch, remember? Here in the Netherlands these things go by the name of kaneelbroodjes.
Yes, we have them here too. Just like pancakes and apple pie.
Anyway, back to the question at hand, what is the difference between a bun and a roll? Personally, I’ve always like the sound of the word ‘bun’. Honey bun. Juicy buns. Bun in the oven. It’s just a cute word that reminds me of being in love and babies. ‘Roll’ on the other hand, just reminds me of the Rolling Stones and unwanted body fat.
I wanted to ask my brother, because he has a T-shirt that says – and allow me to clean up the language a bit – ‘Forget about Google. Ask me!’, but since he wasn’t around he left me no choice but to Google it anyway…
It turns out that, according to some very scientific scientist, ‘bun’ means soft bread, whereas ‘rolls’ can be either hard or soft.
Helpful. Very helpful… NOT!
Anyway, I decided to go with ‘bun’ because it sounds cute. When in doubt, go with cute!
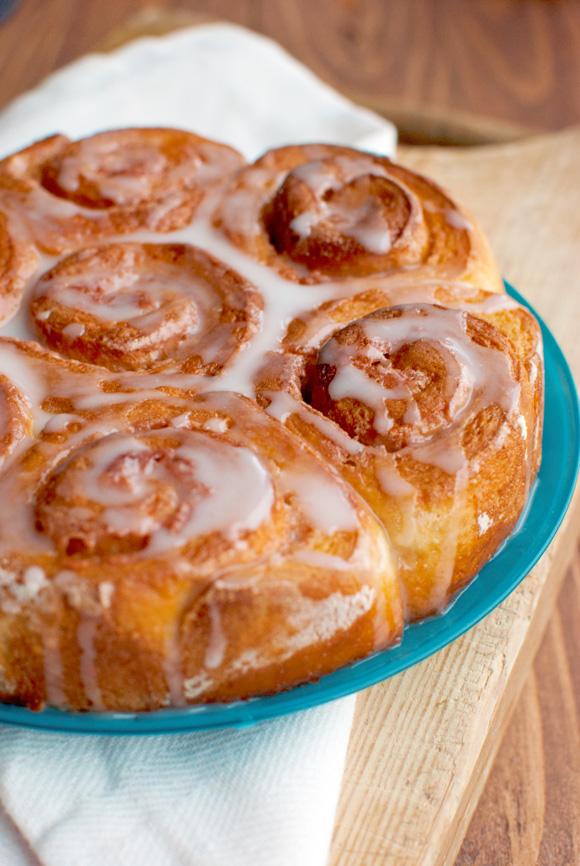
By the way, did I mention that these buns are healthy? Well, okay, not exactly healthy the way lettuce and carrots are healthy, but healthy as in: healthier than most cinnamon buns or rolls.
The average cinnamon bun contains about 227 to 350 calories. Shocking, I know.
My cinnamon buns – which happen to be the best cinnamon buns I’ve ever had in my life – only contain 172 calories per bun! Which is about half as much calories. Which means you can eat two. Or 4 if you are used to eating 2 regular cinnamon buns!
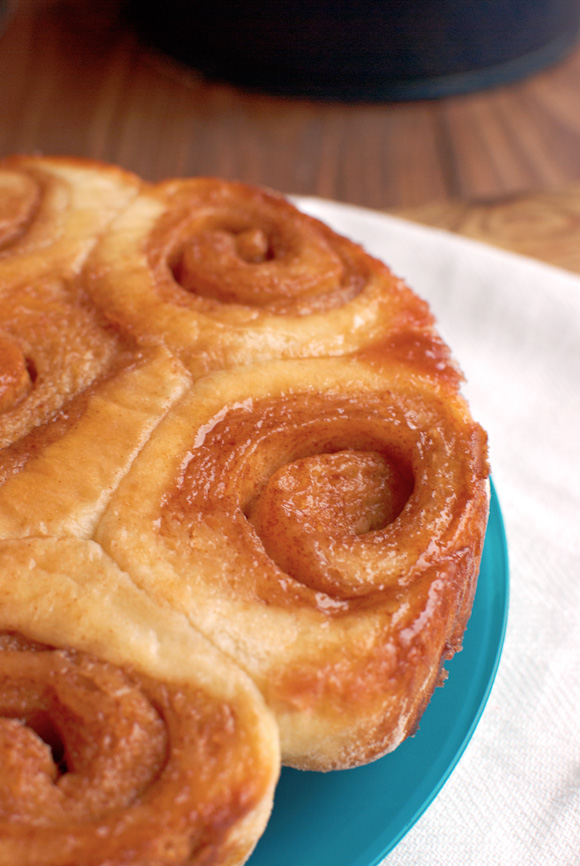
My secret? No butter in the filling. I use a little butter in the dough, but whereas most cinnamon bun recipes call for soaking the dough in cups and cups of butter before rolling, I use a simple syrup instead. Not because I wanted to make a healthier cinnamon bun – if you’ve read my post on Raspberry Blueberry Smoothies you know that deliberately making something that tastes like dessert healthy is not possible – but because I didn’t like the traditional cinnamon bun filling. Somehow, the sugar never really melted into the butter whenever I would make cinnamon buns the traditional way, resulting in a grainy, greasy cinnamon bun.
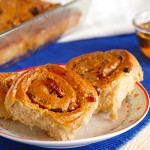
These buns, on the other hand, are perfect. And for those of you who are worried that the lack of butter makes them dry, just take a good hard look at the bottoms of those little buns. Take in the syrupy goodness!
Anyway, cinnamon buns need a glaze. Yes, even cinnamon buns that are accidentally kind of healthy need a glaze!
Actually, they don’t. They’re delicious on their own and I think I ever prefer them without the glaze, but hey, glaze looks cute in photo’s and it sure doesn’t do the rolls/buns any harm either…
So I glazed. Trying my best to get the glaze to seep into the rolled buns and cascade down the sides of the bunny rolls.
I’d suggest you do the same…
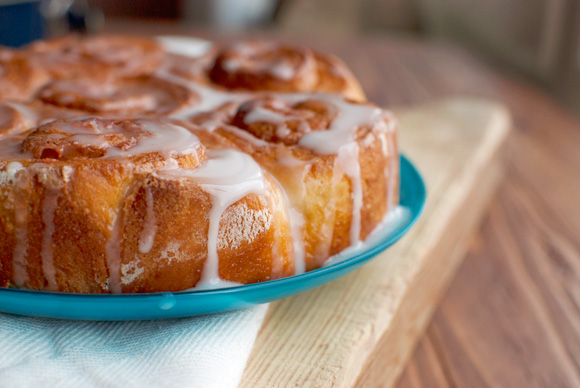
… and then dig in. If you’re with friends and family, perfect. All alone? That’s perfect too! Nothing else to eat in the house? Who cares? These buns are perfect.
Perfect. Perfect. Perfect. And whether you share these buns with friends, family, frenemies (don’t look at me: I didn’t make up that word…), fremily (yes, I did make up that word) or random strangers, they will make your life so much more perfect too!
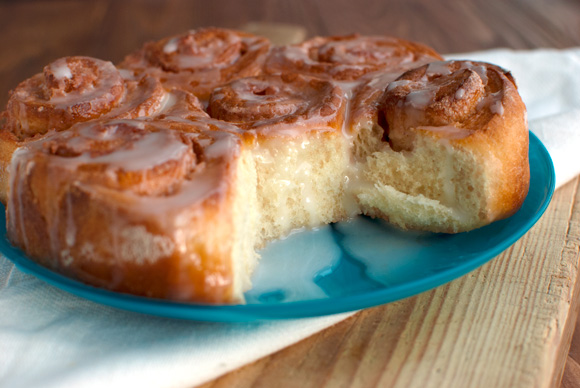
So stop wasting time and go make a batch of these! There’s no kneading involved by the way, just some stirring and a little waiting, then some sprinkling and rolling, more waiting and baking. Then you’re done!
All there’s left for you to do is tear one of those little buns off…
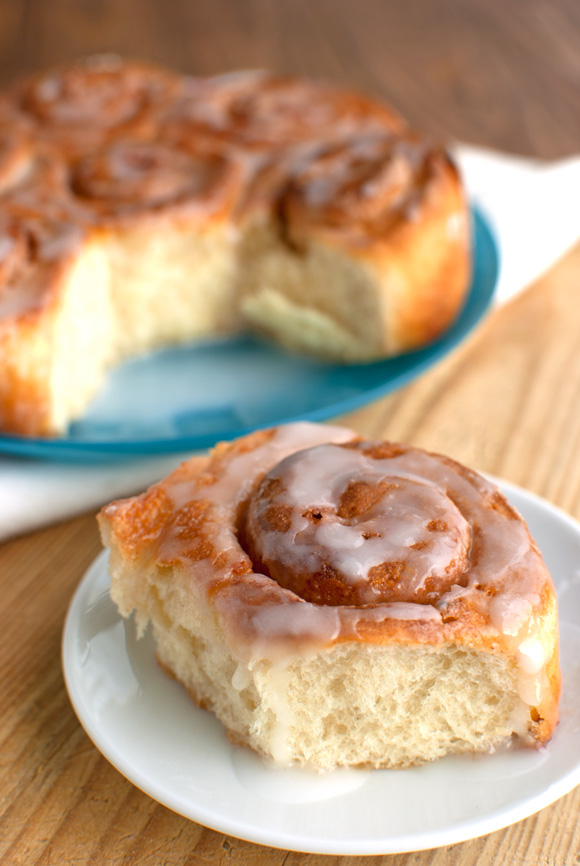
… and deal with it in an appropriate manner!
You know what I mean!
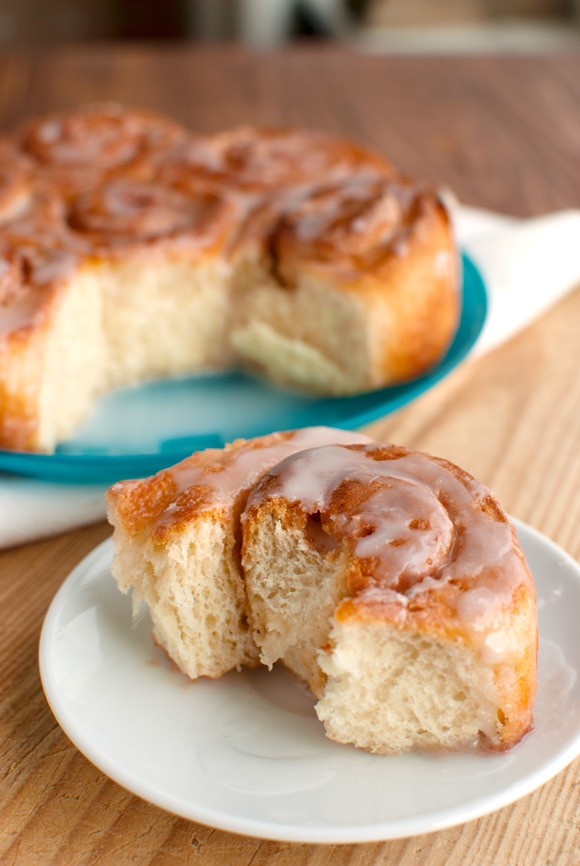
Enjoy!
- 240ml (or 1 cup) of regular milk
- 55g (or ¼ of a cup) unsalted butter
- 2 tablespoons of honey
- 1 tablespoon granulated sugar
- 1¼ teaspoon active-dry yeast
- 370g (or 2¾ cup) all-purpose flour
- 25g (or 3 tablespoons) all-purpose flour
- ½ teaspoon baking powder
- ¼ teaspoon table salt
- 60ml (or ¼ cup) water
- 50g (or ¼ cup) granulated sugar
- 110g (or ½ cup, packed) light brown sugar
- 1 teaspoon of cinnamon
- 120g (or 1 cup) powdered sugar
- a few drops of water
- First, make the starter. In a medium-sized pan, combine the milk, butter, honey and sugar. Gently heat over medium-high heat, stirring until the sugar has dissolved and the butter has melted. Take the pan off the heat and leave to cool until the milk mixture is warm and no longer hot. Yeast doesn’t do hot, so a good way to test whether the milk is cool enough, is just dipping your finger in it. If you find it pleasantly warm, yeast will like it too.
- Sprinkle the yeast over the surface of the milk mixture and let it ‘bloom’ (aka: get soggy and wet and a little bubbly). Add the flour and stir together with a fork, cover with plastic wrap and leave to rise in a warm place for about 1-1,5 hour, or until the dough has doubled in size.
- When the dough has almost finished rising, start with the filling. In a small saucepan, combine the water and granulated sugar. Heat over high heat, stirring to dissolve the sugar, until the sugar has dissolved and the syrup is clear. Transfer to a mug and allow to cool. In a small bowl, mix together the brown sugar and the cinnamon.
- Finish the dough. In a small bowl, stir together the flour, baking powder and salt. Add it to the dough in the pan and knead with your hands to incorporate the dry ingredients into the dough. If you have the time (and patience) allow the dough to rest in the fridge for about 1 hour. This will make rolling and shaping so much easier. You can even leave the dough to sit in the fridge overnight!
- Cover the countertop with baking parchment and lightly dust the parchment paper with flour. Using your hands, briefly knead the dough and place it on the countertop. Dust with more flour and press down into a rough rectangle shape. Dust a rolling pin with flour and roll the dough into a rough rectangle, about 50×20 cm (or 20×8 inches) and about 0,5-cm (or one-fifth of an inch) thick.
- Using a pastry brush, brush the dough generously with the syrup you made earlier. Sprinkle on the cinnamon mixture.
- Starting at the opposite end, roll the dough towards you, forming a tight roll. Place the roll seam side down on a chopping board and, using a sharp knife, first cut off a 4-cm (or 1½-inch) slice of one end of the dough roll. I usually just discard this bit, because it won't really bake into a decent bun.
- Next, cut 14 3-cm (or a little over 1-inch) thick slices. Place the slices cut-side down and about 1-inch apart into two buttered 18-cm (or 7-inch) round oven pans, cover with plastic wrap or a clean tea towel and leave to rise in a warm place for another 30-60 minutes, or until the rolls have doubled in size. In the meantime, preheat your oven to 180°C or 375°F (standard oven setting).
- Once the buns have risen nicely, brush the tops of the buns with a little more syrup and bake them for about 20-25 minutes, or until golden brown. Remove from the oven and allow to cool a little while you stir up the glaze.
- In a small bowl, stir together the powdered sugar and a few drops of water until you have a thick but pourable glaze. If the glaze is too thick, just add a few more drops of water. If it's too thin, just add more powdered sugar.
- Drizzle the glaze on top of the warm buns and serve immediately or allow the buns to cool to room temperature and the glaze to set before serving. Enjoy!






I just made this and they are the best! This is not my first cinna bun recipe by any means so when I say this is good, it is GOOD!!
I doubled the recipe and made donuts out of the other half. THEY ARE SUPER!! I think from now on when I make one I’ll make the other as well 🙂
Thank you so much!
Hi Jeannie, nice to meet you! Thank you so much for your feedback 🙂 I love your idea of making donuts out of them! I would love to try it myself! How did you do it?
Nila, I’m on my second batch of these.hah.ah.ah.aa…
I followed the recipe to the point of rolling out and then used my donut cutter to cut them out. Let them rise for about 20 minutes then started heating the oil to 375 and that was plenty of time for the second rise. Cooked four at a time turning as the bottom got brown which was about a total of four minutes. I don’t think I’ll ever use another recipe for cinna buns or donuts. You can shake your donuts in cinnamon and sugar or powdered sugar or glaze with a chocolate or vanilla glaze.
Thanks so much again for the recipe!
Wow, that sounds amazing Jeannie! I will have to try it! I had no idea you could also use the dough to make donuts 🙂
Nila, I was wondering how I could adapt this recipe using “Instant” yeast? I don’t have any ‘regular’ yeast that you need to proof in warm milk. SAF Instant Yeast is what I have on hand. These instant yeasts are known also as ‘bread machine’ yeasts. Would I just skip the warming of the milk, add the yeast to the dry ingredients and following your recipe from that point? Or could I use water instead of milk for the liquid?
Sarabeth
Hi Sarabeth, nice to meet you! I’ve done a little research and I think that you can just add the yeast to the dry ingredients, like you said. However, I would not skip the warming of the milk if I were you, because you also need to dissolve the butter in the milk. I think you will get the best results if you follow the recipe, but instead of allowing the yeast to bloom in the hot milk mixture for a few minutes, add it to the flour mixture. I wouldn’t use water instead of milk, because the milk makes the buns deliciously soft!
Good luck! And please let me know if you have other questions 🙂
Not pretending this is healthy, just sharing…..my aunt makes cinnamon rolls out of frozen bread dough. Of course with bread machines dirt cheap these days you can make dough for one loaf. Roll out to 18″ x 8″ rectangle. Spread on butter, or brush with melted buttrer. Sprinkle on brown sugar, cinnamon and chopped nuts to taste, leave an inch border to seal. Roll up from the long side. (wet the edge with water to seal, pinching to seal if necessary) Cut into 18 slices. Place 9 rolls each into two square 8″ x 8″ or 9″ x 9″ pans, cover with damp towel, let rise in warm place. About an hour. Pour 8 oz whipping cream over each pan. Be sure to shake the carton well before pouring to mix the fat evenly. Bake 350F 25-35 mins or until done. You can drizzle with glaze but I like them without – they are rich enough. The whipping cream makes its way to the bottom of the pan making a wonderful thick caramel sauce.
*** *** in the recipe above, grease the pans before placing rolls in! sorry……..
Hi Jaroslaw, thank you so much for the recipe! Who cares about healthy? This is a baking and dessert blog, right? 🙂 I’ve never heard about that whipping cream trick before, but it sound delicious!
Hai Nila,
I was wondering what kind of teaspoon you use in this recipe? The normal one most people find in their kitchen drawer or the tsp measure that is usually used in recipes from the U.S?
Racheal
Hi Racheal, I use standardized measuring spoons for my baking, and my standardized teaspoon is 5mls. I used to use ordinary kitchen teaspoons, but since I started using standardized spoons, my baking results have become way more consistent 🙂